CPU Cooler
Zalman VF3000N NVIDIA GPU Cooler
« Page 3 | Page 5 »
Installation Continued |
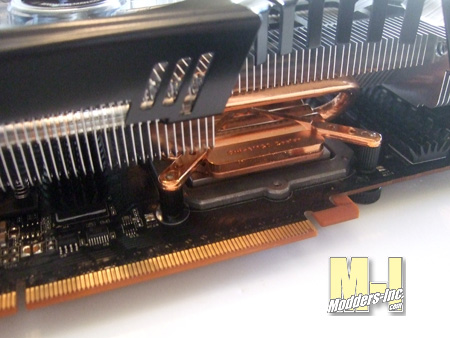 After using the four springs and knurls to attach the cooler to the video card we can turn it over and start looking over our work. This is the time to make sure that all the heatsinks stayed in place. 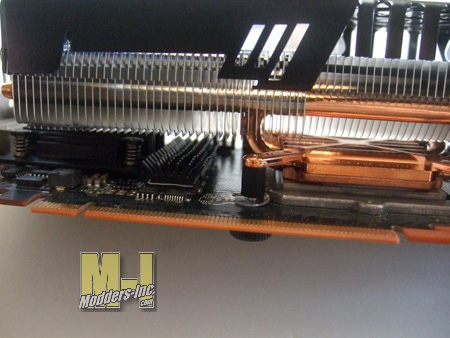 From this angle we can see that there is plenty of room between the cooler and the card which should allow all the airflow need to keep everything cooled. 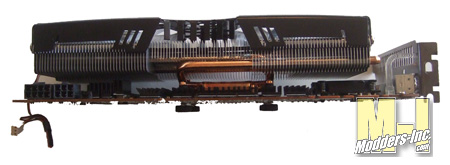
We can now see that the Zalman VF3000N cooler sits taller than the stock cooler by about .75 of an inch. 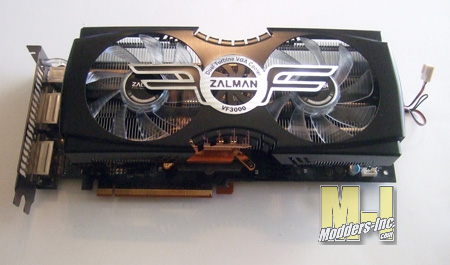 Our first look from the faceplate side of the cooler installed on the NVIDIA 285 and it looks pretty good. 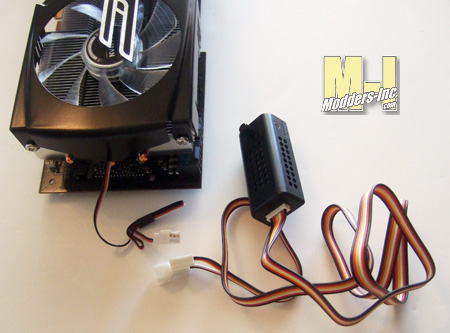
What we have here is the fan control for the VF3000N. The power for the fan does not reconnect to the graphics card so it needs another source. The power lead from the cooler connect to the fan controller and then from there the controller gets connected to a fan pin out on the motherboard. You can keep the whole thing inside the case but if you do that you will need to open up the side if you want to make any adjustments. Zalman does included some doubled sided tape that will assist you to mount the controller on the outside of the case.
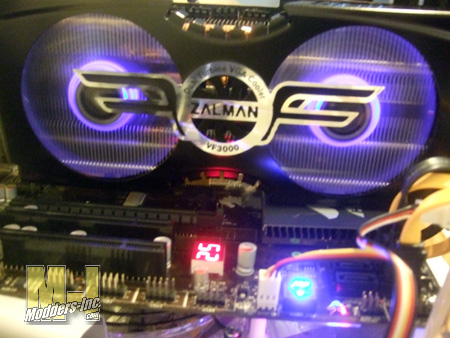
Well here we are. The cooler is installed, the NVIDIA 285 has a new look and hopefully better cooling which we will find out in the next section.
|
