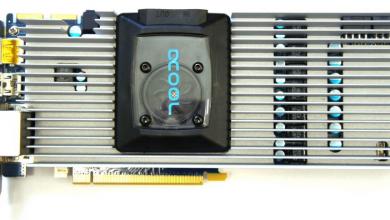
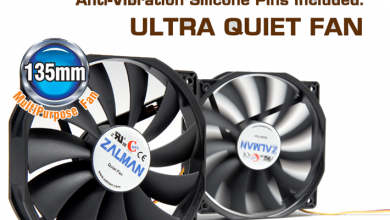
Zalman VF3000N NVIDIA GPU Cooler
Installation |
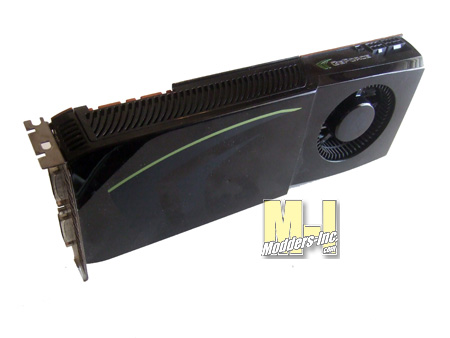 We will be using our NVIDIA 285 referenced card as the subject of our testing for the Zalman VF300N cooler. I still use this card to this day and it is a rather hot running card and any chance to cool it down is a welcomed one. 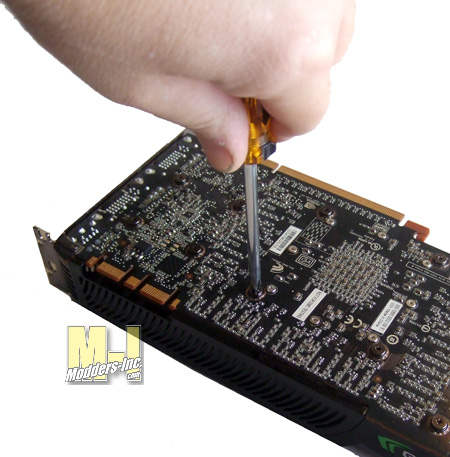 First we must removed about a dozen or so screws from the video card so that we can remove the all-in-one stock fan/heatsink assembly. I suggest that you get a large baggie and place the cooler and all the screws in it in case you ever want to go back to the stock cooler. 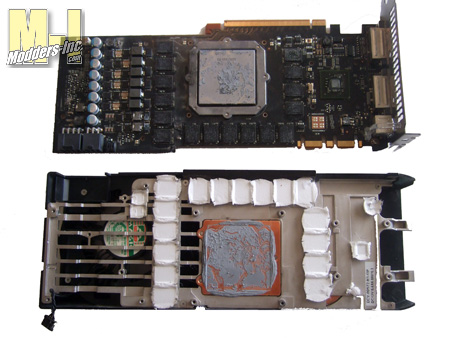 With the stock cooler off we can see that NVIDIA used some sort of thermal tape to make the transfer connection between the cooler and the chips. They did use thermal paste as the media to make the heat transfer connection for the GPU. 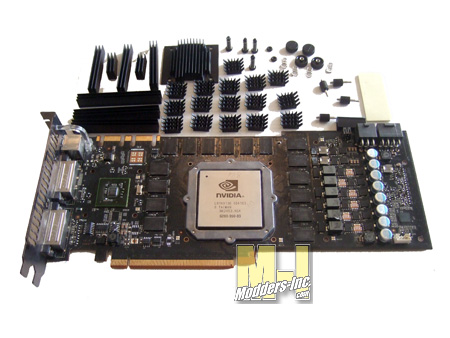 With the naked 285 all cleaned up and ready to have it new cooler installed we can see that there is a boat load of chips that need some sort of heatsink attached to it. We will be using all but four heatsinks on this card. Zalman gives you enough heatsinks for different configurations and types of cards that are made. 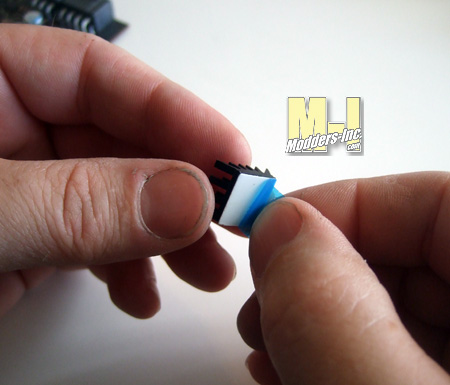 Each heatsinks has some thermal tape applied to the bottom of them. All you have to do is remove the tape and you are ready to place it where it needs to go. Before you get ready to adhere the heatsinks you need to make sure that all the chips are clean and free of any left over thermal paste or tape. Use whatever cleaner you use when you clean your CPU or CPU cooler, more than likely some like rubbing alcohol. I like to use ArticClean which is made by Arctic Silver and Nanotherm technology. 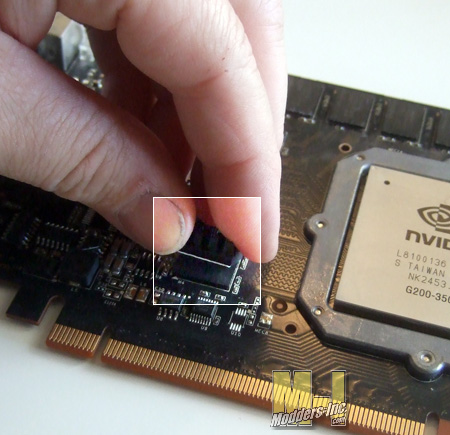 With everything nice and clean you are ready to place the heatsinks in their proper place. Zalman made a very nice animated video on how to do this, but you can also read the included manual for help. You need to make sure that the heatsinks are firmly place into position but do not put to much pressure on then to crack the board or chip. A good forceful push on will do the job and after 24 hours the bonding strength of the tape reaches 90%. So I would not move the card around to much for the first day or so. I mean I would not add everything and then run off to a LAN party. 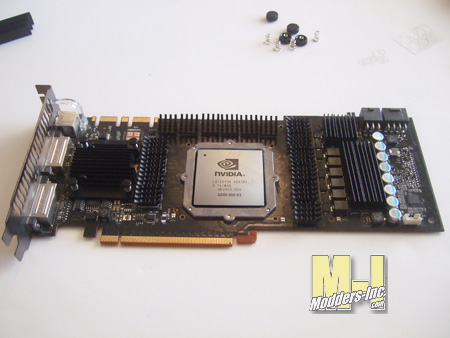 After a few minutes I was able to place all the heatsinks where they needed to go. The next step is to install the VF3000N cooler assembly. 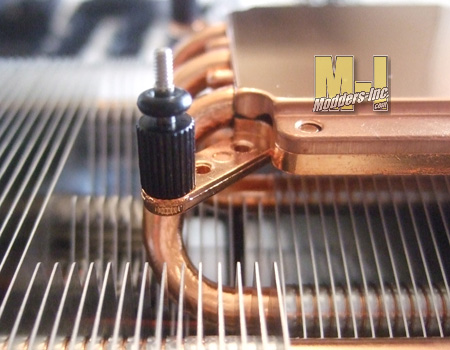 Using a nipple that has been threaded on both sides you need to find the right set of holes on you card that line up with the thread on the cooler. Attach the nipple with the smaller thread in the cooler and then add the rubber washer to the other end. This will act as a dampener when you tighten down the cooler so that you can not over tighten it and as an isolator for any possible vibration. |
