Zalman CNPS10X Extreme Heat Pipe CPU Cooler
Installation |
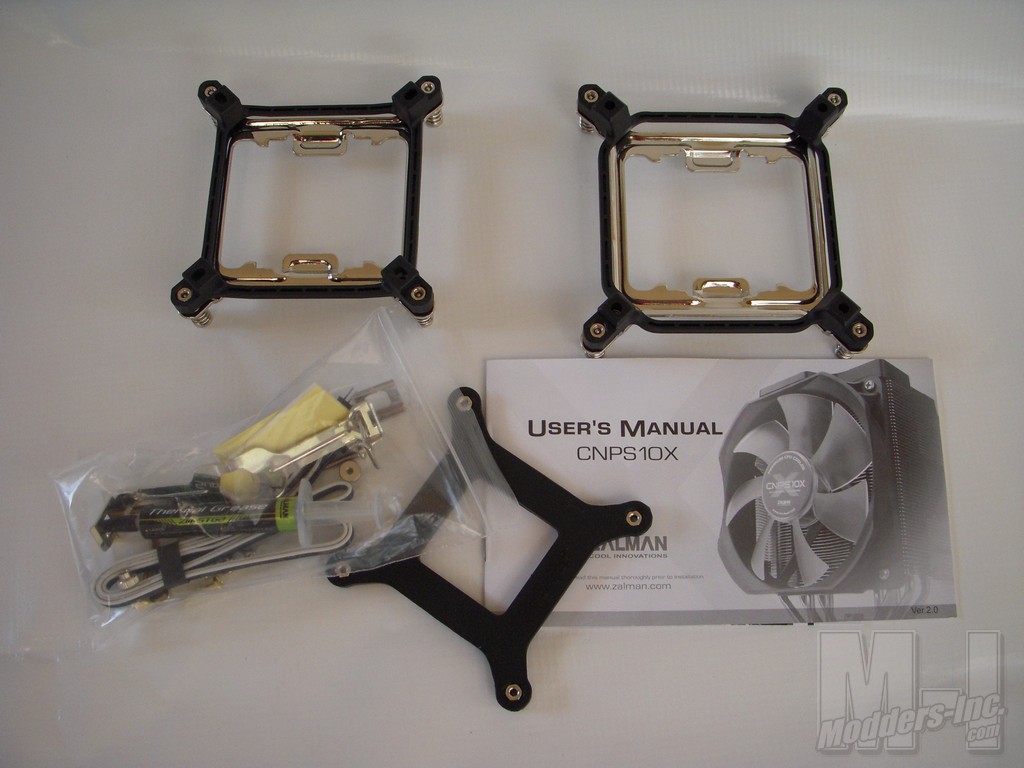
Right out of the box I’m impressed with the amount of hardware that is available for installing the CNPS10x. The Users manual that is a good read and includes descriptions with pictures on how to install the cooler in a variety of setups. The Zalman is able to go several Generations back in both AMD and Intel Platforms. For a complete List please refer to the Zalman website.
I will be Installing the Cooler on my Intel 775 setup. It’s a little old and not quite an i7 but still runs like a champ. It’s got a slight overclock so it will produce an ample amount of heat to test this coolers capabilities. In the case of installing the cooler on both platforms will require you to use a plastic mount like the one below. 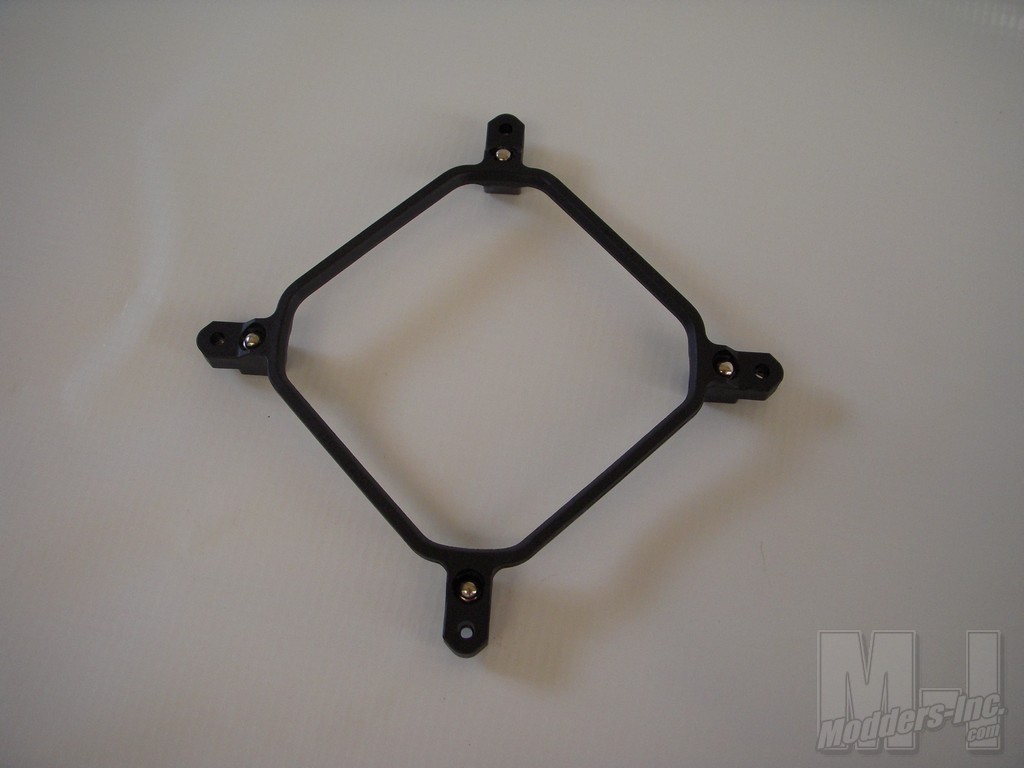
Installation starts with you first choosing which template to choose from. Both clips are clearly labeled so you should be able to tell which ones you will need. There are different sizes and colored screws for mounting as well depending on your setup. All is simply explained with text and pictures in the manual. 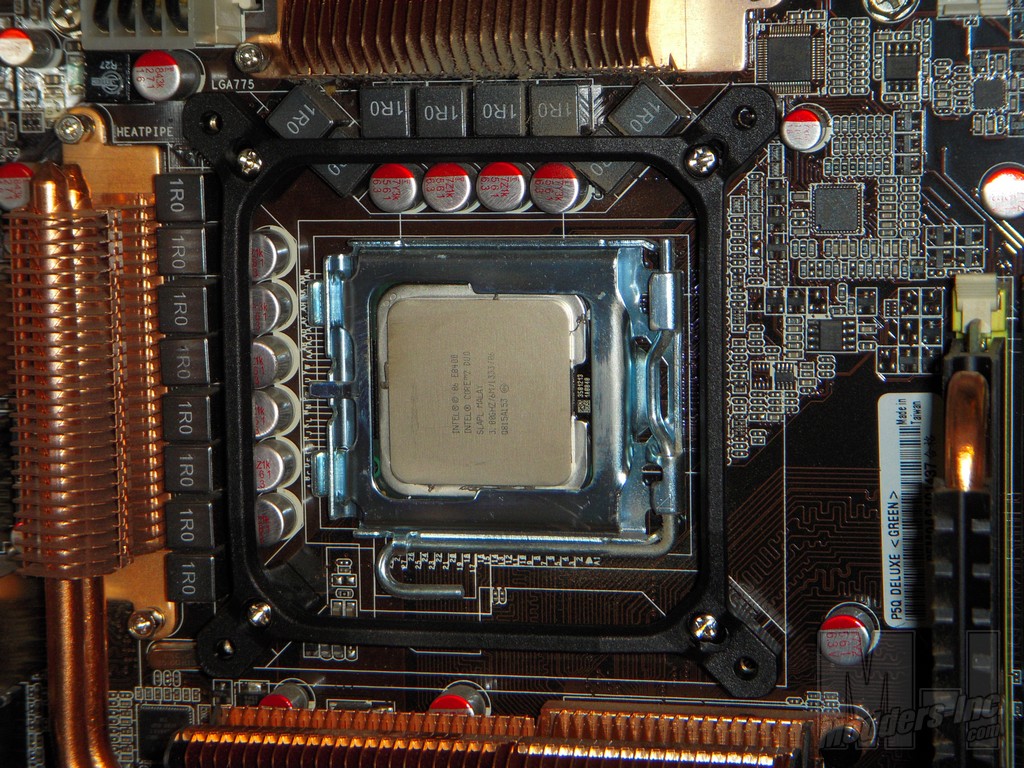
In my case I mounted this black plastic clip to the motherboard to another plastic clip on the back. This back plate gives stability these larger tall heat sinks need. 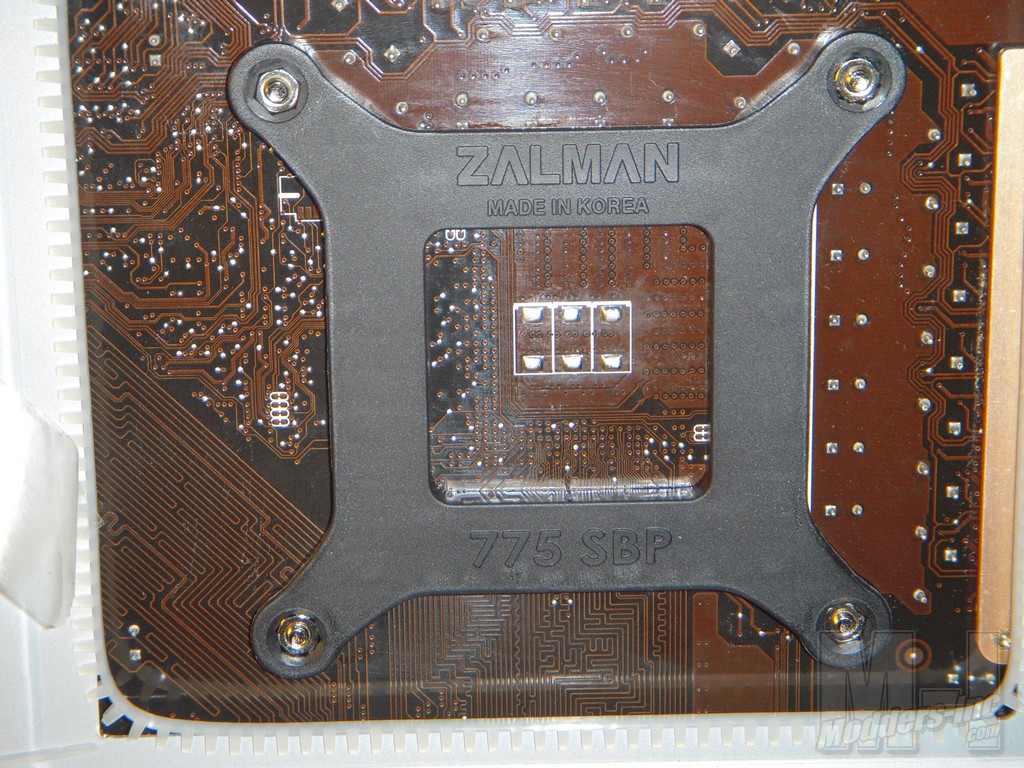
Once the mounting pieces are in place you nearly ready to install the cooler itself. First you need to apply the thermal paste to the processor. Zalman includes it’s own brand of paste as most manufactures do these days. I didn’t use Zalmans ZM-STG2 thermal grease as I wanted to use the same Thermal Paste on all setups for continuity. I will be using Artic Silver 5 instead.
After applying the thermal paste you slide the metal bracket onto the base of the cooler. this base isn’t screwed on and is held in place with tension from the springs. so it’s very wobbly at first before you get the mounting screws set in. I also found that I had an issue with the mounting screws. Seems with the fan mounted I was unable to get a good angle to properly screw them in. Below is a picture of my delima. As you can see it’s a bit awkward. I simply removed the fan and began again. 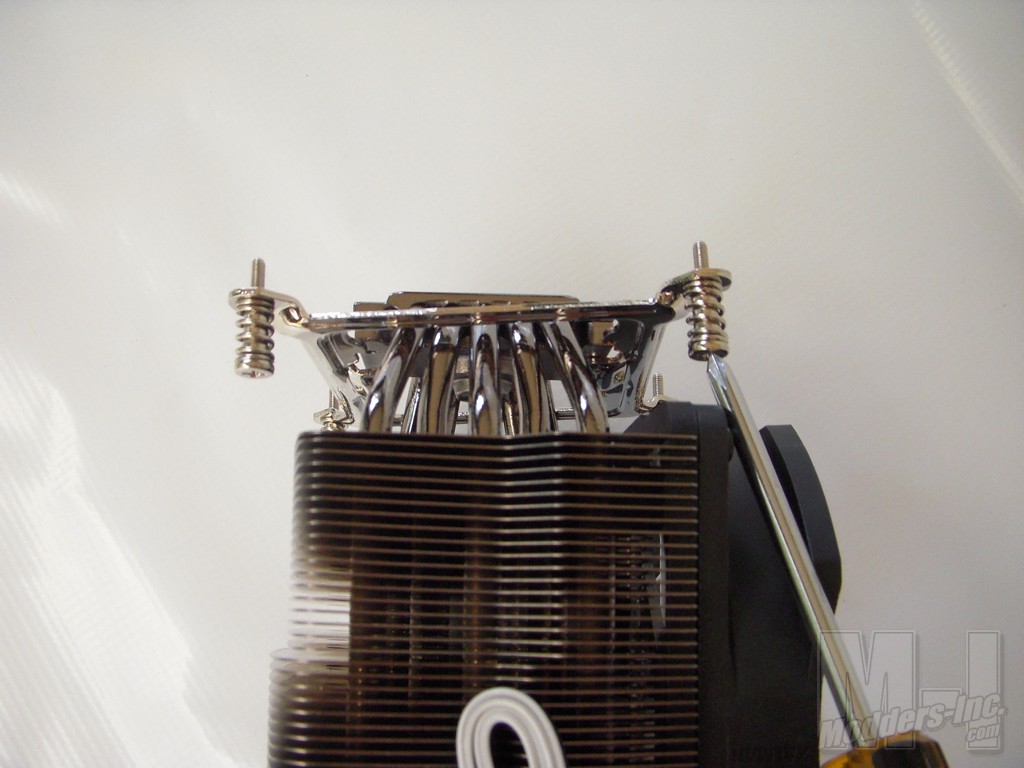
Sadly I ran into another problem. Even with the fan off I had to run the screwdriver onto the mounting plate at a strange angle. This made getting the last side of the four mounting screws rather difficult. To make matters worse I had a problem with the bolt that is mounted behind the mounting plate come out on me several times. After four tries I scotch taped all 4 bolts in and finally got it to work. This was probably the most frustrating cooler install I have done. Granted these days these larger coolers give you no real room to maneuver but compared to the Noctua NH-U12P install for example this was overly complex and difficult.
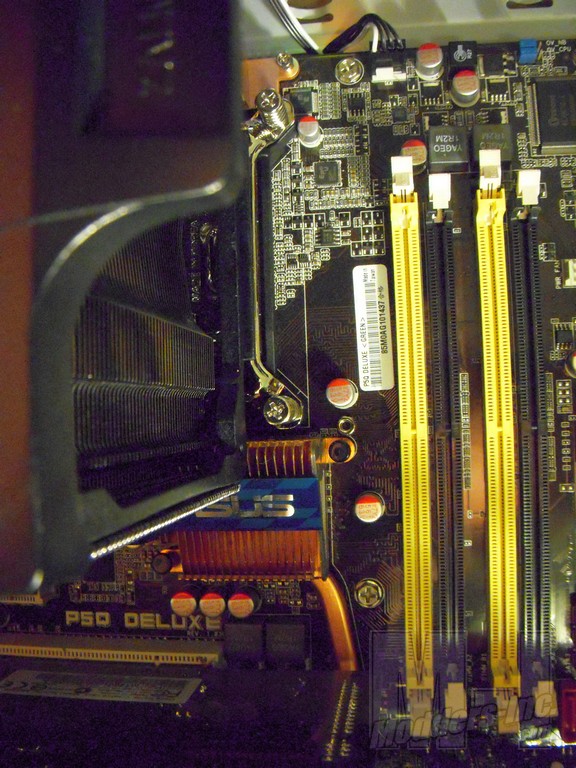
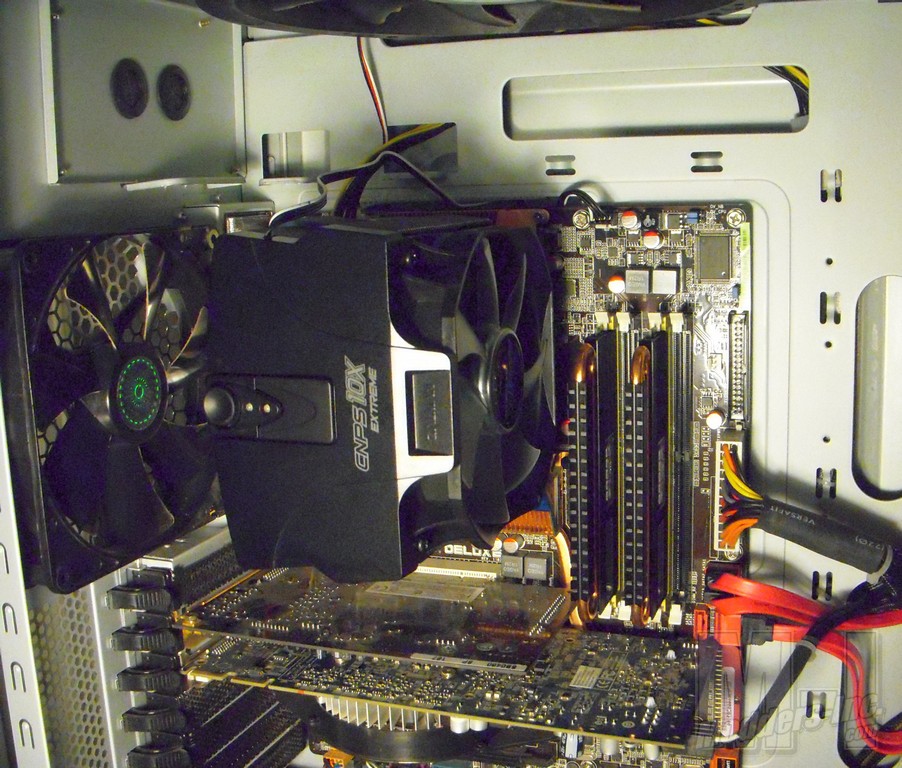
(Click on pic for larger size ) After the install was completed the cooler looked rather good mounted inside the case. There were no clearance issues and the mount was stable and secure. You can see in the picture below the PWM (Power Mate) is mounted to the top of the cooler. There is an indicator light there that lets you see the setting. I’ll get more into this during the observation section. One last bit for the install is I attached the Power Mates extension cable and ran it through one of the rubber washers above the exhaust fan there. The cable is 32″ long so I had plenty of room to run it around to the side of the case. Included is some double faced tape if you wish to permanently mount it as well.
 |
