XSOUL XM8 Predator Gaming Mouse Review
Closer Look and Disassembly of the XSoul XM8 Predator
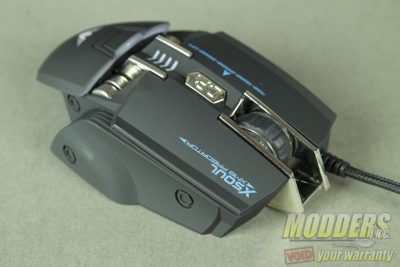
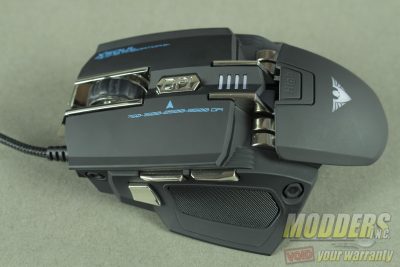
The XM8 is tailored to only right handed users but has a palm rest adjustment. Coming in at 160g (with the USB cable) the XM8 is tailored more towards players with a light touch. The weight is fixed however and cannot be adjusted like with other gaming mice. The XM8 only comes in black with, faux chrome accents but does have an RGB controller to change the accents on scroll wheel, DPI level and XSoul logo on the palm rest. These color by default are tied into a certain DPI setting, which can be adjusted in the included software.
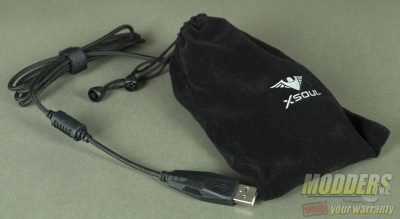
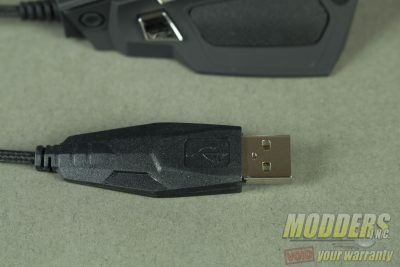
It was good to see that XSoul used a braided cable, which personally I like to see on peripherals as the braid is less susceptible to tearing and drying out like the silicone/rubber counterparts. It was not listed on any of the specifications that I could find for the mouse, but as far as I can tell the XM8 uses a standard USB 2.0 plug as its interface.
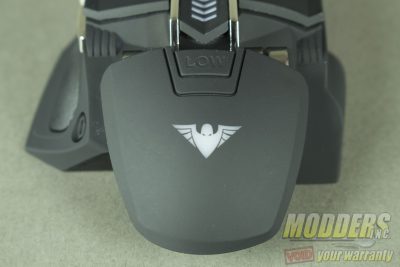
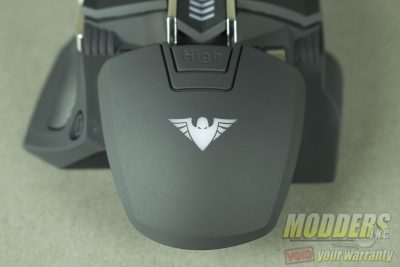
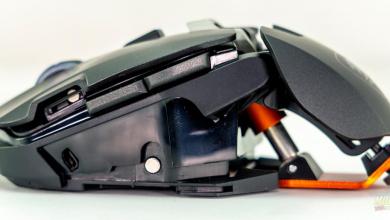
Unlike the Ouroboros which uses a dial to tilt the palm rest to the desired angle, the XM8 has two palm rest marked, “high and low” that snap in place and are held by a magnet. I was disappointed to see that only the top of the palm rest are painted, a pattern that was carried over to the rest of the mouse, where a bare plastic underbelly was present.
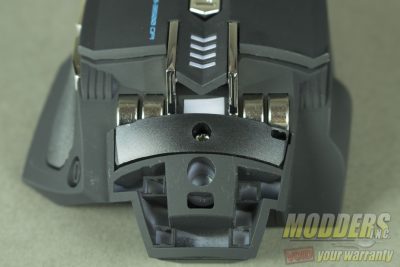
Once the palm rest have been removed, the first set of weights can be seen. Unsure if these were the raw polished finish or a faux chroming, I opted to leave these in place to avoid the possibility of blemishing the weights. Again we can see where the mouse was only partially painted, and the natural color of the casting can be seen.
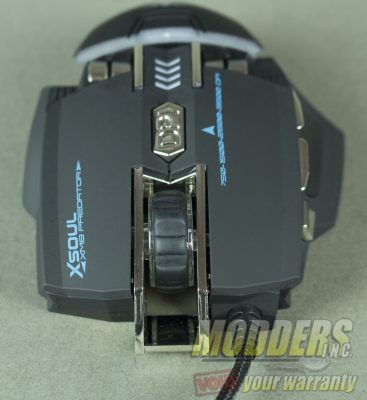
Moving up the mouse, in the center is the DPI button, which is labeled with “DPI” on the button itself as well as an arrow that reads (750-1500-2500-3500 DPI.) For those unaware of what DPI or (dots per inch), is how the user can adjust if they want their mouse to fly across the screen or be slow and steady for when precision is needed. The lower the number the slower the mouse will travel. The scroll wheel has a gripped center, with a clear body that will illuminate base on your DPI setting or color chosen in the included software. As a secondary function, the scroll wheel can also be used to a third click button.
On the left side of the XM8, are three faux chrome buttons and a grip pad for the users thumb. The button closest to the front of the mouse is dubbed as the “fire” button, I have seen a similar feature on mice from Cougar with their “sniper” button. This button is supposed to be better for use when the player needs a precision shot, personally just like other mice with that feature, it seemed more of a gimmick than feature. The two buttons directly behind it are the forward and backward button, these are better placed on the XM8, than other mice I have tested where accidental presses were common. I did not have that problem with the XM8 and the buttons were easily reachable when I actually needed to use them. I did have an issue with the grip pad though, as I found my thumb sliding a lot, due to the orientation of the lines on the pad. A crosshatch pattern or horizontal pattern would have been much better in my opinion.
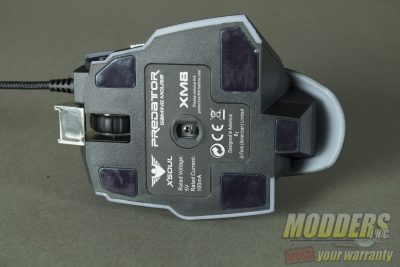
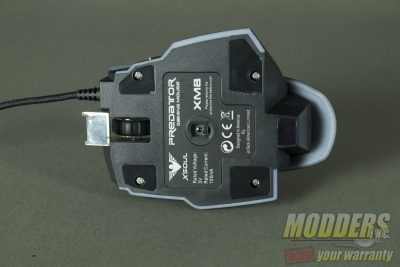
Moving to the underside, the XM8 comes with five Teflon pads, as well the product label with a few specifications listed. You can see around the perimeter of the mouse the bare cast plastic makes its presence again.
Disassembly and Internal Components
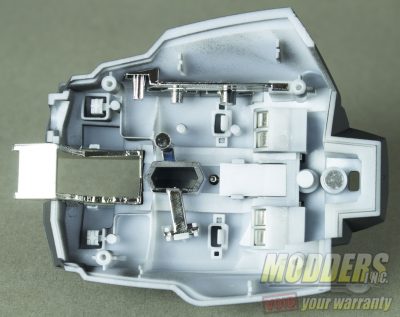
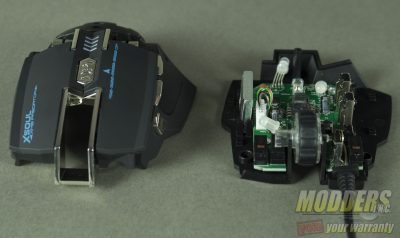
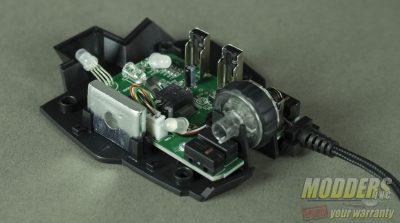
Disassembly for the XM8 is very simple, after removing the four Teflon pads, unscrew the four screws using a phillips head screwdriver. There are no clips that hold the two sections together, a firm tug will separate the two pieces. As can be seen in the picture below the top piece of the mouse is just a shell, and there are no ribbon cables that attach to the PCB below.
Inside the top shell we can see where the faux chrome buttons and trim are attached as well as the magnet for the palm rest and weights.
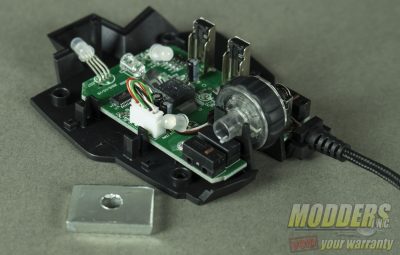
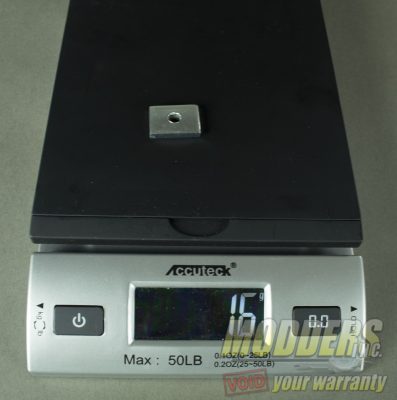
One more weight can be found internally, which is wedged in placed to the left of the PCB. The weight comes in at 16g, and although XSoul does not include a heavier weight, after market users could either opt to remove the weight or replace it with a heavier piece. Doing so would void your warranty of course, but that is what Modders-Inc is all about.
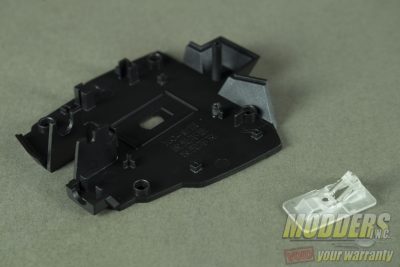
The bottom shell of the mouse, holds the PCB, sensor bracket, scroll wheel and pass through grommet for the USB cable. The PCB can be removed by removing four Phillips head screws, careful when pulling the PCB from the sled as the sensor bracket is not fixed to the bottom shell.
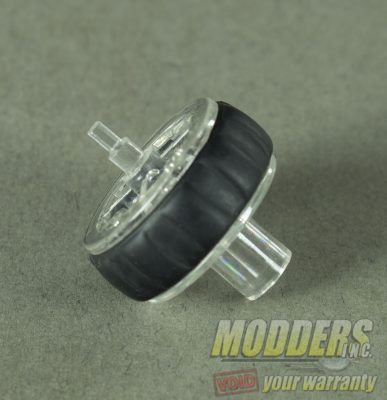
To remove the scroll wheel, lift up on the left side of the wheel and pull to the left. The right side of the wheel is keyed as well. The inner core of the scroll wheel is completely clear allowing for it to illuminate.
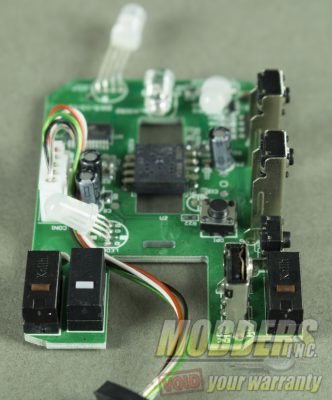
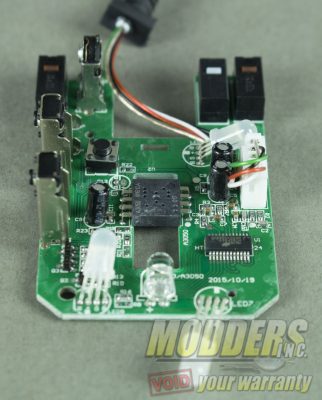
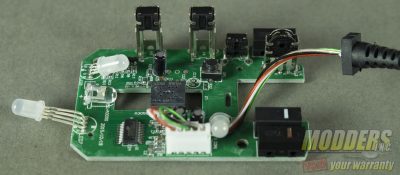
Moving to the heart and soul of the mouse, the XM8 is equipped with a A3050 N1610A 017 infrared wave sensor, dual Kailh brown switches for the right and left mouse buttons and a single Kailh white switch for the scroll wheel. For the DPI, quick access and “fire” buttons located on the top center and left side of the mouse, simple push button style switches are used.
To illuminate the mouse a total of four tradition LED are used. These cover the scroll wheel, palm rest and DPI button area. Because the LEDs are not attached to the areas they are illuminating, the glow is rather soft, verses mice that use ribbon, or surface based LEDs.
The mouse is connected to the PCB via a removable connector. I have opted not to remove the connector as a precautionary measure, just in case one of the small and delicate wire might be damaged.
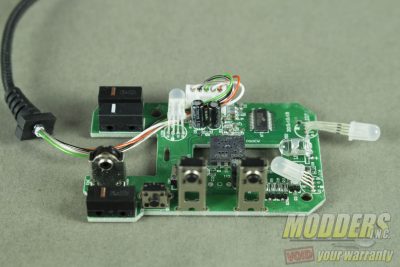
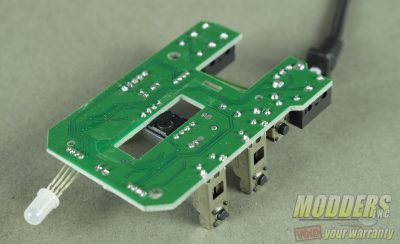
Turning the PCB over, shows that much care was taken when the components and switches were soldered to the PCB. This is always refreshing to see as it shows a higher level of professionalism. Another relief was the lack of hot glue that is often generously applied to components and overall looks very sloppy.
