Xigmatek Elysium Super Tower Computer Case
Installation |
|
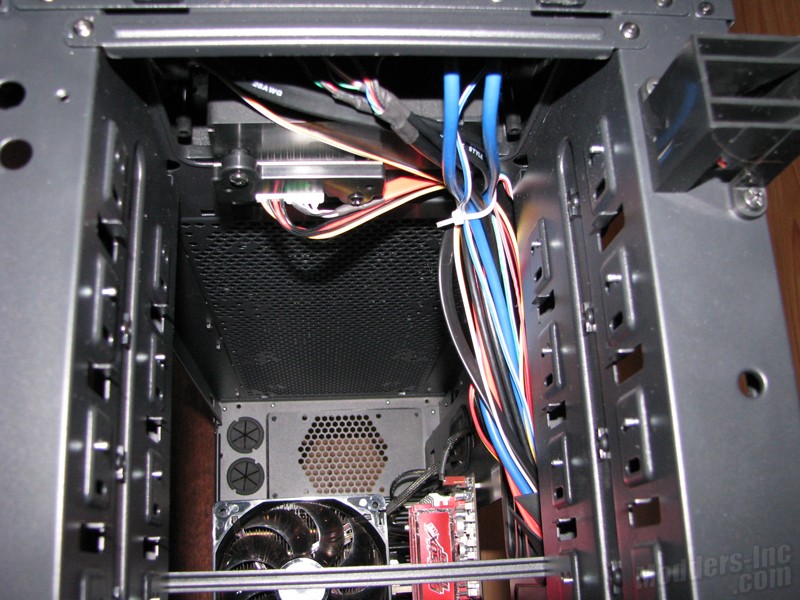
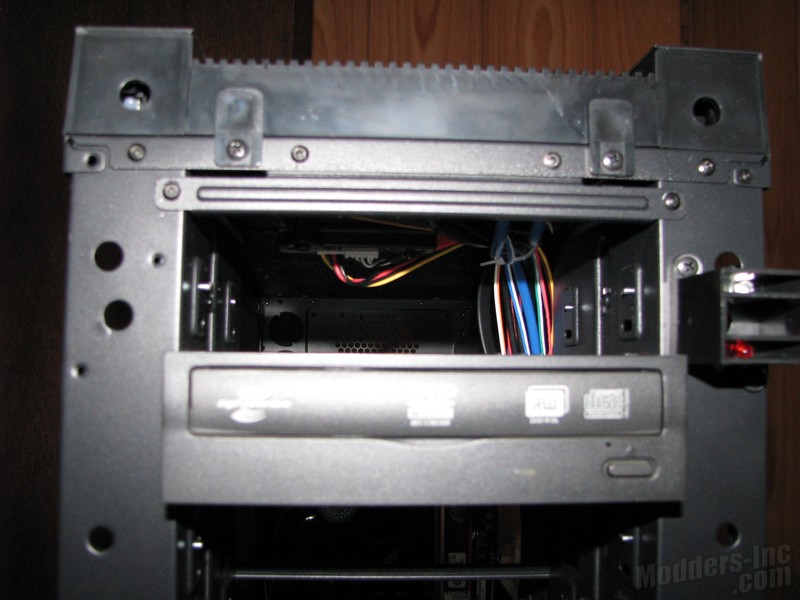
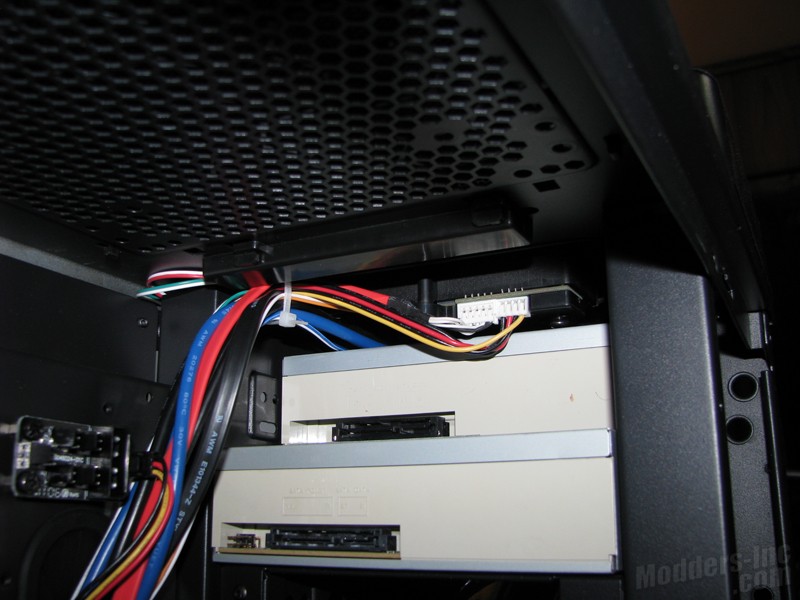
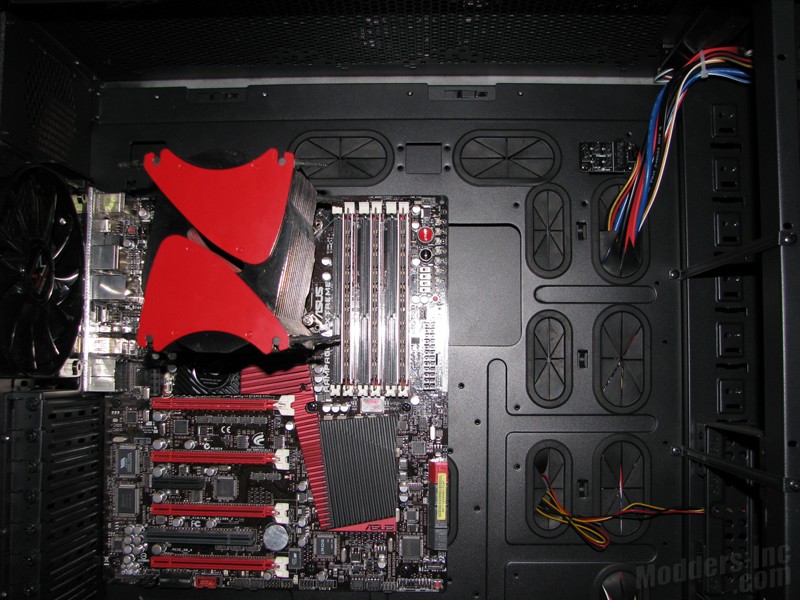
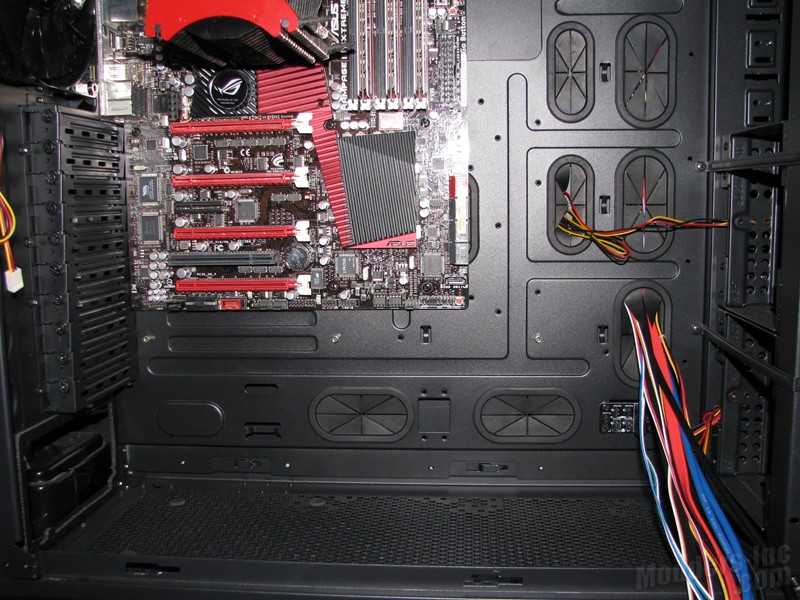
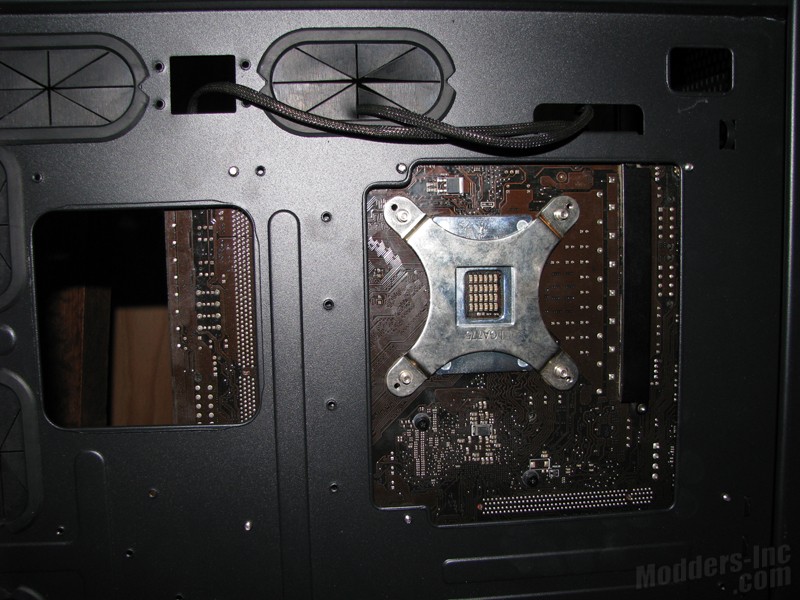
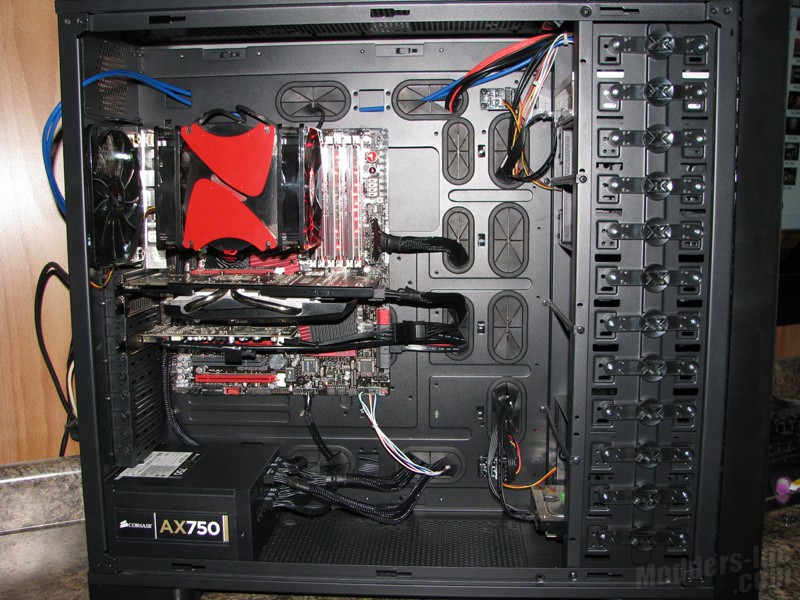
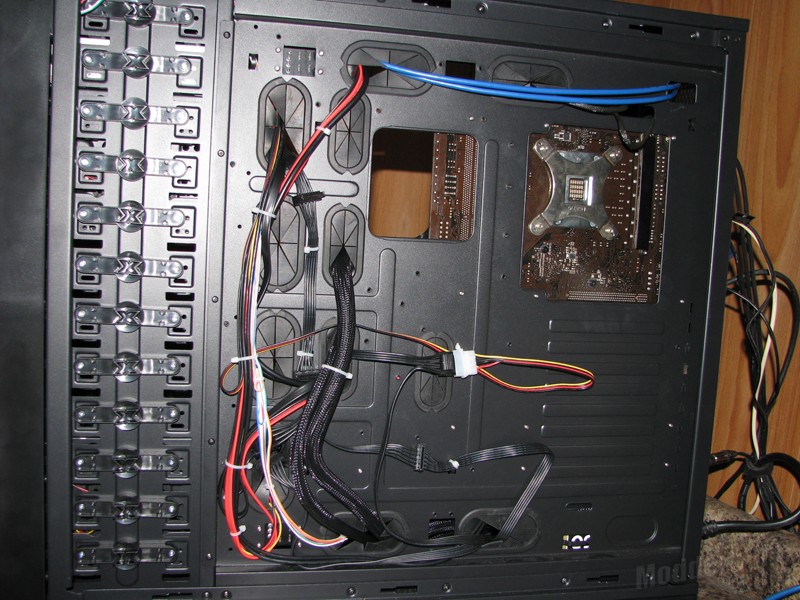
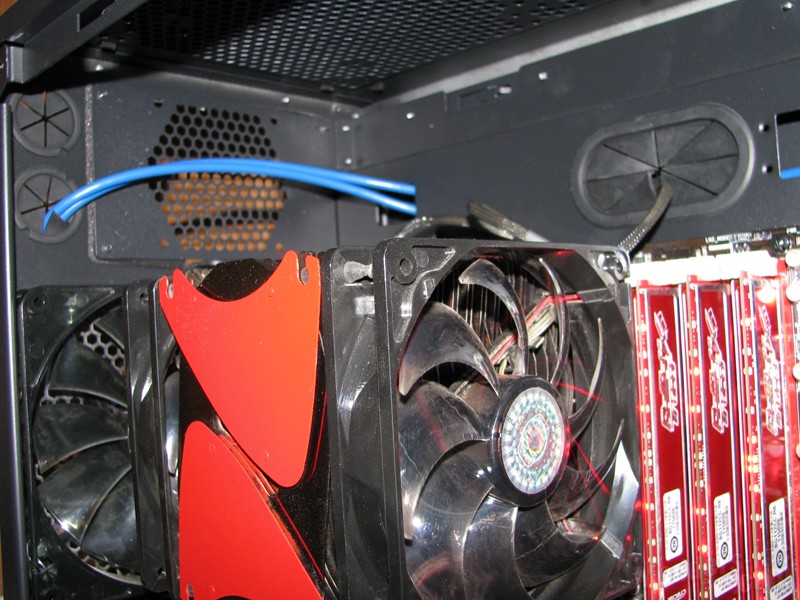
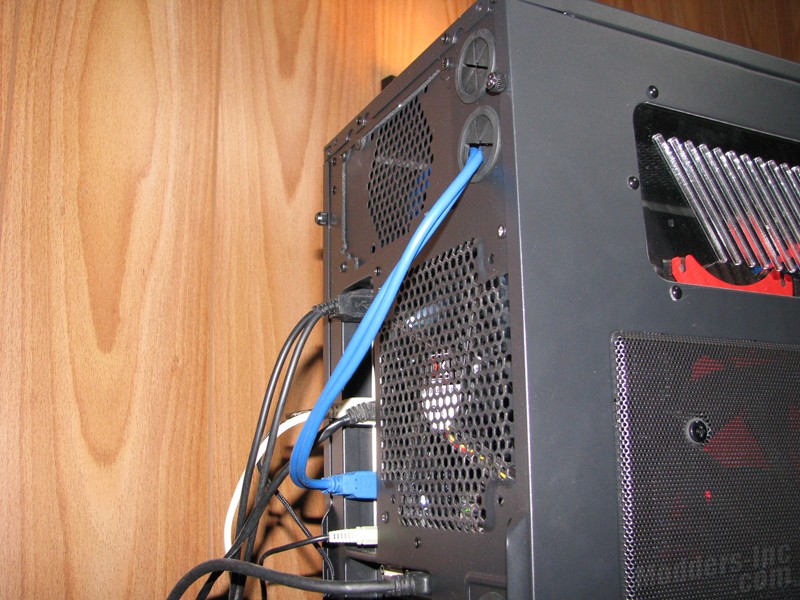
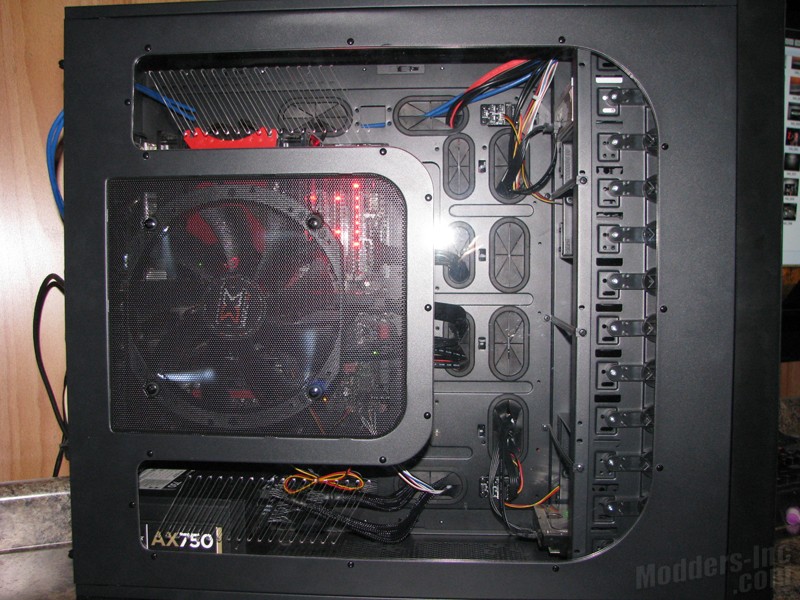
For the installation process we start off with the optical drive. I normally install my optical drive in the top most drive bay. In the Elysium, I noticed that things are pretty snug in the top slot with the docking station in the top. Looking at the images above you can see how the connectors stick down considerably. Although with a little finesse the drive would have slid all the way in, I just didn’t want to apply to much pressure to the connectors. Kind of surprised they didn’t going with right angle connectors for this in the first place. The hardware I am using for the installation is an Asus Rampage III Extreme motherboard, Core i7 920 CPU, the Xigmatek Thor’s Hammer CPU cooler, an Asus 5850 Direct CU video card, 3 x 2GB Ballistix Tracer Red modules with LED’s, an Asus Xonar DX sound card, Lite-On DVD drive, a Corsair AX750 PSU, and a Western Digital 500GB hard drive. Above we can see the Asus Rampage III Extreme, CPU and Cooler installed. Man, I could almost put two of them in there. Here we can see the openings for installing the CPU cooler retention brackets. With everything installed, there is still plenty of room left for more goodies. Cable routing was simple in the Elysium with all its cable routing options that are provided. The USB 3.0 ports on the front panel are feed out to two cables that require you to route them through the case and out to the back of the motherboard. As you can see in the above shots. I slipped them out one of the seven water cooling hose grommets. Once everything is installed, the Elysium is a very quiet setup. I’m using the stock fan configuration without any addition fans (2 x 120mm front, 1 x 200mm side, 1 x 140mm rear. I tend to be very picky at times on things. One area is side fans, I hate having to reach in and plug/unplug a fan to remove or install a side panel. I really wish manufactures would use some sort of contact pad for side panel fans. I know I’ve seen a few companies do it in the past. |
