In Win 707 Full Tower Case Review
Hardware Installation and Clearance Issues
Drive mounting
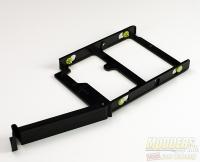
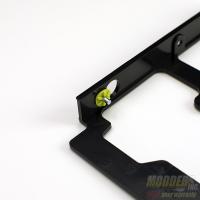
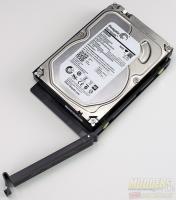
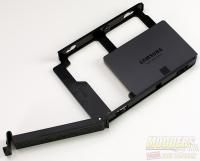
Mounting the drives in the caddies is pretty easy. The caddies support both 3.5″ and 2.5″ drives. To install 3.5″ drives simply align the pins with the screw holes on the side of the drive and snap into place. For 2.5″ drives, you’ll need to align the screws holes on the bottom of the drive with the corresponding holes at the back of the bracket.
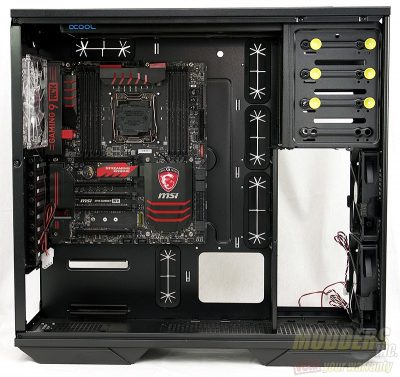
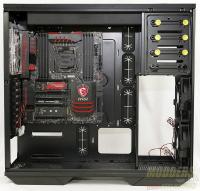
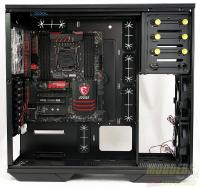
The In Win 707 is a full tower case and supports EATX motherboards. I chose to use the MSI X99A Gaming 9 ACK for the install in this case. Installing the stand offs was easy and the included socket adapter allows you to tighten the stand offs with a phillips #2 screw driver.
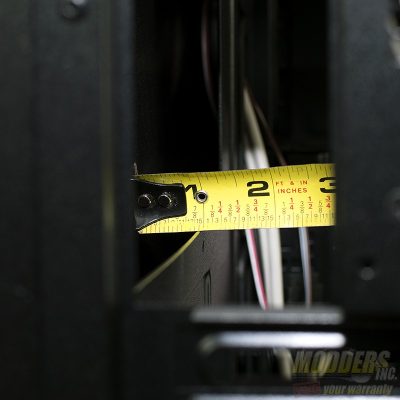
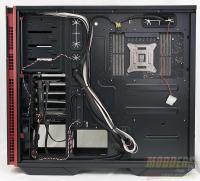
The space between the back side of the motherboard tray and the back case panel measures just shy of 1″ at 7/8″. This space is large enough to allow for some good looking cable management.
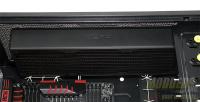
In Win claims the 707 can support a 360mm radiator up to with a maximum thickness of 64mm. I have installed the XSPC RX360 V3. The overall thickness of the RX360 is 56mm which is just under what In Win says will fit. Installation may be a little tight depending on your motherboard and fans when using a thick radiator.
The next radiator that I installed was the Alphacool NexXxos ST30 360mm. The thickness of this radiator is 30mm. Again, depending on your fans and motherboard will determine how much clearance you have for cabling, etc.
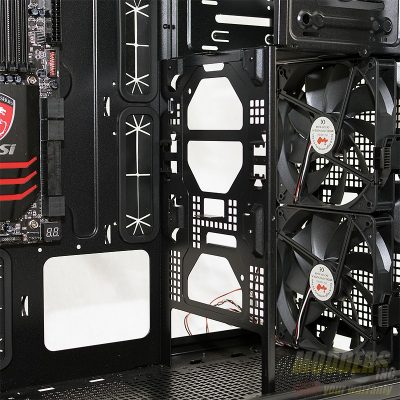
After the radiators were mounted, I was looking for a spot to mount the Photon 120mm reservoir and pump. I actually liked the bracket pictured below. In stock form, this bracket holds an additional 120mm or 140mm fan. If I am going to mount the res/pump here, there are two tabs that need to be cut off so the res can flush mount here. Another option is to drill out the four rivets that hold this piece in and fabricate a custom mount.
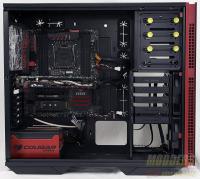
Overall installation was pretty standard. There wasn’t much I had to fight with to get the hardware installed. The back side of the motherboard tray provides a few areas to secure zip ties to the tray. There are quite a few options to get the cables from one side to the other. Most have grommets installed. In its stock form, cable management isn’t bad, but the included fans can leave a little room for improvement.






Recently purchased one of these cases 2nd hand – can you replace the rear exhaust fan with a Corsair LL series fan for example?
James, yes you can. You can swap out the 140mm fan for any fan.