PC Gaming Headphones / AudioPC Hardware Reviews
Tritton AXPC USB 5.1 Digital Headset
« Page 2 | Page 4 »
Installation |
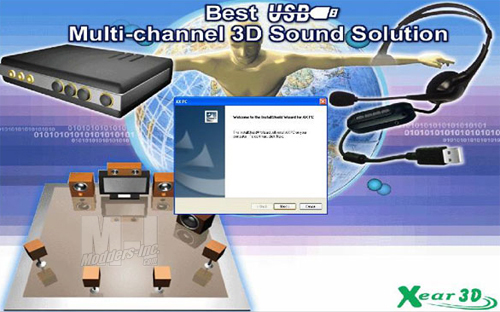
Installation of the Tritton AXPC USB 5.1 Digital Headset is quick and painless. Simply connect the USB plug to your PC , insert the CD and then walk through the on screen instructions for driver installation. For Windows XP users, the drivers on the provided CD are fine. For Windows Vista users, I would check Tritton’s website to see if they have updated their Beta driver or released a full version (as of this review the current Vista driver is Beta 8.17.02 dated on April 23, 2007). I will discuss the driver a little later on. The below screens are all from the Windows XP side (Vista is a little different).
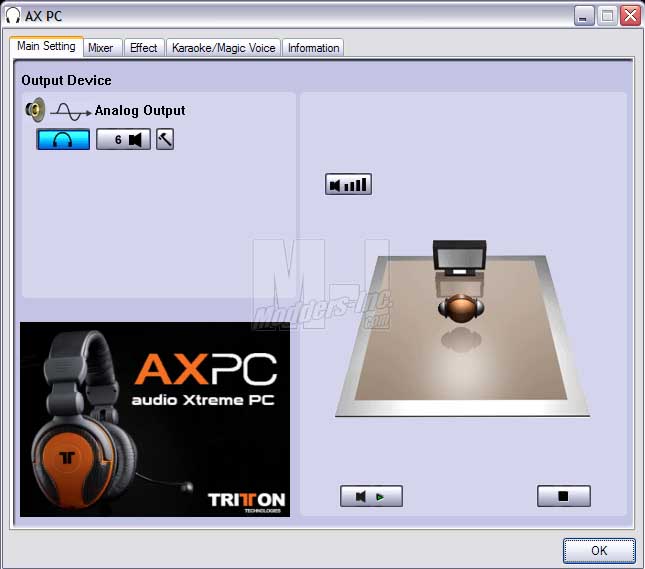
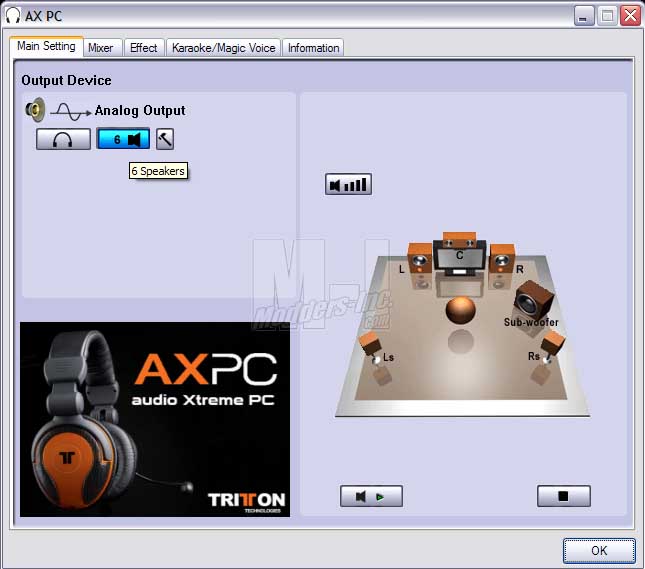
Once the software is installed you will notice a small white icon with a set of headphones on it in the lower right section of your taskbar. This is the AXPC software, simply click on it to bring up the main screen. The first tab is the Main Settings tab, on it you will find the Analog Output options (Earphone, 6 Speakers, and Advance Options).
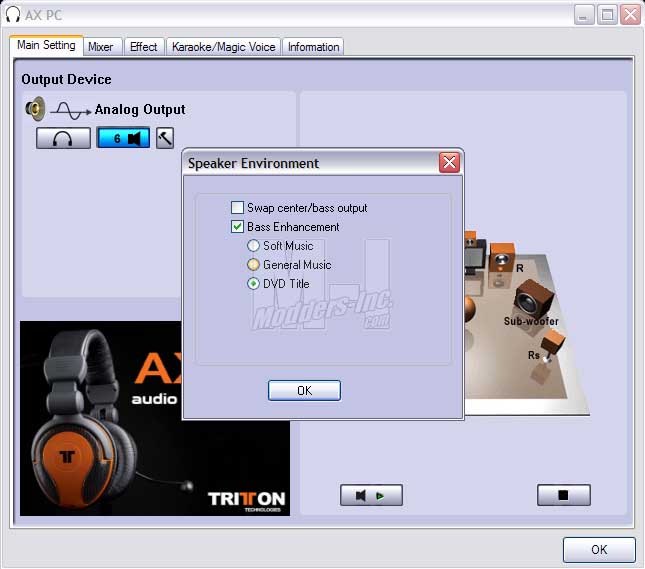
To achieve the surround sound you will of course need to select “6 Speakers”. If you’re thinking “why 6 speakers when I have 8”. The software treats the Center channel and Subwoofer channel as individual speakers (although the headset has two of each). This simply means that the Center and Sub channels are going to receive the same signal on the right and left channels. If you want to enhance the bass or swap the center and bass output channels. Click the small hammer button that is beside the 6 Speaker button.
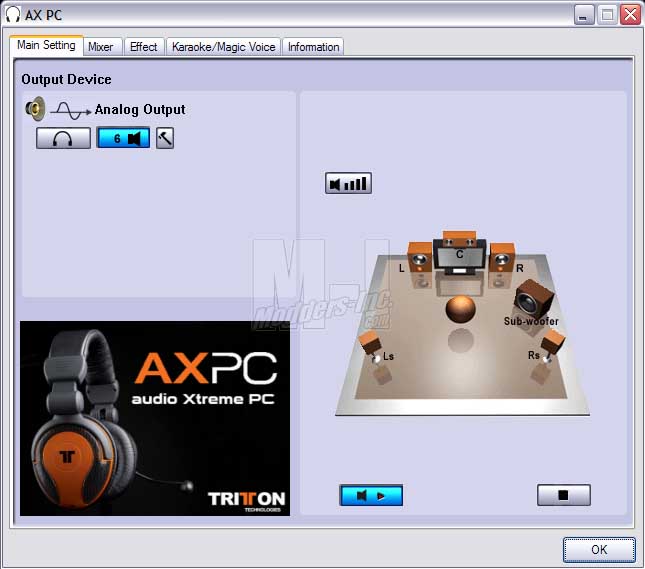
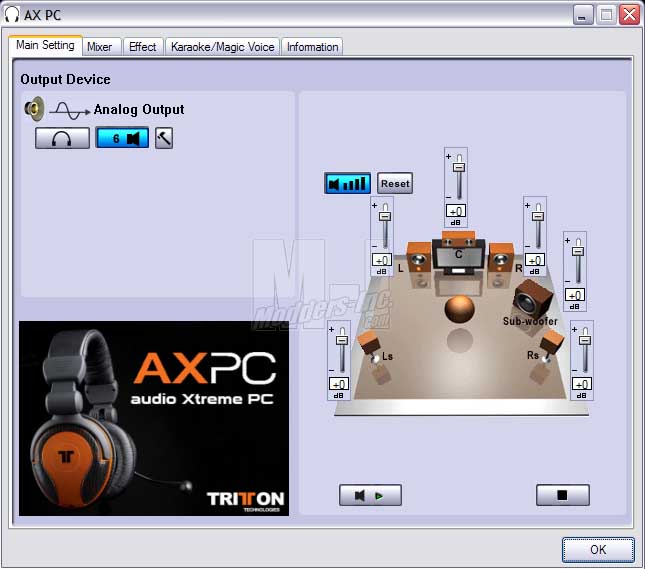
Once you have those selections out of the way we can move on to testing the headset. Clicking the little speaker / play button (lower left side of the right section) will allow the software to visually and audibly indicate which speaker is which. It would be nice if the voices you hear were all recorded at the same levels, you could easily adjust the AXPC’s in audio controller volume levels, but thats not the case here. You can get it close , but you will find yourself readjusting it once you play something across the headphones that is more to what your going to normally listen to. Clicking the speaker button with the graph (top left of the right section) will bring up volume adjustments for each of the speakers. Default should be good for most everyone, however some might want to tweak the volumes here a little though.
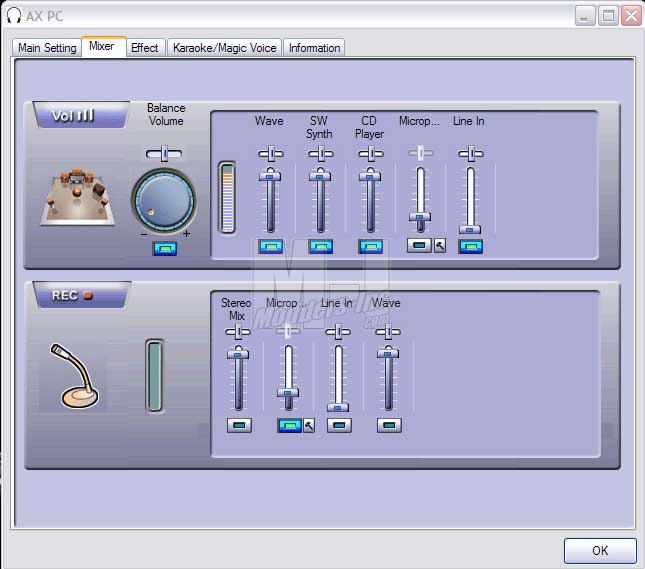
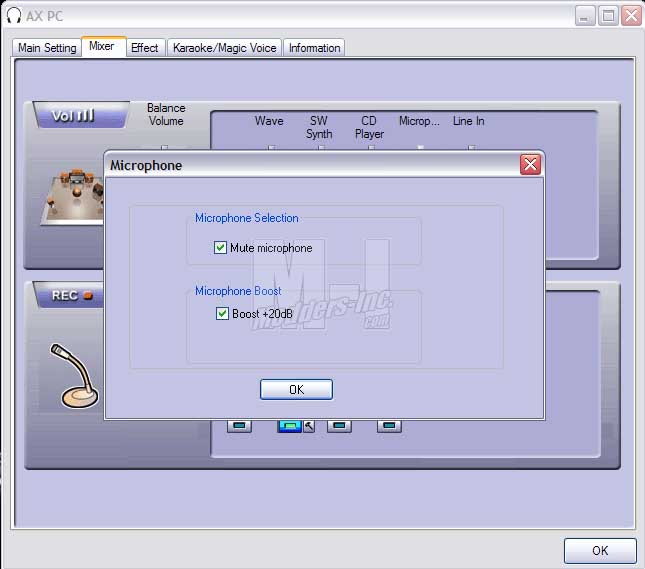
Next up we have the Mixer Tab. Here we are able to adjust the main sound volume, and individual device volumes. The top section is the Playback side while the lower is the Record side. On the playback side I tend to set all the input volumes at approximately 90% and then mute the microphone so I do not hear anything coming back through the headphones. Clicking the little hammer button next to either of the microphone sliders will bring up a small window that lets you activate the microphone boost (the standard +20%). Of course you will need to either record something across the microphone or hop in a VoIP application or chat software to adjust your microphone levels (you can use sound recorder, although its not the best choice). I normally run the volume with the boost activated and then dial it down as far as I can.
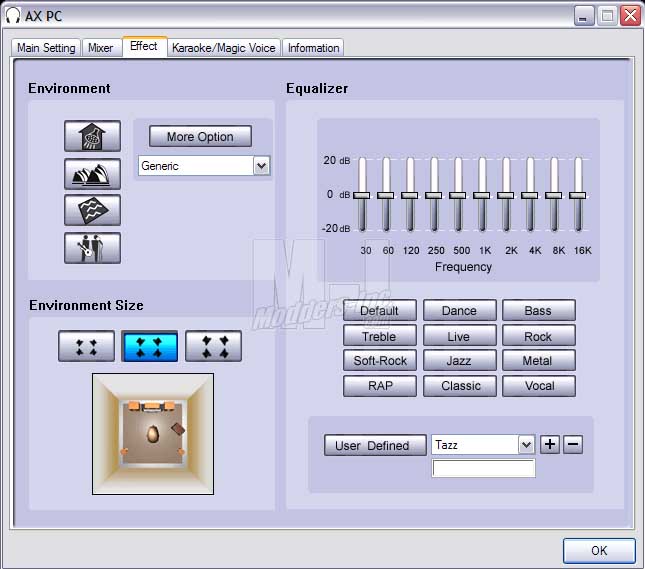
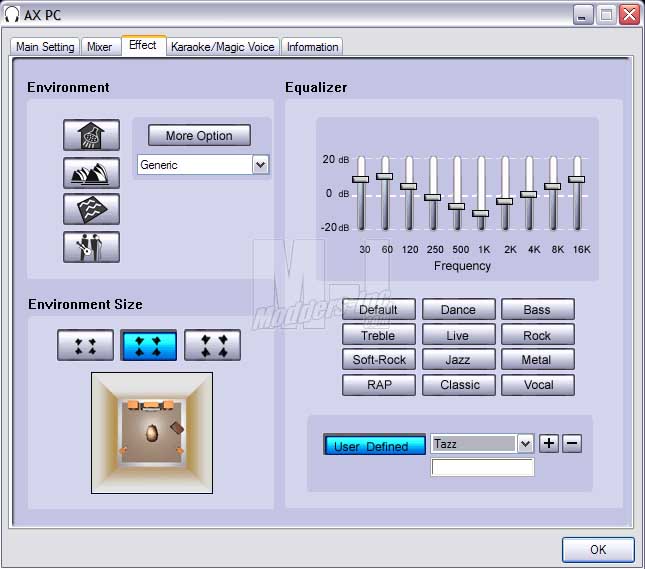
Next up we have the Effects Tab. Here we have the ability to adjust the environment aspect as well as use the equalizer, or select one of the preset settings.
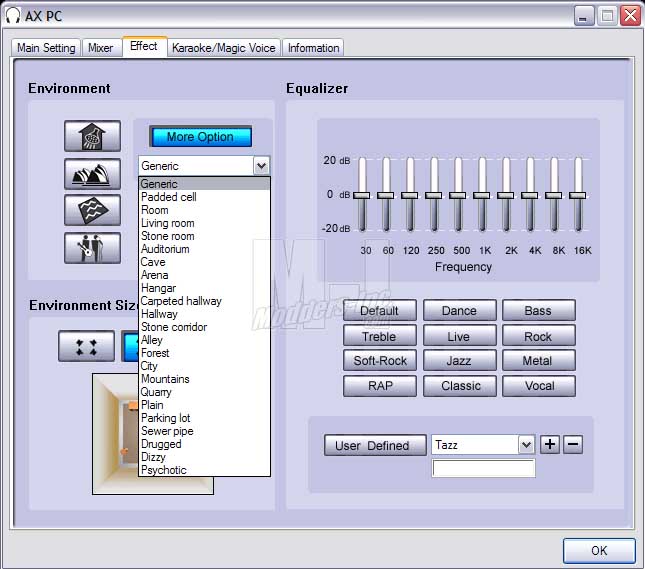
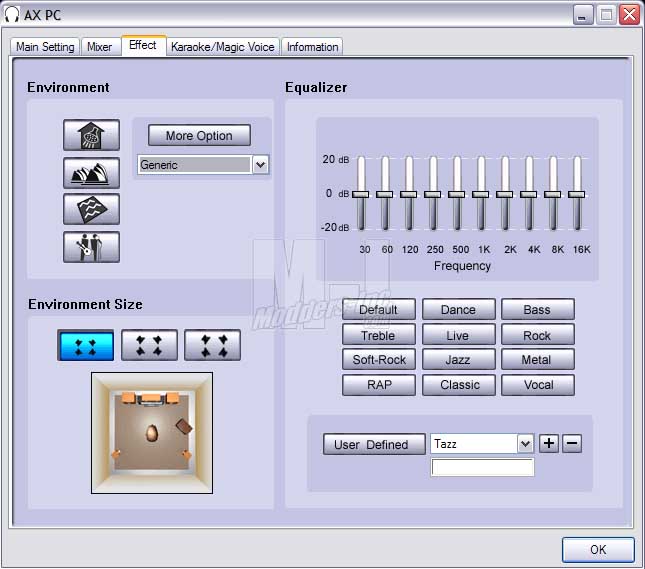
The top left section lets you adjust the main environment type. Selecting the More Option button will allow you to use one of the presets from the drop down list. Below that we have the environment size (room size) options. Simply choose the one that sounds best to you.
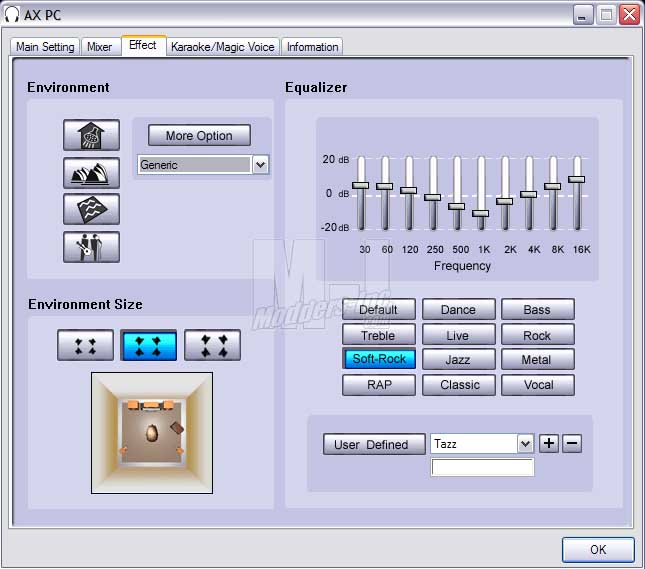
On the right side of the screen we have the most common option that everyone looks for, the equalizer settings. Here you can select one of the 16 preset buttons or if your like me, you can adjust the EQ to your desired levels. Normally I start from the Soft Rock setting and add just a tad more bass on the last three hertz sliders. Once you adjust the sliders you can type in a name at the lower section and hit the + button to save it as your own preset. Selecting one from the drop down and hitting the – will delete it.
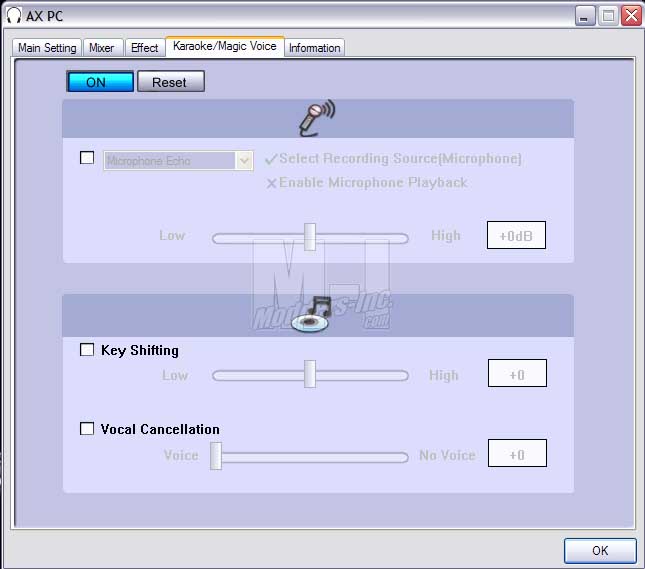
Here we have the Karaoke/Magic Voice Tab. Although I don’t these settings useful I guess some people might enjoy playing around with them. OK, the first section is for the microphone options. You can choose between an echo effect or the magic voice. I did a couple of quick recordings to show the effects. Here is the Echo file that I created. Once you get the dB’s set to the higher side of the scale it starts distorting a bit. The Magic Voice is not to bad. I am sure some will get a kick out of it. The only thing I really don’t like about either of the settings is the fact that once activated it turns on the mic for the playback side and you can hear yourself while your trying to talk. This tends to mess up some people causing them to pause, while waiting for their voice to clear.
Next we have the Key Shifting option. The key shifting allows you to speed up or slow down something your listening to. Kind of like playing the old LP’s at the slow setting, although it’s not as effective. The Voice Cancellation option is meant to hide the vocals in a song. In a real a quality audio application you would simply remove that track. Software like this simulates it by simply blocking a certain range of frequencies from being heard. If all vocals where recorded in this range it wouldn’t be to bad. Unfortunately the vocals span a larger spread of frequencies than what this software is controlling.
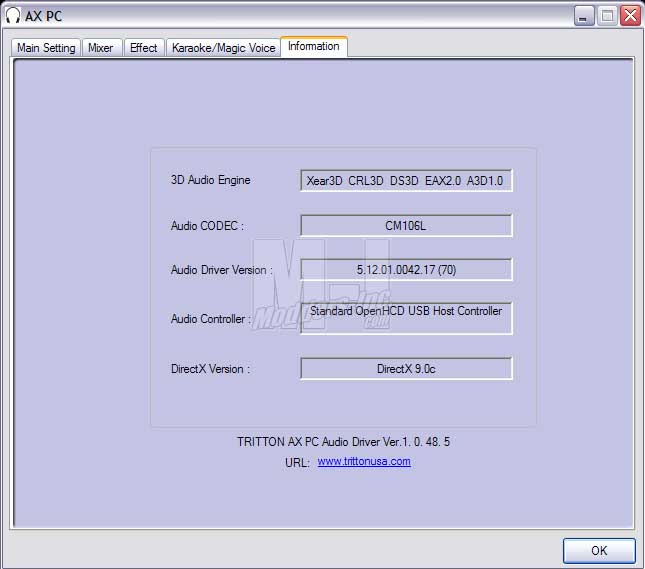
The last tab is the Information Tab. This gives you the basic information on the software. Also included on the CD is an application called Helicopter and a game called Rockwar. Helicopter will allow you to test the surround sounds effectiveness and adjust your settings. You can make the helicopter stationary and move around it, as well as have it fly around the radar, while you move around. Rockwar is an asteroids like game that is meant to show how the you can take advantage of the positional sounds in games.
|
