Titan Fenrir TTC-NK85TZ CPU Cooler
Installation
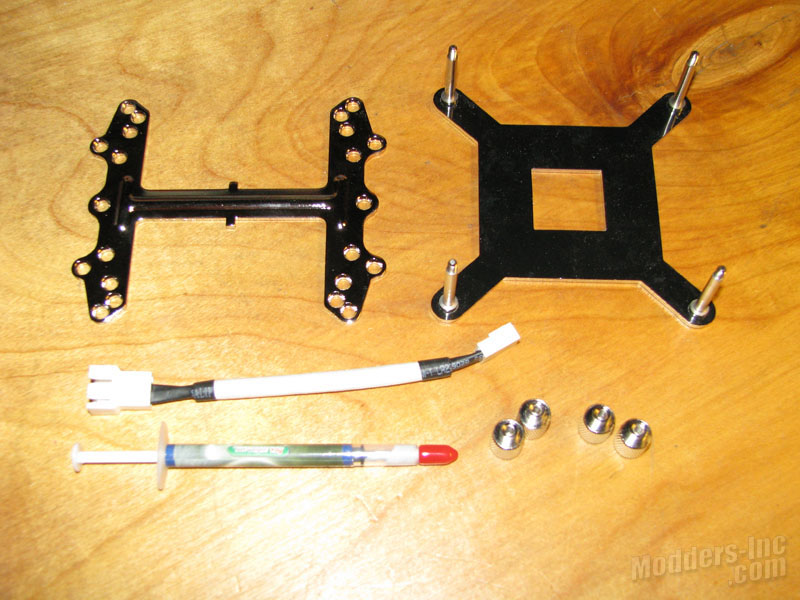 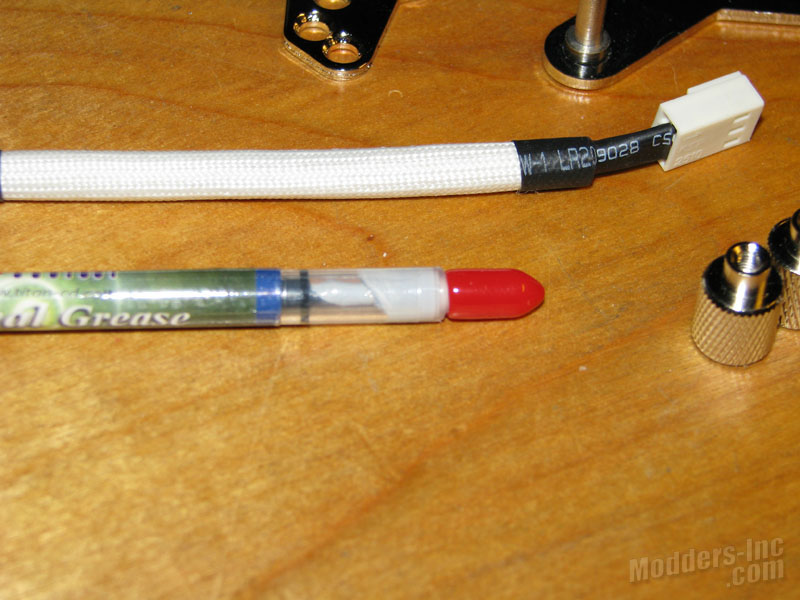 To start off the installation process we want to lay out our components that we are going to be using as well as our tools. The above images show the upper and lower Intel mounting brackets, the fan adapter wire, the four thumb nuts, and the thermal paste. Ok, you ready for my first major complaint? This isn’t directed directly at Titan but instead all manufactures. We tend to change hardware more than most consumers. If you really want us to use your thermal compounds that you supply with the coolers. Offer us a little more than just one installations worth of compound. Especially looking at this from a first time users point of view. The chances of getting a bad seat on the cooler the first time through is there. Generally the thermal compound supplied is only enough for one installation. If the user fails to get a proper seat on the first go, he/she must pull the cooler and redo the installation. Now they have to either try to reuse whats already on the cooler and the heatspreader, or use an alternative compound. At the least, Titan provided its small amount in a syringe rather than the little bag style like most.
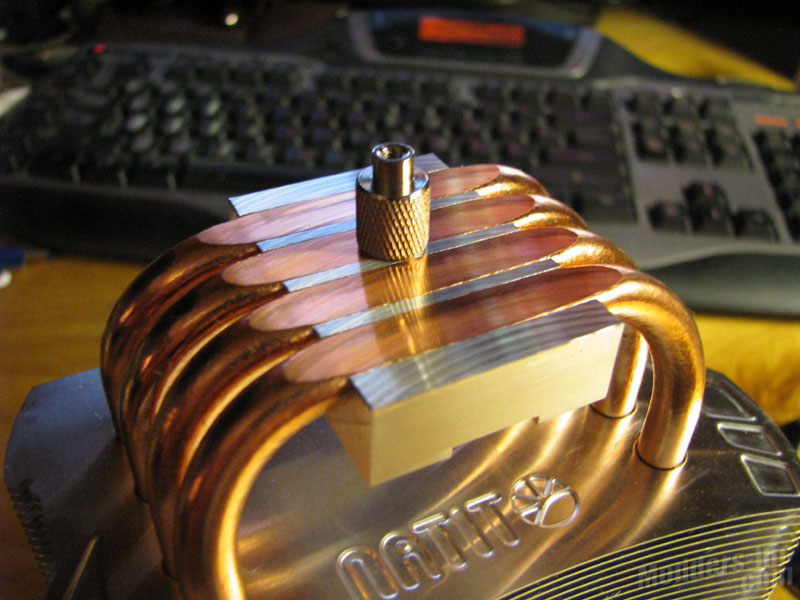 Next we move onto prepping the base of the cooler for installation. This generally requires pealing off a piece of clear plastic that is stuck to the base to protect it. I generally take a soft rag with some alcohol and clean the surface. With the HDT style coolers you will want to make sure you don’t allow the rag to snag on the sharp edges between the pipes. A lump of material from the rag might not help your chances at getting a proper seat on the installation. Looking at the above image, we can easily see the milling marks on the aluminum and copper. We also see a bit of discoloration which means that the pipes got a llittle warmer in the darker spots. As the pipes are ground heat is generated which causes the pipe to expand a bit. If you put this under the scope I would bet that the darker spots are just a little lower than the rest. To the touch and straight edge approach the differences would be small enough that you wouldn’t see it.
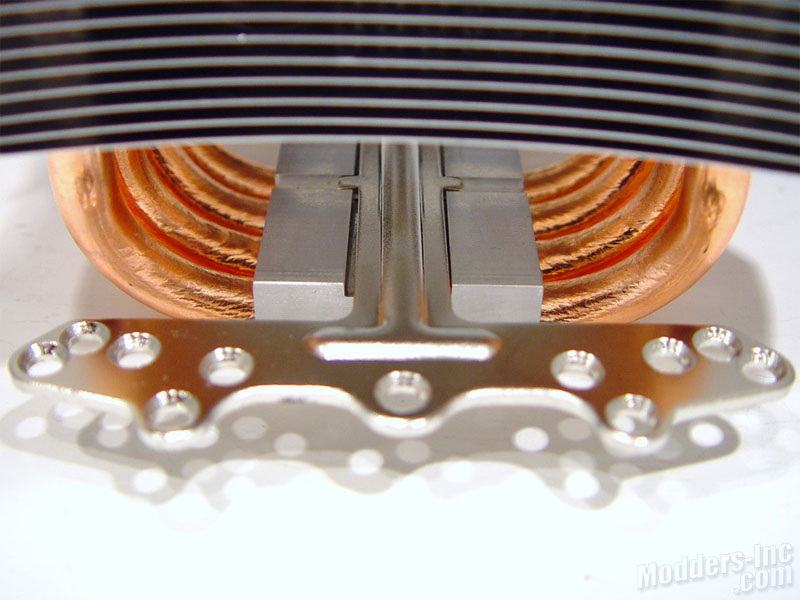 I also take a second to make sure the upper mounting bracket aligns correctly in the grove of the base. Normally you won’t find any problems here. I did notice that it was a snug fit slipping this bracket in between the heatpipes. I suggest that you slip this through the cooler before you attempt to install the cooler. On some motherboard you won’t have enough room once the cooler is sitting on the heat spreader. Once you’re ready you will want to apply your thermal compound. Now I normally apply the compound to the CPU heat spreader. However, with the HDT style coolers, I tend to apply it directly over the heat pipes. I run a small thin line right down the center of each pipe. This of course uses a tad more compound but it allows extra material to help fill the gaps between the copper pipes and the aluminum base.
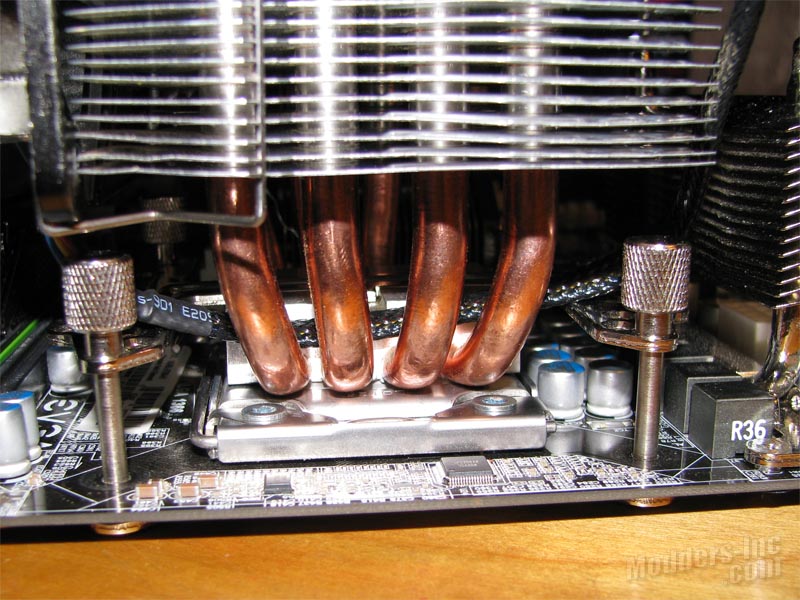 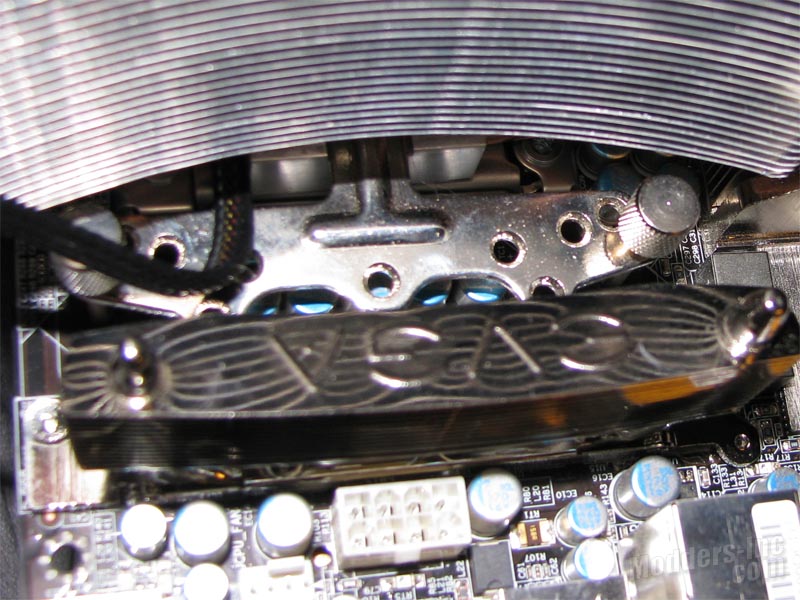 The next step is placing the lower bracket under the motherboard aligning the studs with the four holes in the motherboard. You will then gently lower the cooler over the CPU and align the upper bracket with the lower bracket making sure that the notch on the aluminum base lines up with the upper bracket. Now like this EVGA X58 board, some motherboards might make installation a challenge. With the cooler seated on the CPU and the upper bracket in place, you will want to loosely tighten the thumb nuts over the studs. Once I have the four of them snug, I grab the top of the cooler and give it a few light twists back and forth to help spread the compound. I then follow this up by tightening the four nuts. As you can see by the above images, this can be challenging. Just take your time and you should have no major problems. 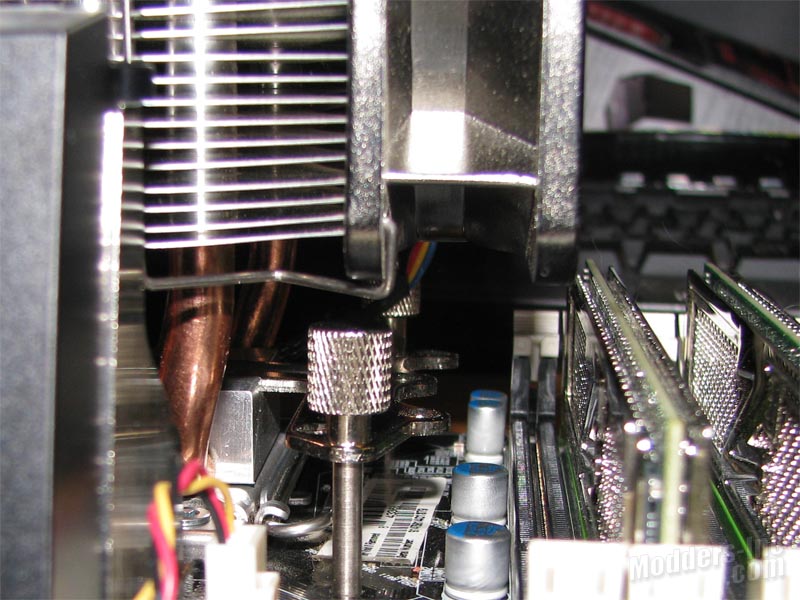 You will have to figure out if you have enough room before hand to install the fan. With the EVGA X58 board, I left the fan till last. The lower clip was a challenge to install but was better than trying to tighten the nuts with the fan in the way. Last but not least is plugging in the fan to the CPU header on the motherboard. Now you might find it better to plug this in before you actually seat the cooler depending on where your CPU header is located on the motherboard. |


