Full System Build Part 2
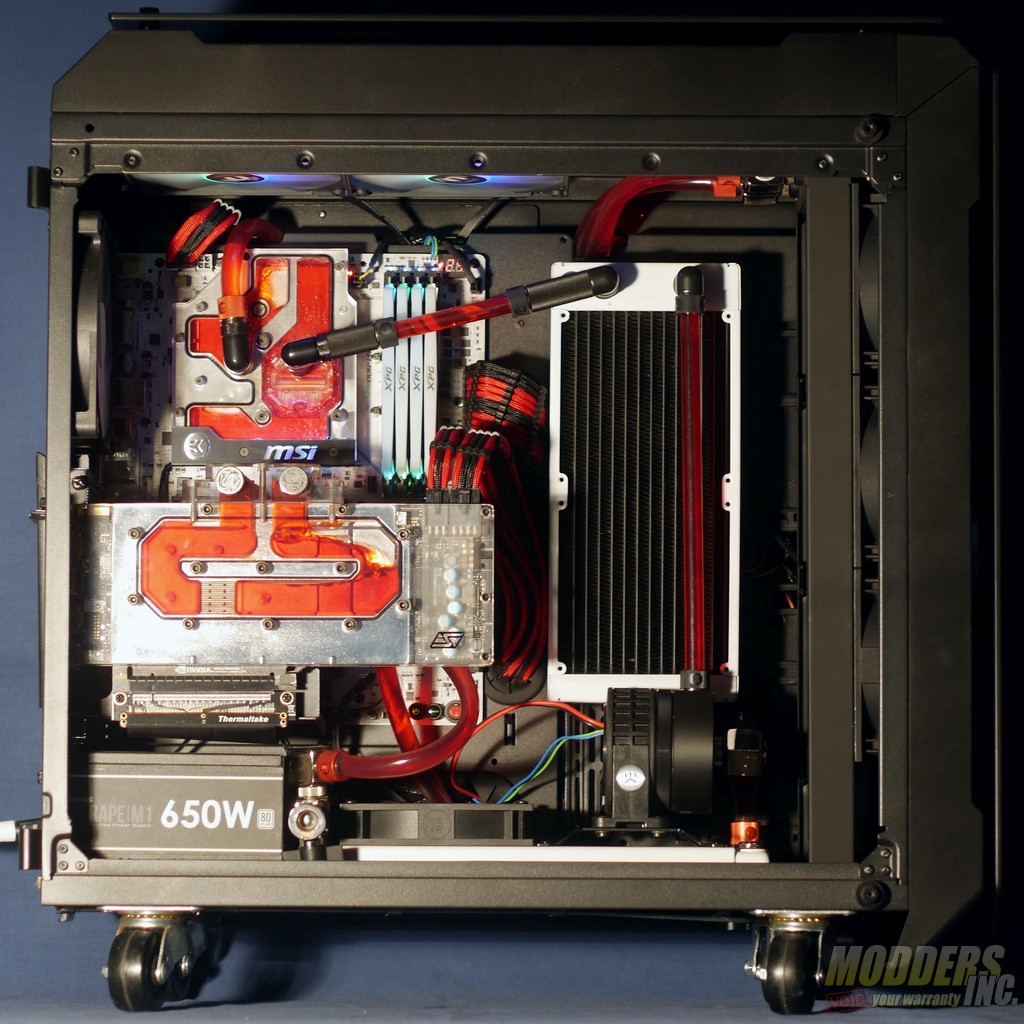
I had initially decided to build just a basic test system in the View 71 for this review, but after much deliberation, I decided to go all out and migrate my entire water-cooled workstation to the View 71.
The parts in my workstation:
| CPU | AMD Ryzen 7 1700 |
| Motherboard | MSI X370 XPower Titanium |
| RAM | XPG D41 DDR4 2666 4x8GB |
| GPU | NVIDIA GTX 1080ti Founders Edition |
| Power Supply | Gamdias Astrape 650W 80+ White |
| Storage | 3x 3.5″ Hard Drive, 1x M.2 NVMe SSD |
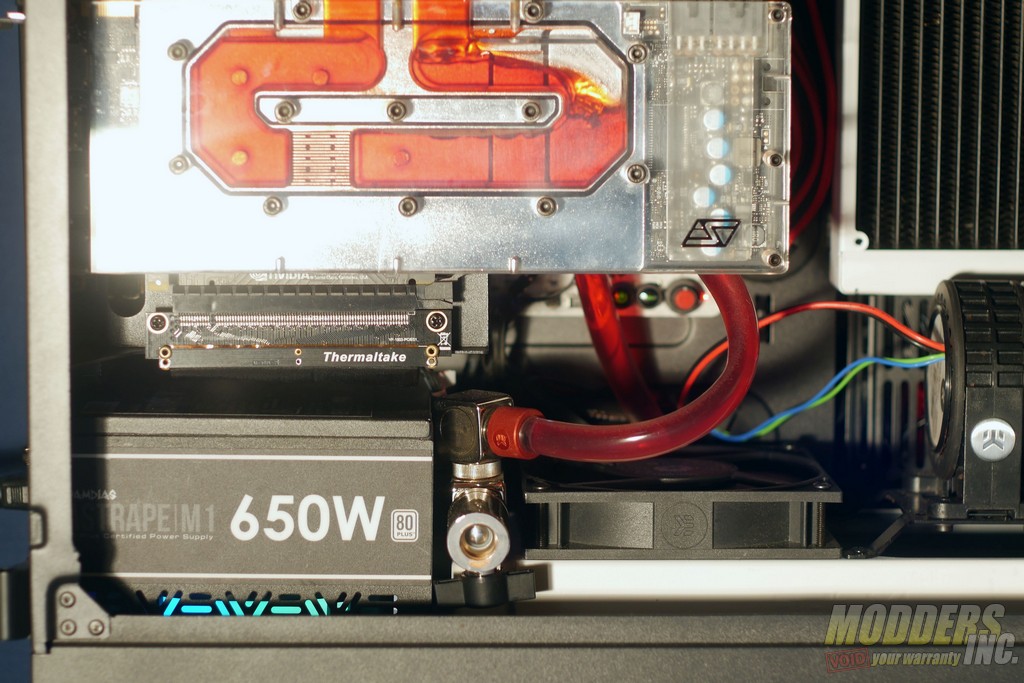
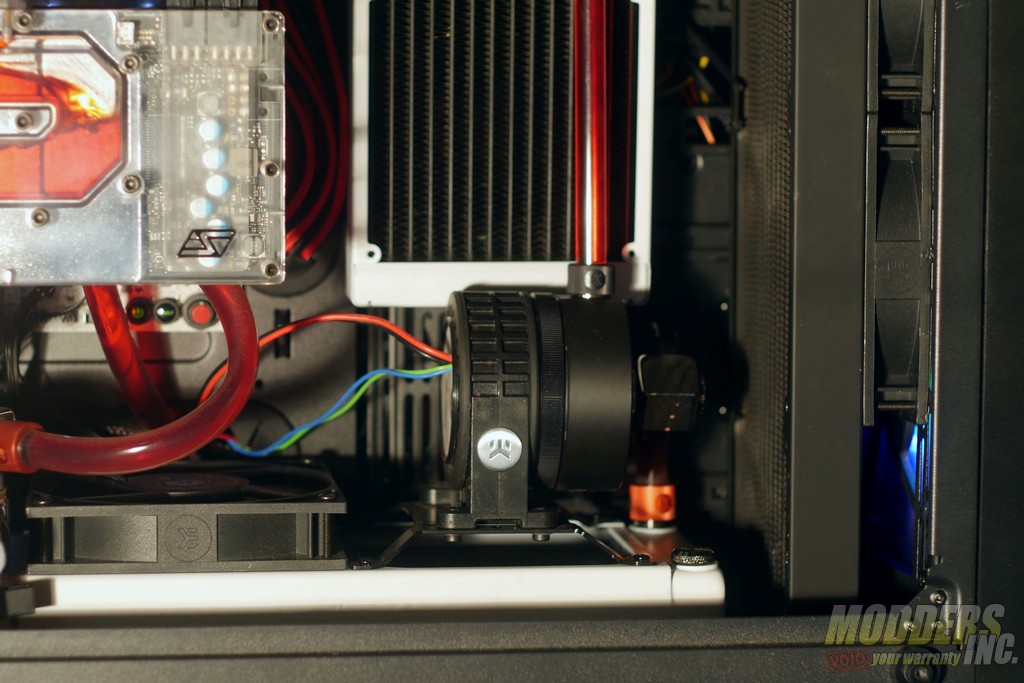
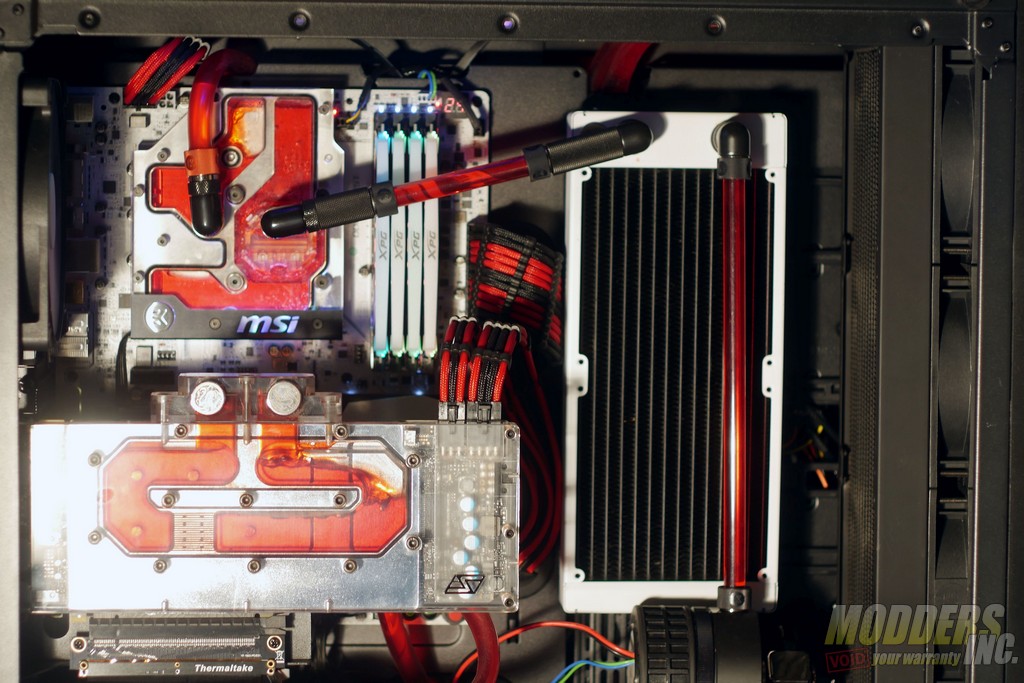
Moving my entire workstation was not something that I did lightly because I had to redesign my cooling loop from scratch to fit the case, and the move took the better part of two days. With that said, building in the View 71 was massively easier than building in the AZZA Zen that I was moving from. Because basically every side of the View 71 is removable, I had virtually unfettered access to the inside of the case. Taking advantage of the abundance of radiator mounting options, I fit a 240 mm radiator to the motherboard tray and a 240 mm radiator in the bottom of the case with a D5 pump on top. I crammed a 480 mm radiator in the front of the case, but doing so required raising the case on casters to get the few millimeters of extra clearance that I needed.
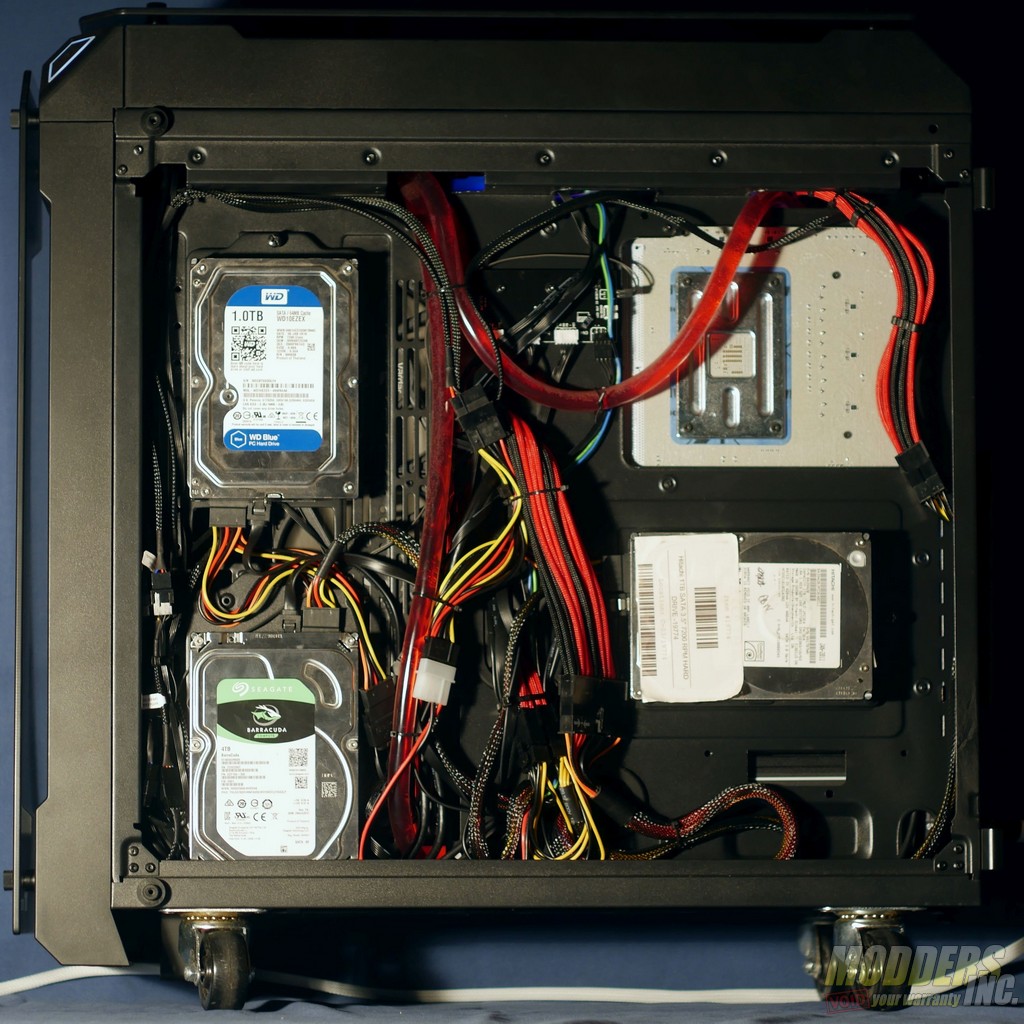
My three hard drives fit perfectly in the back of the case, and the excellent cable management space allowed me to run large sections of my water cooling loop through the back compartment of the case, making for an incredibly clean build. Cable tie-down points were plentiful, and I was easily able to organize my cables into tidy bundles. The one place where I found tie-down points lacking was on the back edge where I ran my 8 pin EPS cable. This wasn’t a big deal, but having a place to tie cables on the back edge of the case would have been nice. You may notice that two of my hard drives are blocking most of the airflow from one of my radiators. While the radiator is offset towards the motherboard enough to allow some air to flow, I did have to sacrifice some of my airflow to fit the hard drives.
All told, the build went quite smoothly and I am quite pleased with the end result.
