Inside the Case
An instruction manual is included with the View 71, but I did not end up using it at all. If you have built in a standard ATX chassis you should feel right at home with the View 71. The case has a spacious and intuitive layout with several modular elements that make re-configuring the case a breeze.
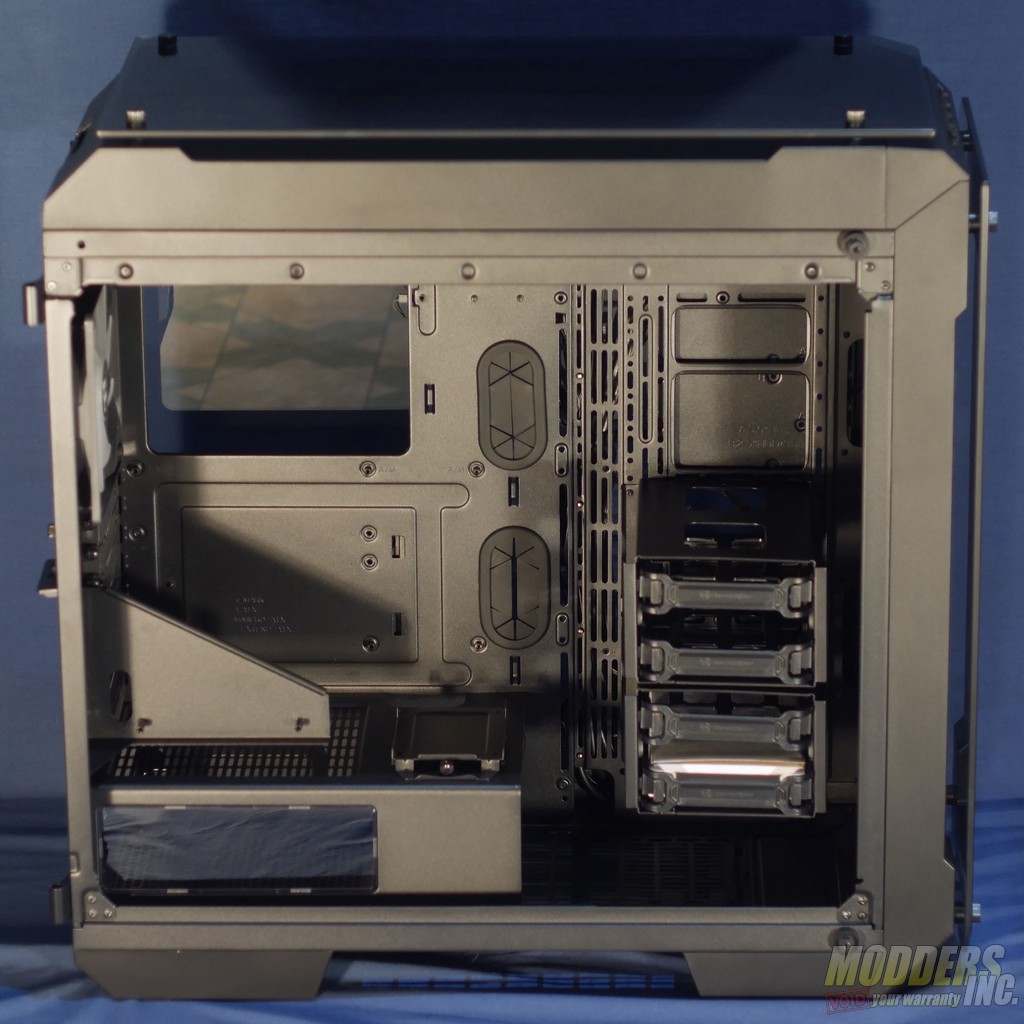
The front and top glass can be removed by unscrewing the four thumbscrews that hold them to the larger plastic panels that they rest on. The plastic panels are clipped into the chassis and can be removed by pulling on a molded handle on one edge of the panel. This mounting method is rather outdated and generally inferior to the more modern pin-in-clip mounting used by other companies, but the clips do a good job of holding the panels on and none of them bent or broke when I removed the panels on my case. The plastic has a rough satin finish and is acceptable if not very premium. Under the top panel is a removable fan/radiator bracket that can be mounted either down the centerline of the case or offset to the left side to allow for better radiator clearance. I appreciate the option to choose where this bracket goes because it opens up a variety of options for thicker radiators that would not be available otherwise. The bracket is held in by four thumbscrews.
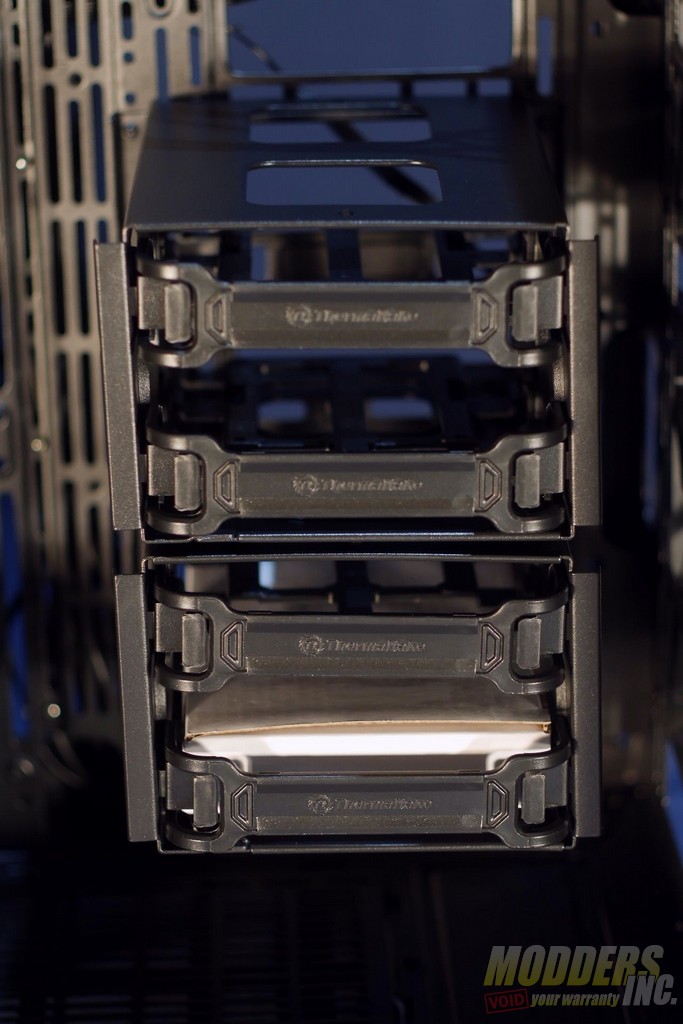
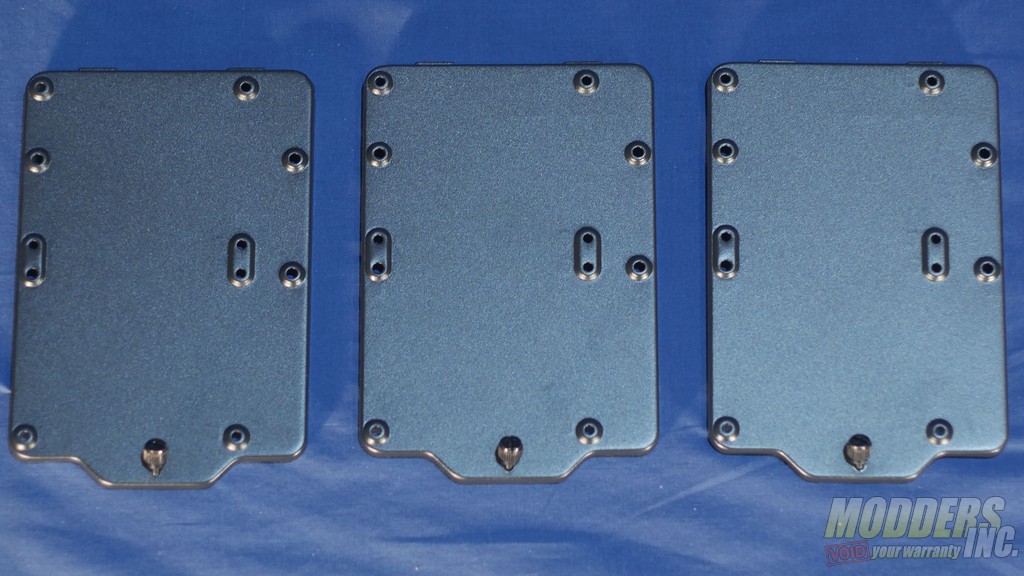
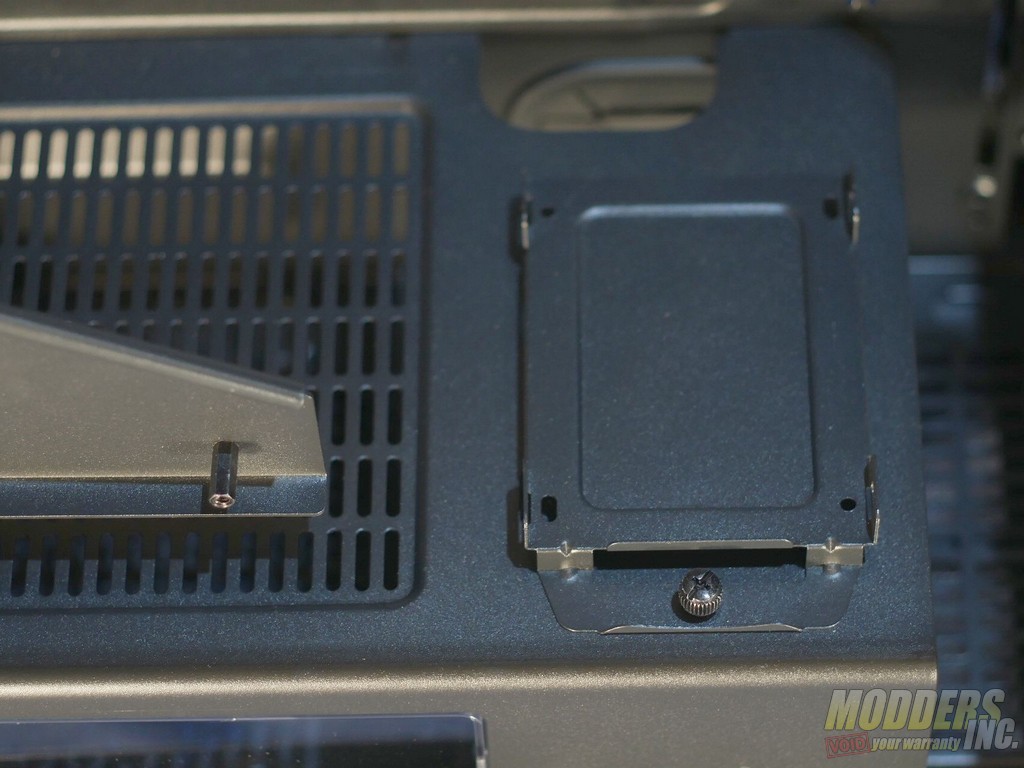
The case features eight drive trays: four in two pods that mount to the motherboard tray, three that sit flat against the back of the tray, and one SSD tray on the power supply shroud. The pods hold either one hard drive or one SSD. The flat trays can hold either one hard drive or two SSDs.
Two of the flat trays and both of the pods are mounted in the multipurpose storage/radiator space and one flat tray is mounted behind the motherboard. The pods have about enough clearance for a slim radiator without fans between them and the front of the case. Because of this, mounting a radiator to the motherboard tray or the front of the case may restrict your storage options. While this might have been a problem in years past, the abundance of PCIe based SSDs has made this largely a non-issue. That being said, if you need both water cooling and lots of storage drives, the View 71 may not be the right case for you.
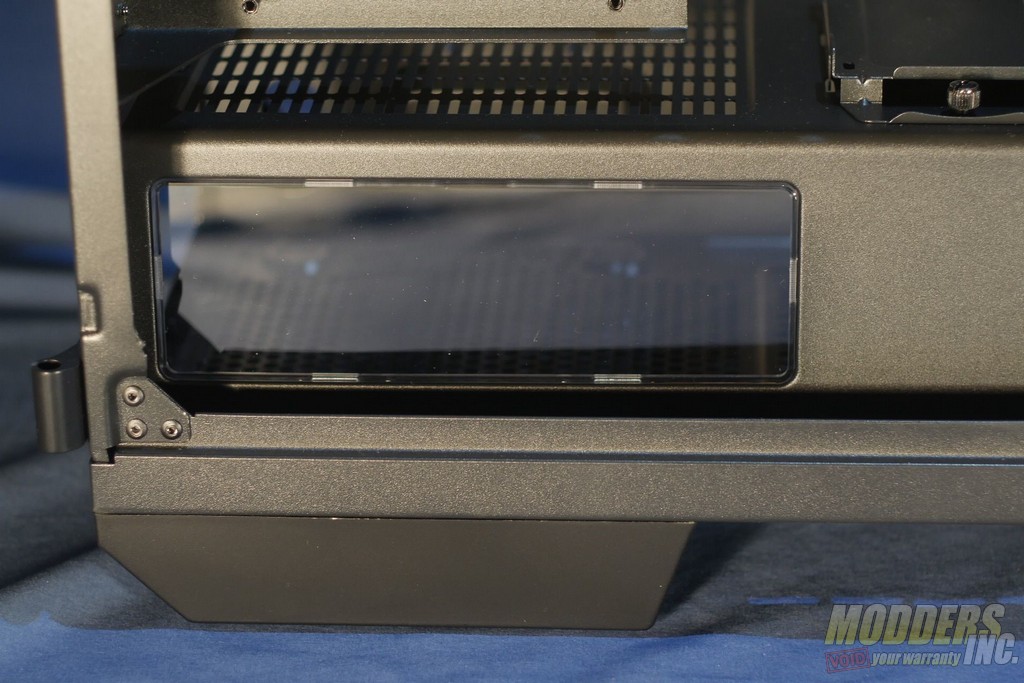
The power supply shroud is unusual in that it is designed to be removed so that the power supply can be installed from the motherboard side of the case instead of from the back. Because of this, the motherboard tray reaches the bottom of the case, and the power supply attaches to the case with three screws and a small hook that locks into the floor of the case. The cover is easily long enough to cover any power supply that you might want to use, and there is a rubber grommet in the motherboard tray near where the cover end to pass your cables through. The top of the cover features ventilation and a removable SSD tray, while the side features a large acrylic window to show off your power supply.
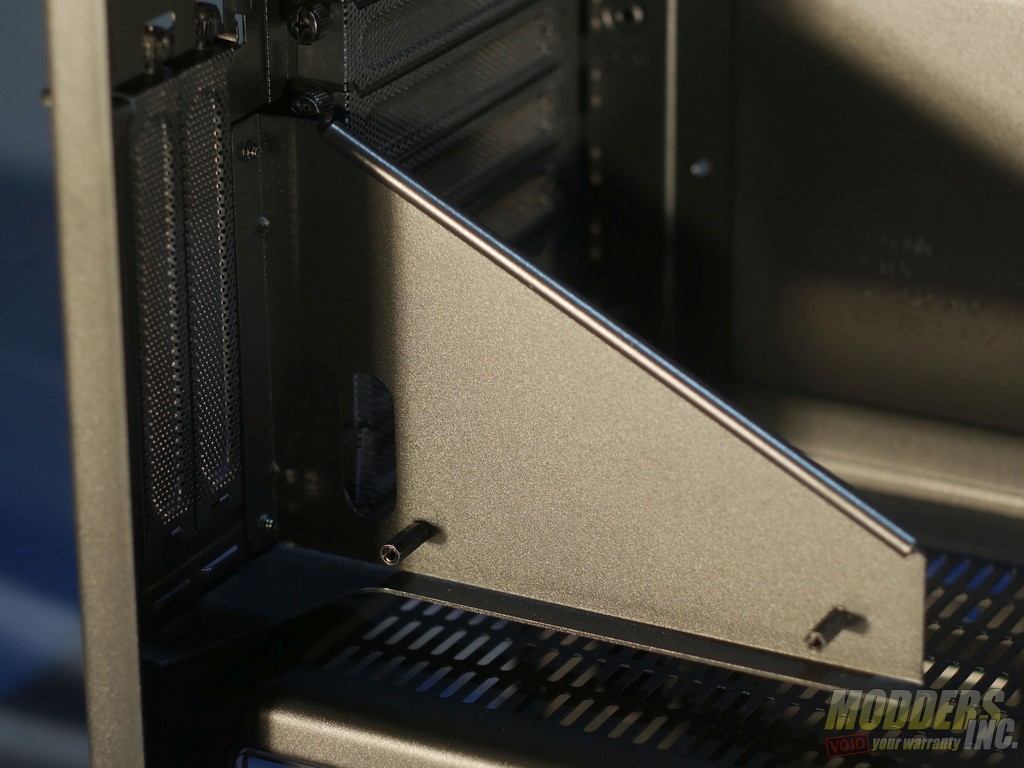
Above the power supply cover is a bracket that can hold a vertically mounted PCIe card. The bracket screws to the back of the case and is removable if you don’t want to mount any of your add-in cards vertically. Using the bracket requires that you purchase a Thermaltake PCIe riser cable, which is sold separately.
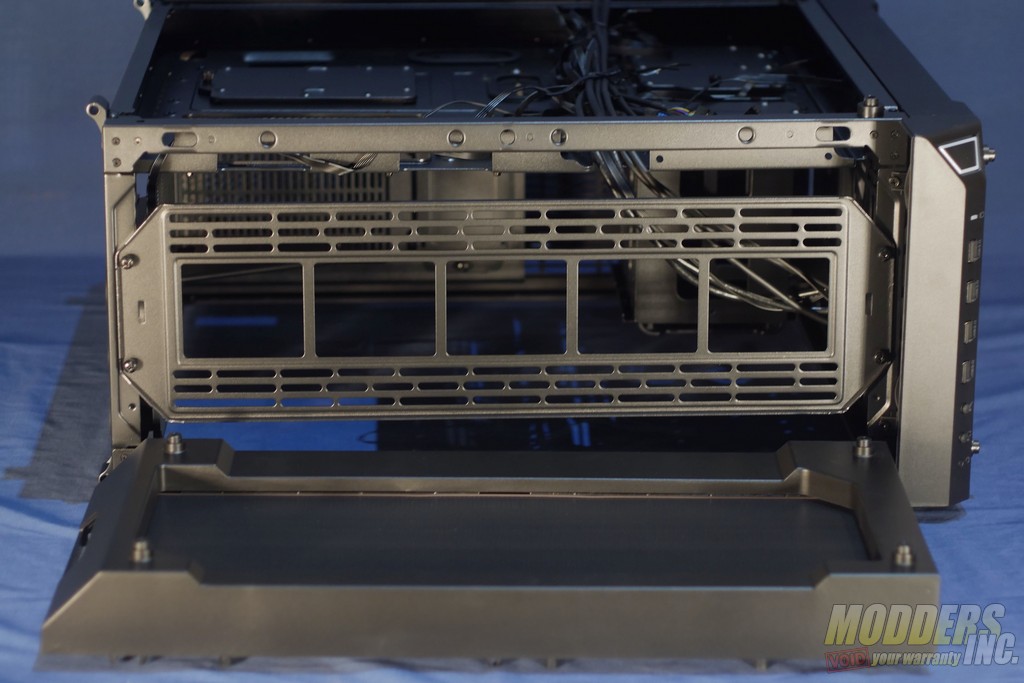
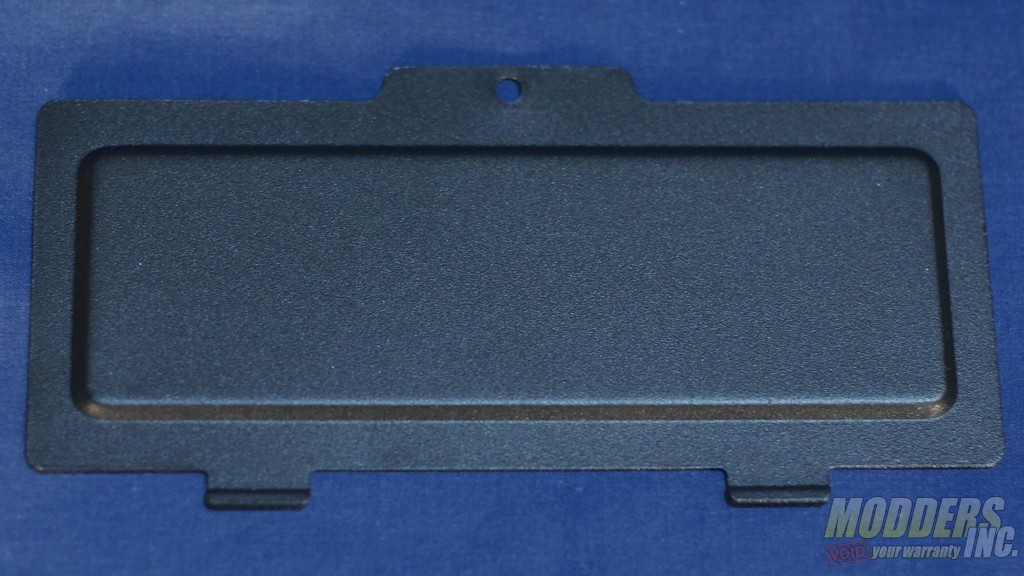
At the front of the case is a small cutout with a cover over it. This cutout is large enough to pass a radiator through and is placed about a fan’s width away from the front of the case. You may need to use this cutout if you decide to mount a 360mm or 420 mm radiator in the front of the case. Be aware that if you use the cutout, you will not be able to use the drive pods. If you have the option, I would recommend mounting a 280 mm radiator in the front of the case and not using the cutout. While the cutout is a nice bonus feature, the View 71 has better options for cooling if you have the right size radiators.
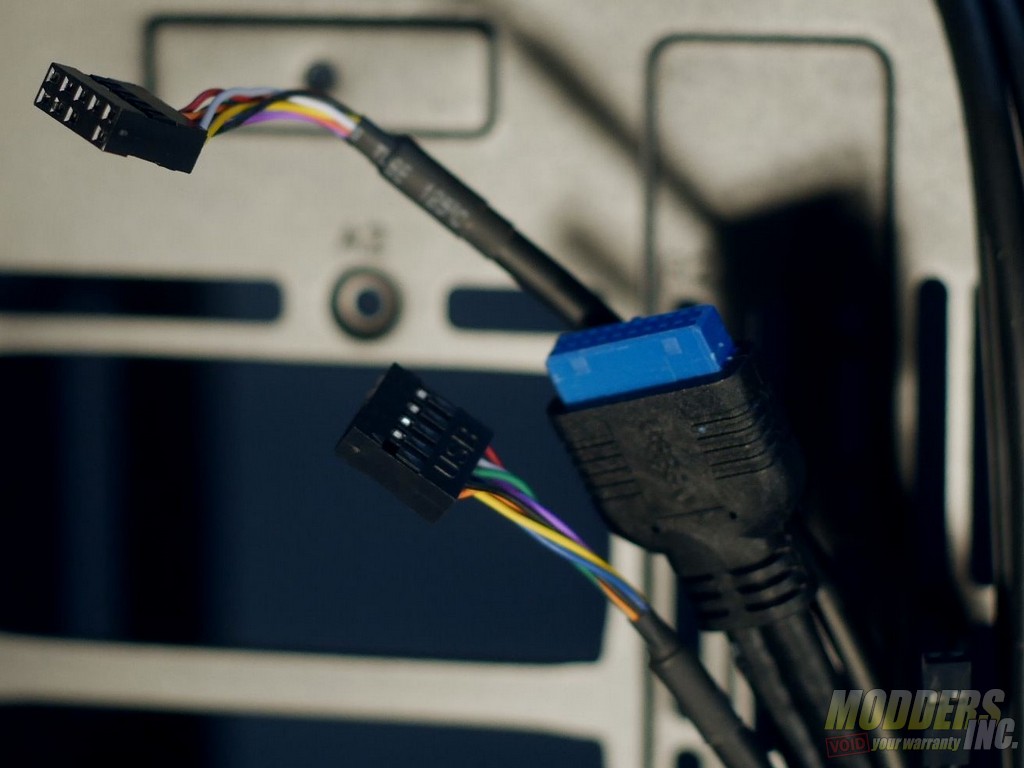
Moving around to the back of the View 71 we find the front I/O cables and the RGB controller board. The cables are almost entirely blacked out except for a short section near the ends of the USB 2.0 and audio cables.
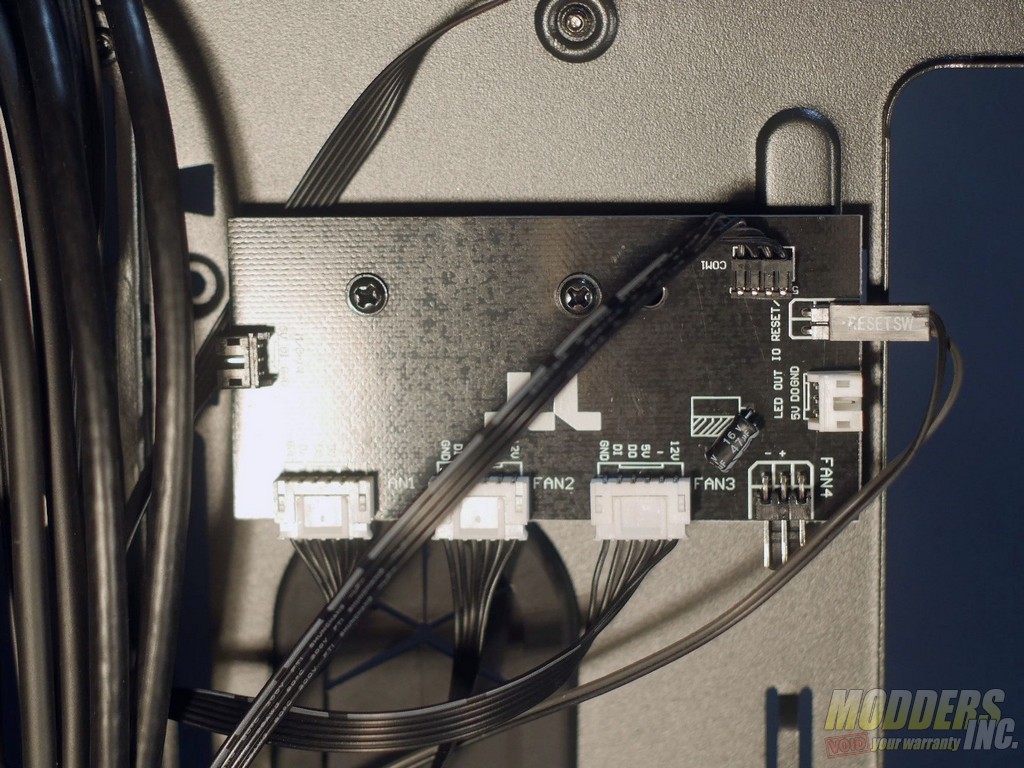
Finally, we come to the part of the View 71 ARGB that sets it apart from the other members of the View 71 family: the ARGB fans and fan controller. The ARGB controller board features three proprietary ARGB fan ports, a standard three-pin fan port, SATA power, pins for a front panel switch, and ARGB in and out ports for your motherboard.
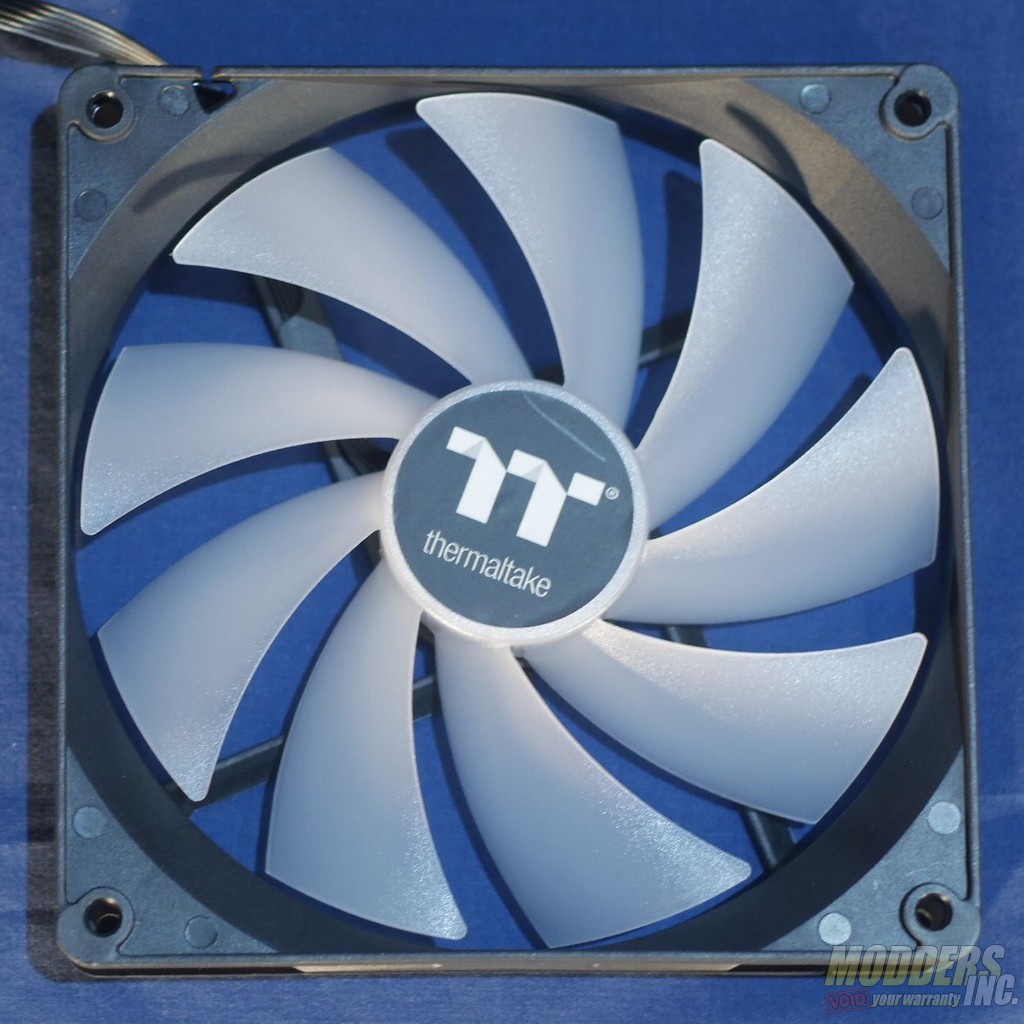
The ARGB fans are fairly basic, featuring frosted white blades and injection molded black housings. They have good color accuracy, but otherwise do not feel particularly premium, even compared with Thermaltake’s own offerings
