A First Look
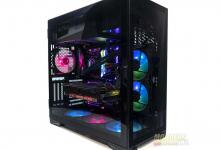
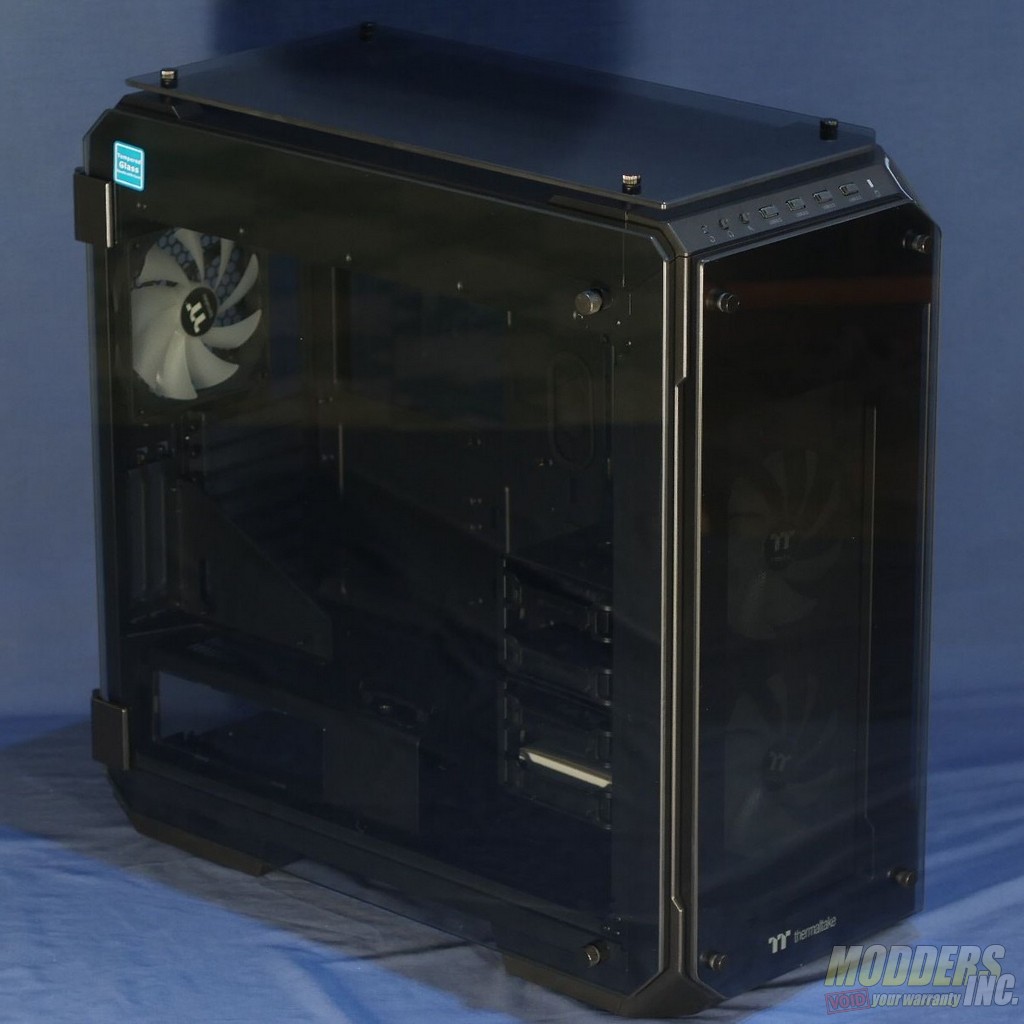
When tempered glass cases first appeared on the market, the trend was to cover as much of the case as possible in glass. The View 71 could easily be the poster child for that design style. It is not a small case, and nearly every inch of its surface is covered in thick glass plates. The panels that make up the outside of the case have a medium tint to them that makes them darker than window glass, but not dark enough to obscure the components inside. The right side panel has the same tint as the rest of the panels, so good cable management skills are essential with this enclosure. I would have preferred a darker tint or a layer of paint on the back panel to hide the inevitable wire mess that comes with extensive RGB lighting. As is, this case is best used with a set of custom power supply cables and plenty of zip ties. Handling the panels is also a challenge, as they collect dust and fingerprints easily. You will want to have a microfiber cloth and some glass cleaner available to keep the View 71 looking its best. I don’t recommend using gloves to handle the glass panels on this case because the size and weight of the glass mean there is a serious risk of dropping the panels if you don’t have a good grip on them.
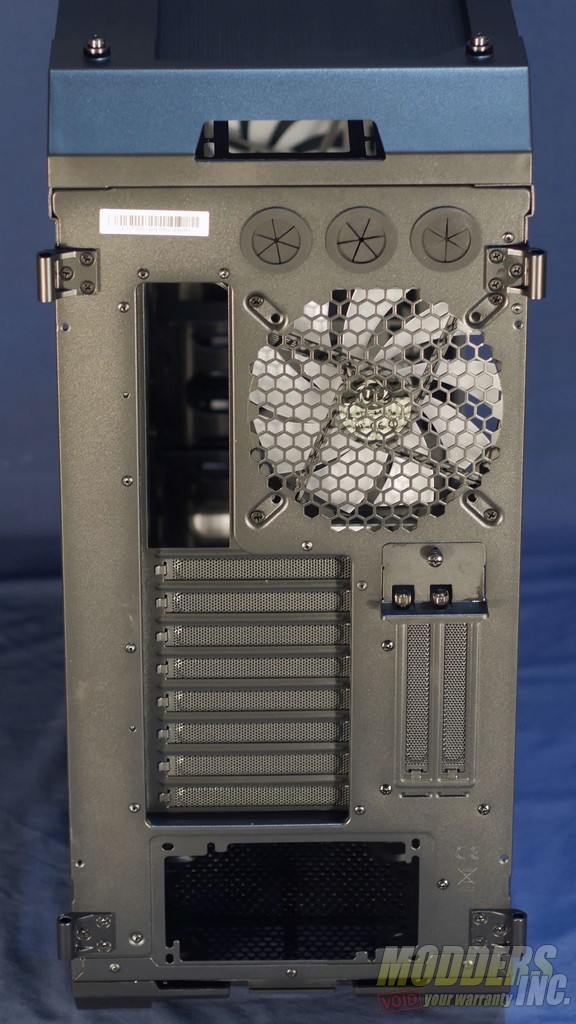
The back of the View 71 is a fairly typical steel panel that features eight main expansion slots and two vertical expansion slots. The hinges for the side panels are bolted to the back panel of the case with three screws each. The only other thing worth noting back here is the three grommets at the top of the case. These are here for those that run tubing on the outside of the case. Most likely a holdover from the early days of water cooling. They look like water cooling pass-through holes, but they are too large for popular bulkhead fittings, and there are three holes instead of two or four.
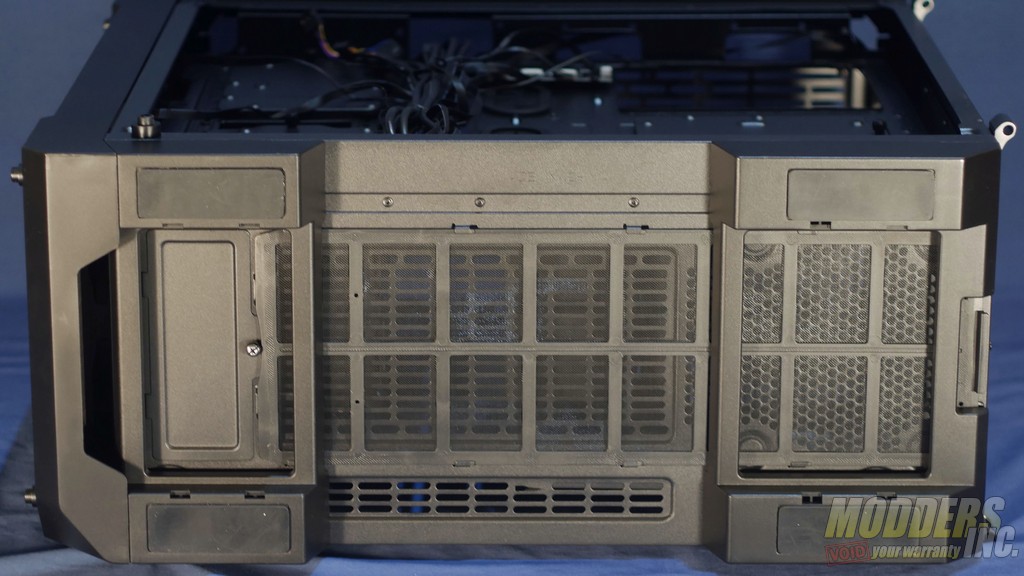
The bottom of the View 71 features two large plastic stands with rubber feet along with a gloriously large dust filter that covers nearly the entire bottom of the case and slides out the back for cleaning. There is also a small cutout with a removable cover that allows you to fit longer radiators in the front of the case.
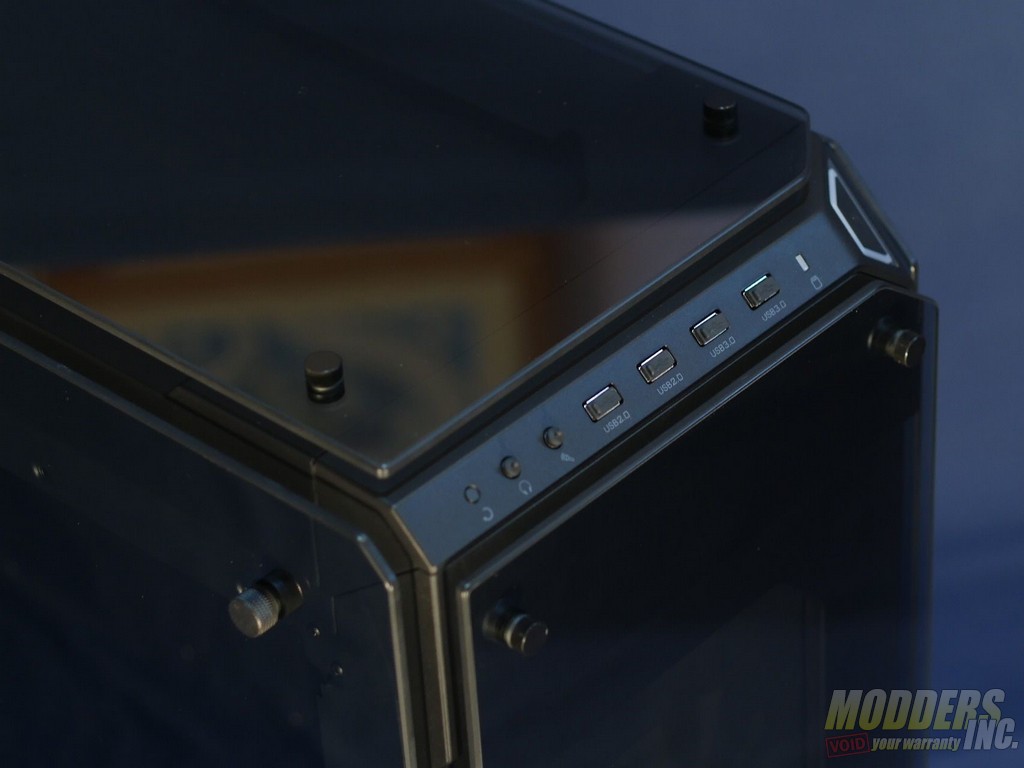
The front I/O is housed in an angled plastic strip on the front of the case. It features a fairly standard four USB ports and two audio ports as well as a reset/RGB button. The power button is a large plastic trapezoid with a white LED ring mounted at an angle on the top right corner of the case. The corners of the glass panels surrounding the power button are all cut back to match the lines of the button, which looks quite good. Unfortunately, if you set the View 71 on your desk in a way that you can see your hardware, the power button will be on the opposite side of the case from where you are sitting.
Now that we’ve covered the outside of the View 71, let’s move inside where things get interesting.
