PC Cases / AccessoriesPC Hardware Reviews
Thermaltake V9 Mid-Tower Gaming Case
« Intro | Page 3 »
A Closer Look |
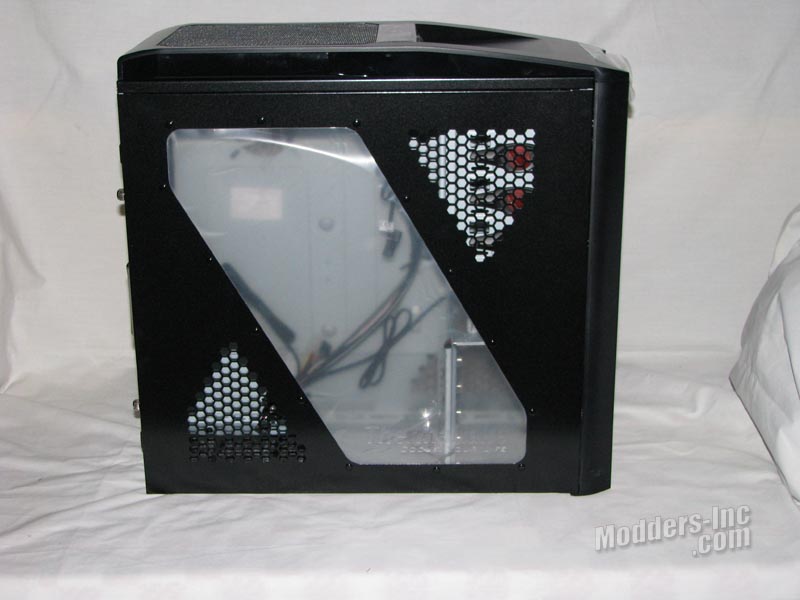 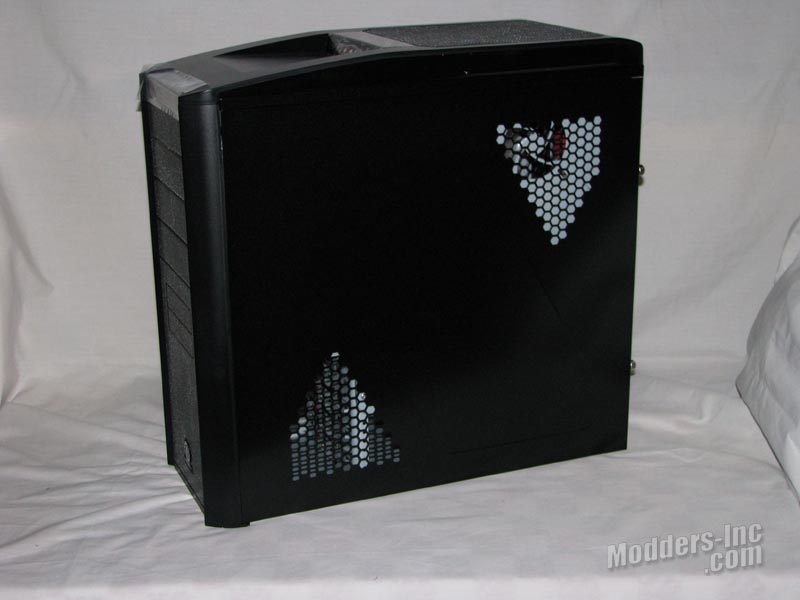 With the large vented areas on the side panels, fresh air is always available. The upper vent on the right side allows the optional motherboard fan to easily exhaust any heat, while the lower section aids in cooling the hard drive bays.
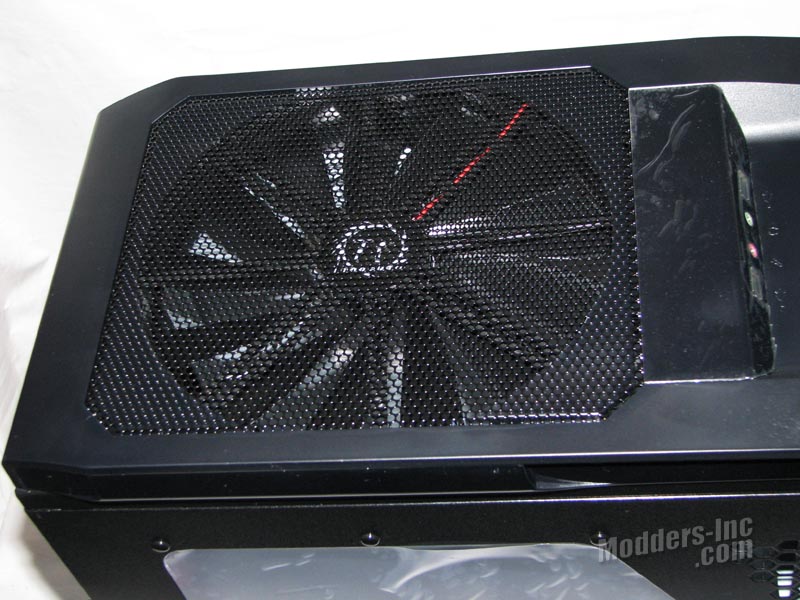 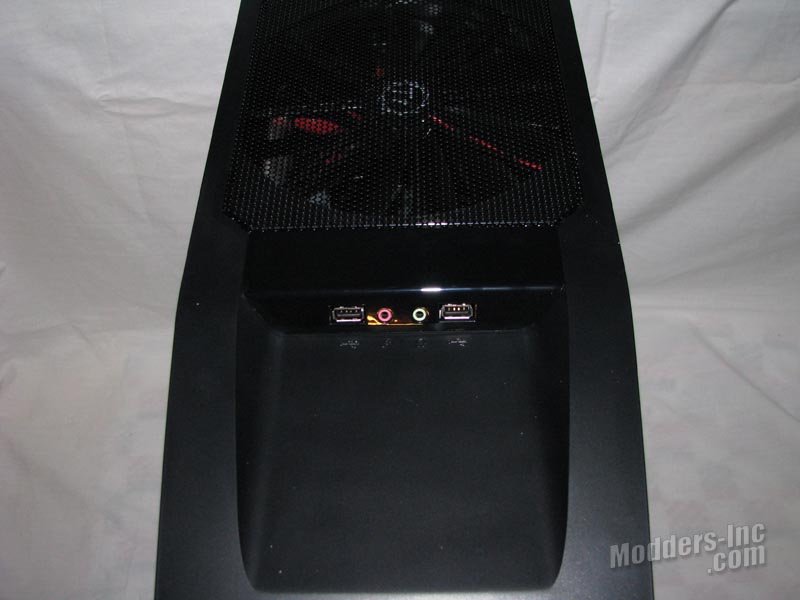 The top 230 mm exhaust fan operates at 800 RPM while only producing minimal noise (15dBA). Just in front of the top fan is the front external I/0 ports (2 x USB, 1 x Mic, 1 x Audio). With this section being recessed a bit, I have a feeling that it might find its purpose as a catch-all for the car keys or something similar. For some reason I get the feeling that something might be laid there that could slide into one of the open ports causing the system to short out.
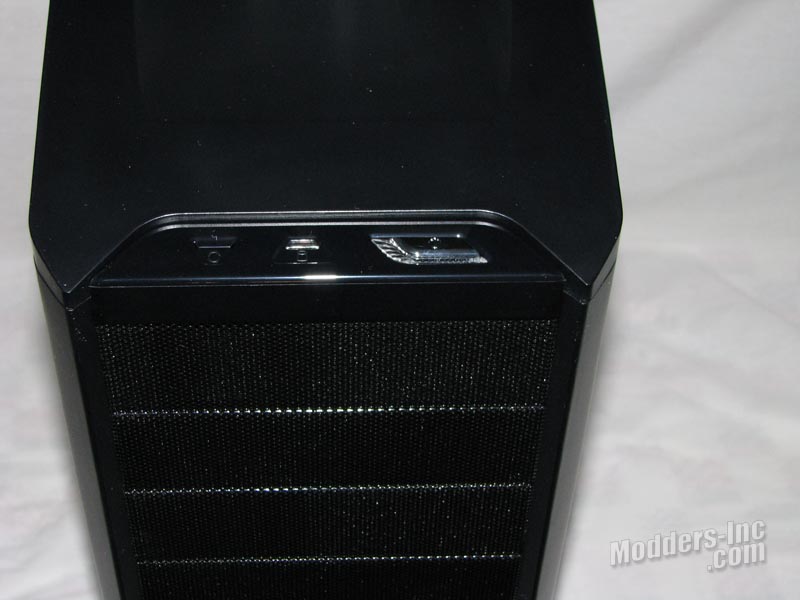 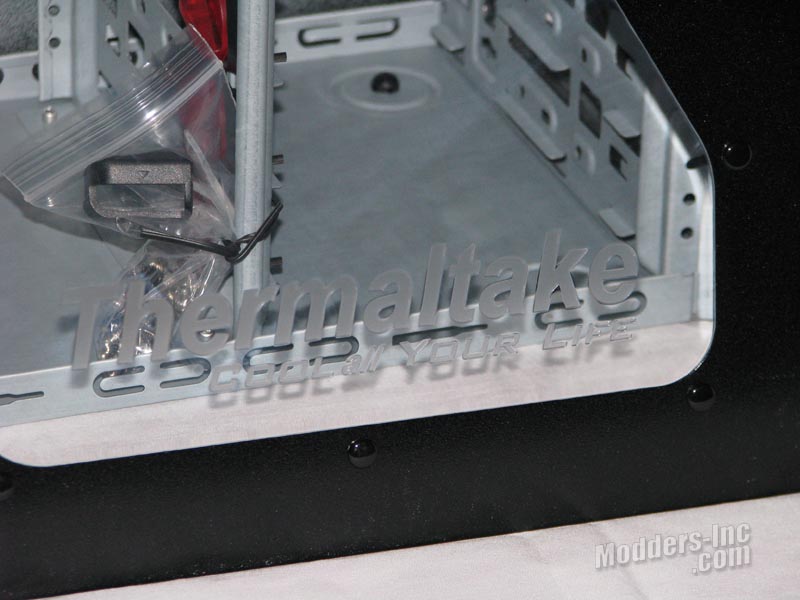 Located at the top front we have the Power and Reset buttons along with the LED indicators. We also catch a glimpse of the meshed front drive bay covers. With all the open areas in the V9, it’s obvious that the case is going to have negative pressure. This kind of negates having the filters in the system, in my opinion. Moving along, we can see that the window has a large Thermaltake branding at the lower section.
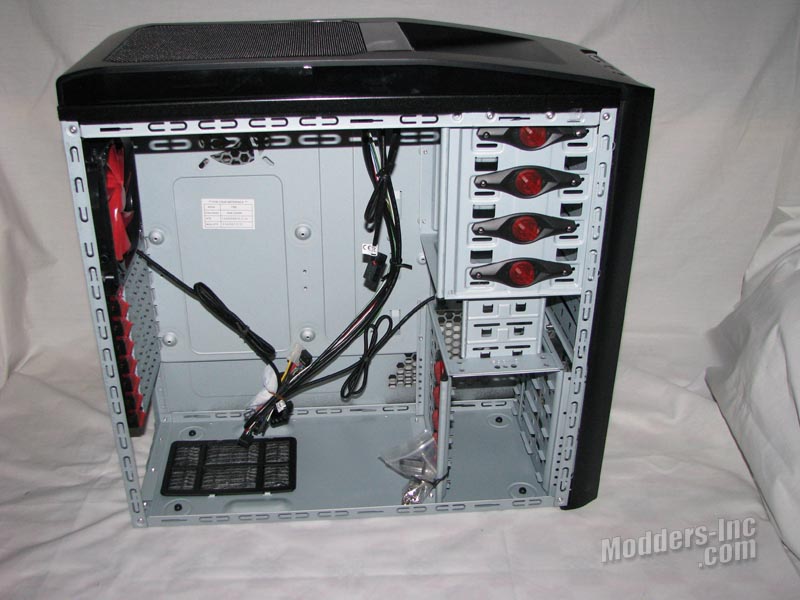 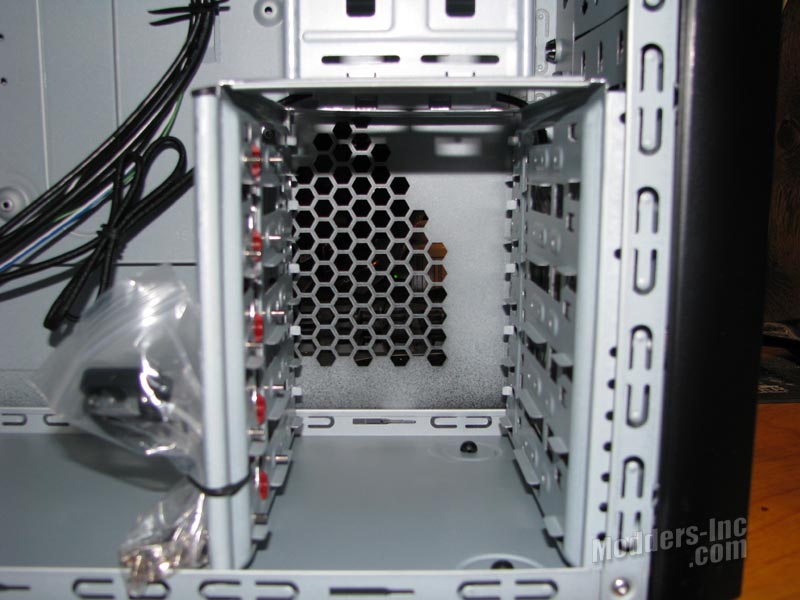 Pulling the side panel off, we can get a good view of the internals of the chassis. Note how the wires are all pulled together and secured to prevent them from scuffing anything up during shipping. The accessories bag is twist tied to the side of the hard drive cage. The hard drive cage can accept a total of five 3.5″ hard drives.
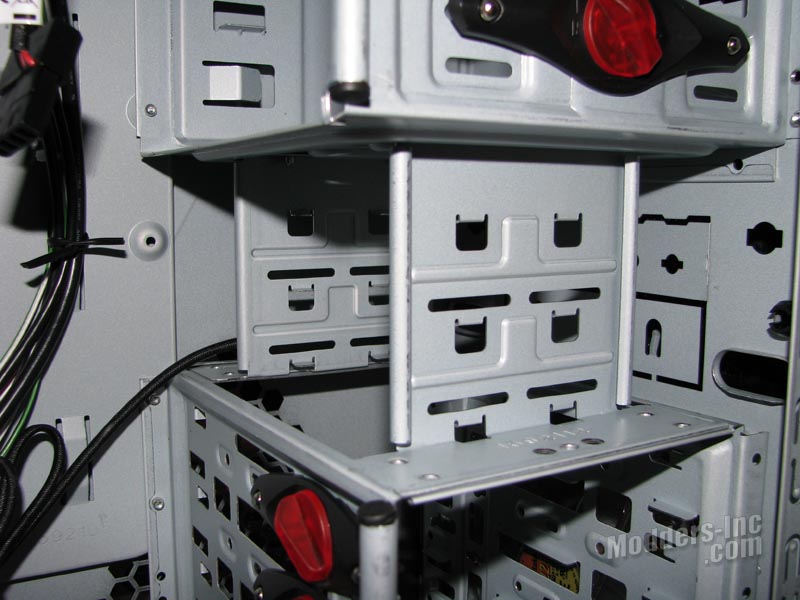 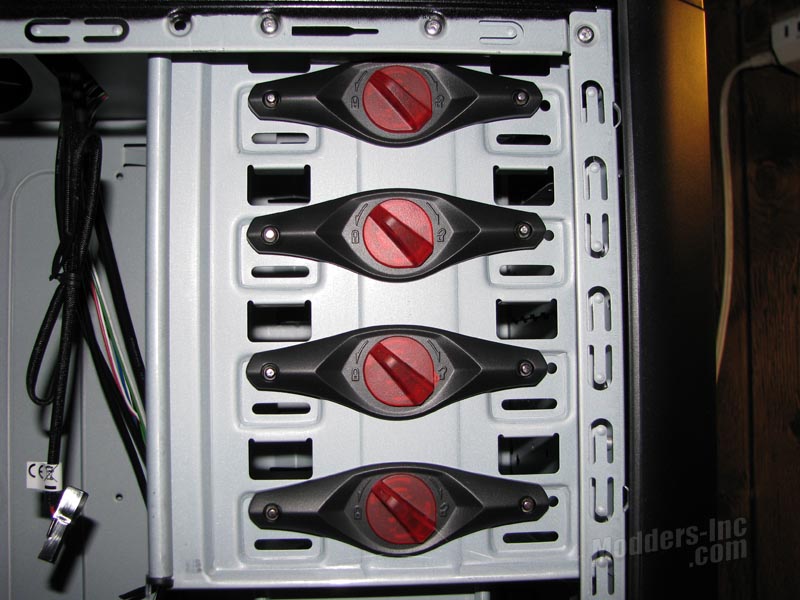 Just above the hard drive cage we will find the two external 3.5″ bays. Above that we will find the four external 5.25″ drive bays. Both the internal 3.5″ and external 5.25″ bays utilize a twist lock style tool-less design. The base has two pins that align with the holes on the drive(s), and then with a simple turn, it locks into place.
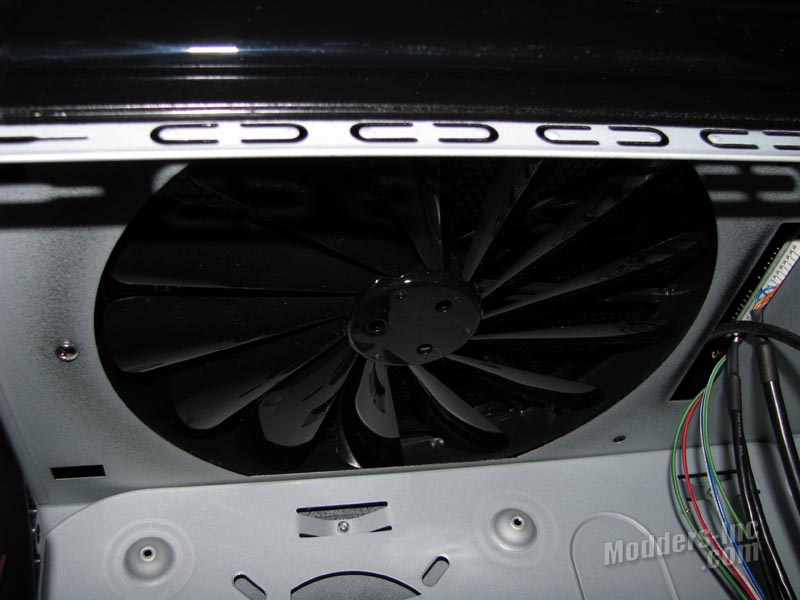 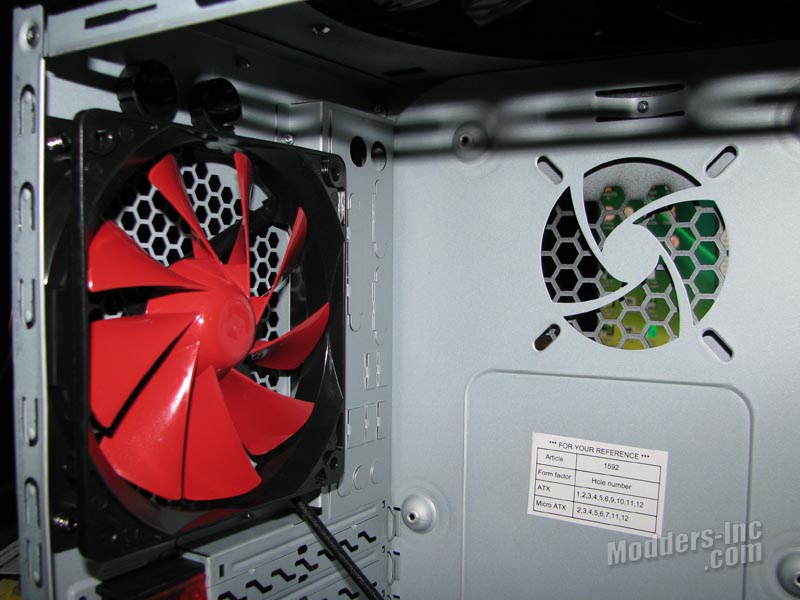 Here we have an internal shot of the top exhaust fan. This is a 230 mm x 230 mm x 20 mm fan, and is attached to the top plastic panel rather than the top section of the chassis itself. Next up we have the rear 120 mm exhaust fan, and to the right of it we can see the optional motherboard fan. This is designed to remove any of the heated air trapped behind the motherboard itself.
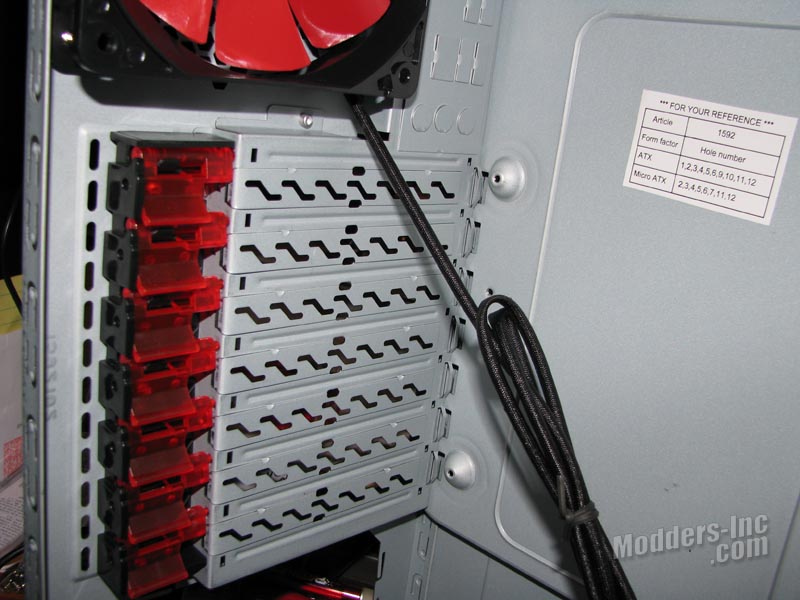 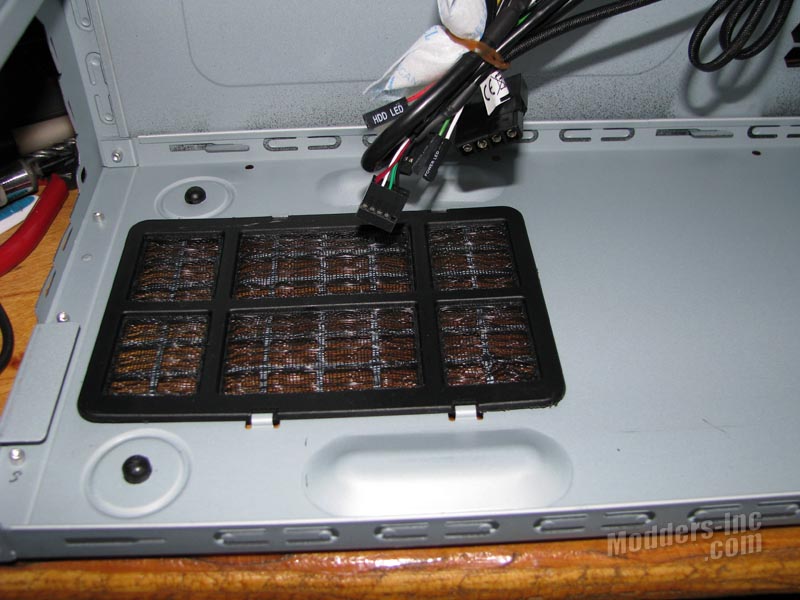 Moving along we find the seven rear slots with their tool-less latches. I have never personally liked the tool-less latches like these, because they don’t apply a lot of pressure to hold the card(s) in themobo slots. We will look at that a little more later on. Just below those we find the Power Supplyvent, which is also filtered.
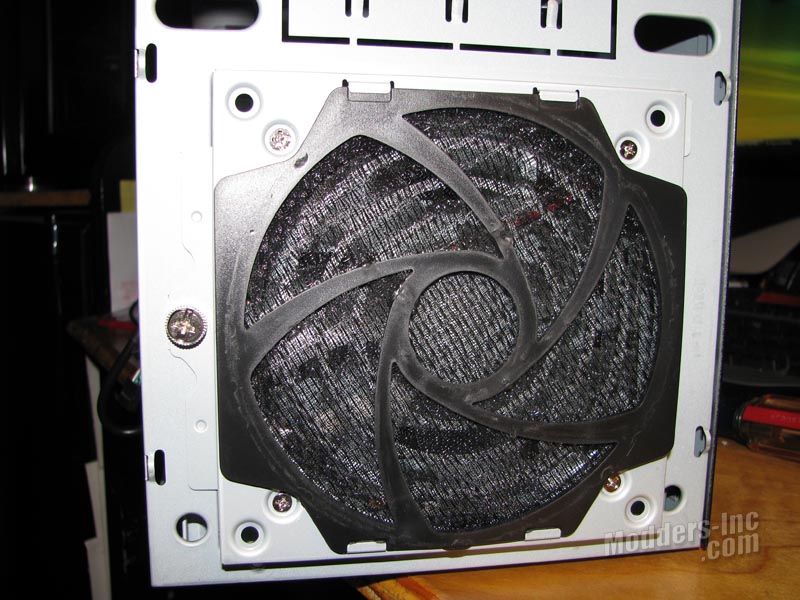 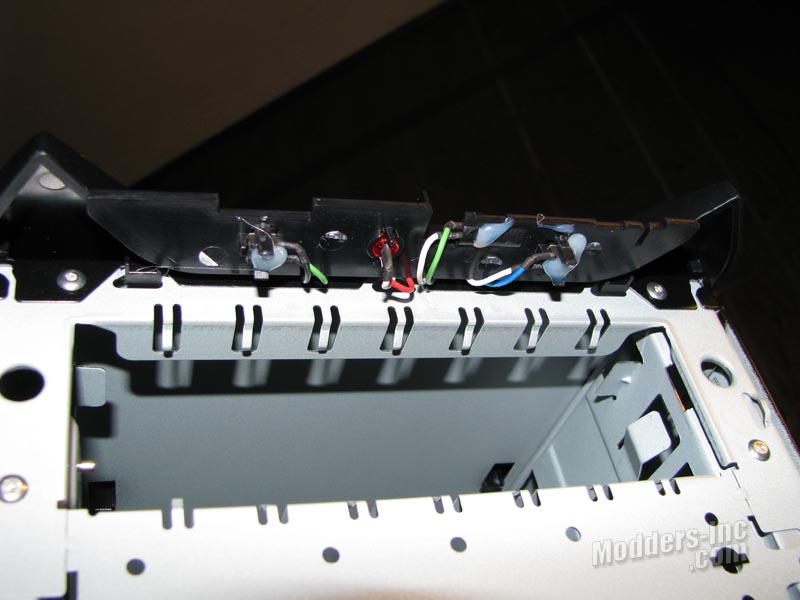 Popping the front cover off the V9, we can see the large filter for the front 120 mm intake fan. At the top we spot the wiring coming through for the Power, Reset buttons and the LED indicators.
|


