Thermaltake Urban T81 Full-Tower Chassis Review
CASE BREAKDOWN and a LOOK INSIDE
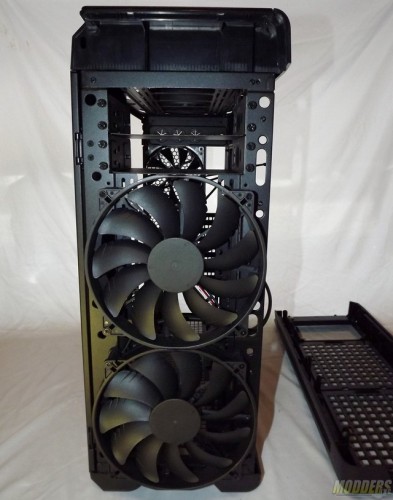
Here is the front door that is attached with a slide lock hinge post and open/close secured with magnetic contacts.
The door is removed by using the slide locks that control the hinge posts.
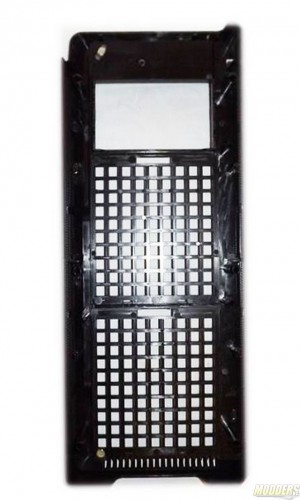
The front bezel snaps off, fan filters and external bay covers clip lock off.
Behind the door and bezel are two 200mm fans included. Can you say big air.
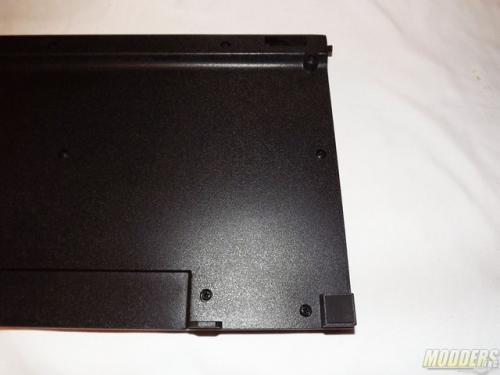
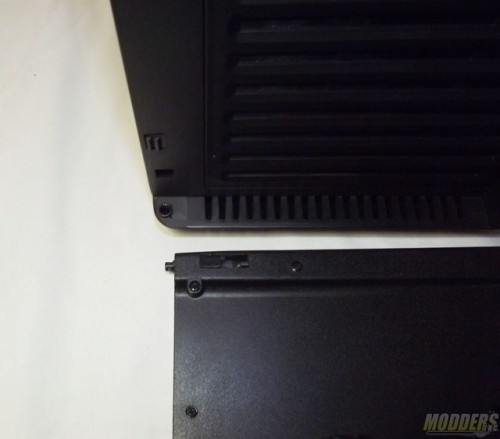
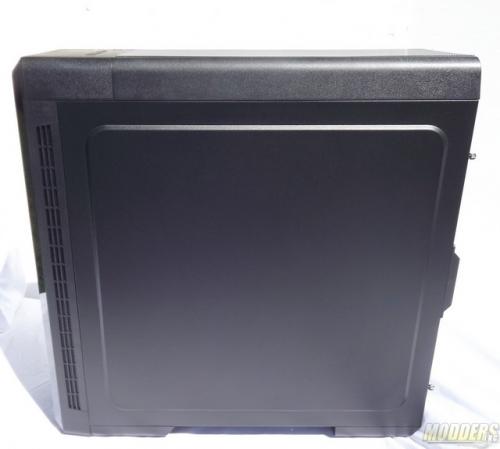
The front bezel is vented on the sides and have sponge filters before air even reaches the inner intake filters. The right side panel is a slide lock and thumb screws keep it in place. At the rear of the door you have a small handle to grab to help remove the panel. The panel protrudes about an 1/8″ to help cable management.
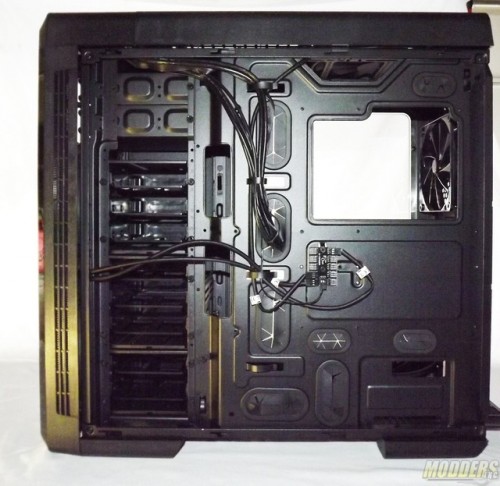
When you remove the right side panel it shows off the back of the motherboard tray, center fan hub, eight grommet cable pass through ports and access to the drive bays. A nice large opening for motherboard backside access is great for mounting and remounting CPU coolers.
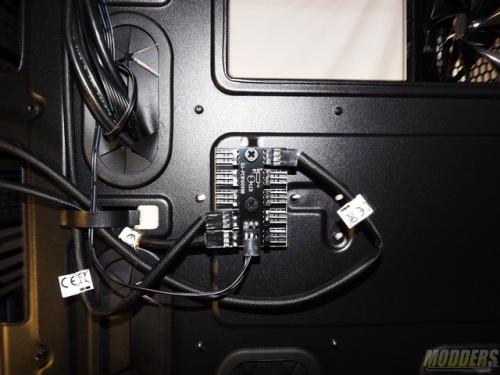
The powered fan hub is set to handle ten fans controlled with a single high/low case control button.
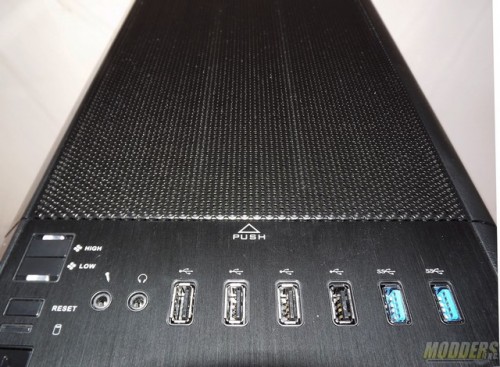
Up top and front is the control section and upper removable grill. Plenty of USB access is available here. You should never have to reach around to the back to plug in any of your accessories.
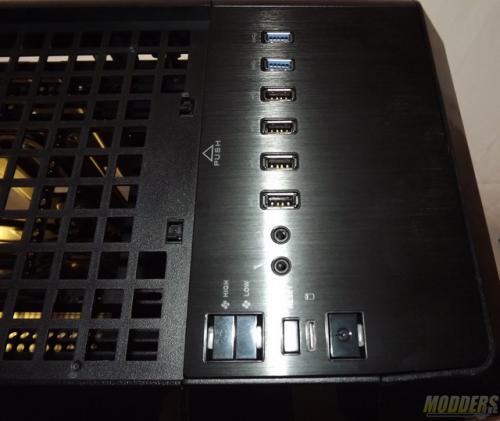
Front control panel has High/Low Fan control with LED lights, Reset, HDD indicator, Power On/Off, Microphone, Headphone, two 3.0 USB ports and four 2.0 USB ports.
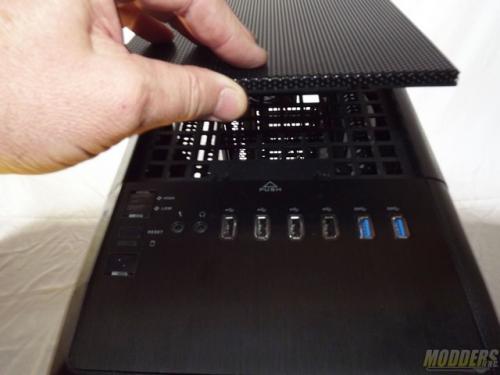
Push down on the front of the top grill to unlatch it and raise to remove the filtered upper intake/exhaust panel.
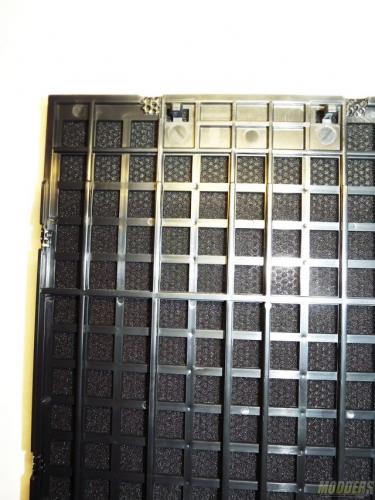
The underside of the top grill shows a reinforced abs plastic frame with a sponge filter between the outer grill and inner frame. One thing to note is the grill is attached to the abs plastic frame with bent tab locks that can be unbent to remove the grill from the plastic frame for sponge filter cleaning, replacement or modding the grill.
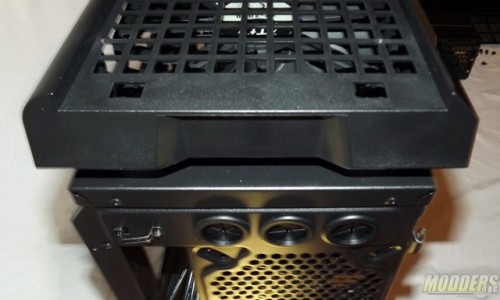
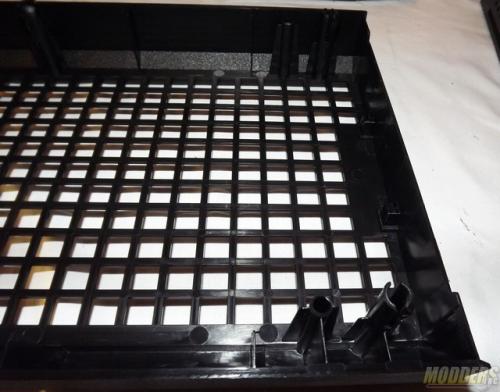
With the upper grill removed you can see the inner plastic frame and housing.
It snaps on and off the metal case with a light pull up to remove it and a push down to snap back on.
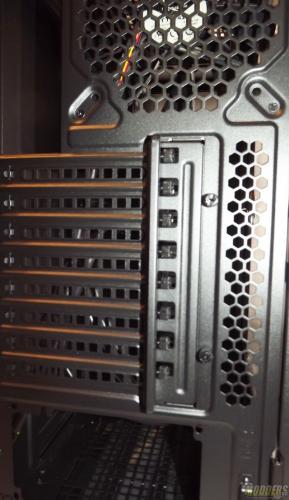
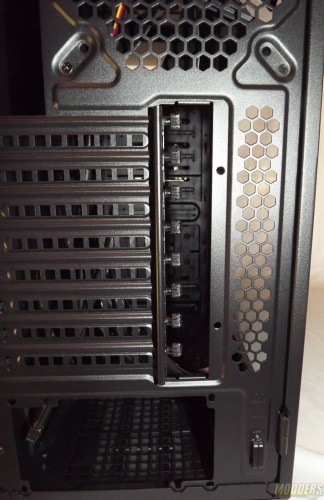
The PCIE slots have a two stage bracket system. First is the full bracket locking in the PCIE slotted inserts by 2 thumb screws. Second is individual slot brackets each locked in by a thumb screw.
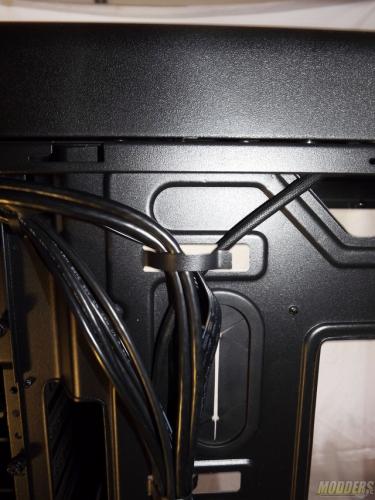
Cable management is helped with four of these bendable cable guides on the backside of the motherboard tray and grommet pass throughs are placed everywhere you would need one.
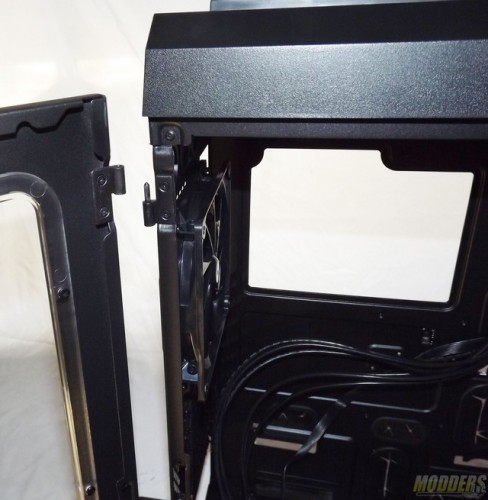
The Acrylic door is hinged with two post hinges that make it very easy to pull up and remove the door.
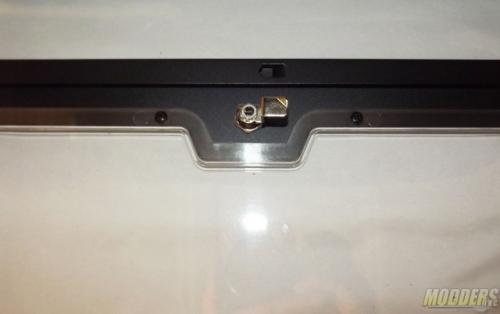
The door lock is 1/4 turn barrel key security lock. You don’t have to lock the door to secure it closed as it has a mechanical door latch. The is only provided to keep wondering hands out of your system. Two keys are supplied in case you loose one.
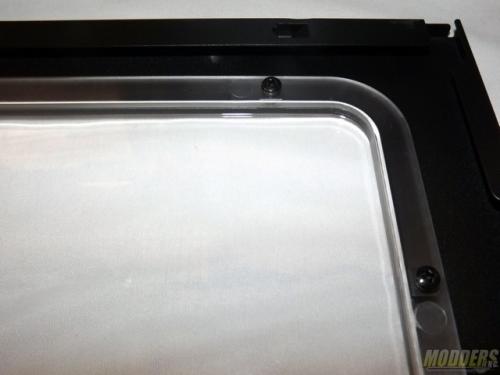
The acrylic window is secured on by screws. The window is beveled out to be flush with the door frame and a very nice feature I’ve never seen before is the inside edge of the window has a 1/8th inch clearance under it. Even the screws are raised off the back of the door frame and the screws are super short in depth. Modders Note: This window is perfect for RGB/LED light strips, they tuck nicely under the window edge and screws.
