Thermaltake Level 10 GT Computer Case
Components and Design Continued |
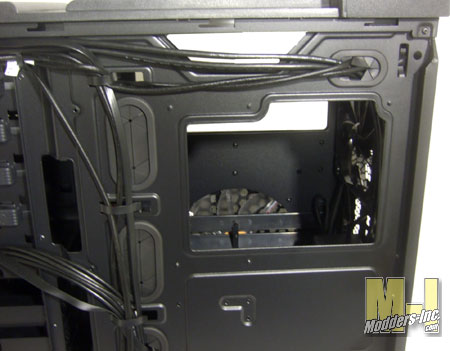
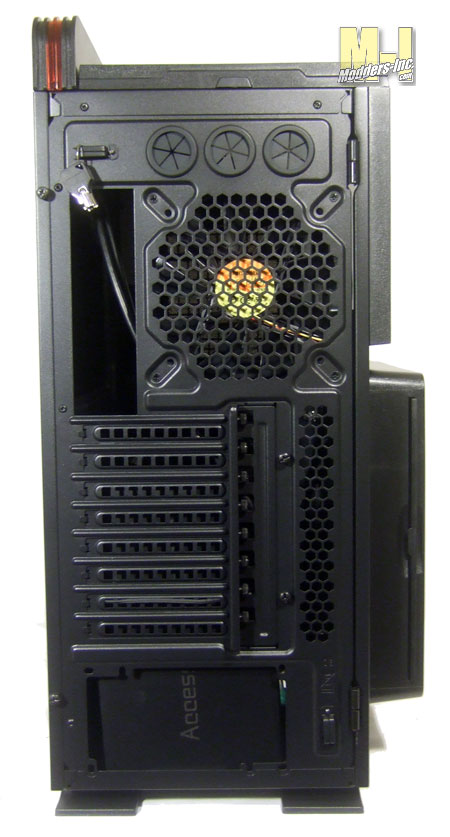 The big picture here is the back of the case which shows off the I/O ports that are vented and use thumb screws to hold your hardware tightly in place. Is that three hose at the top of the case? Why yes it is as the case is ready for you to water cool the heck out of it. The holes and grommets can easily accept hose up to 1/2 inch OD in size, but whats up with the third hole? Ah that one kind of threw me off for a second too. That hole is for the 2 USB 3.0 cables that run from the top ports, remember? The cables – you can see them peeking out at the open I/O port- are feed through the hole and plug into the rear USB 3.0 ports on the motherboard.
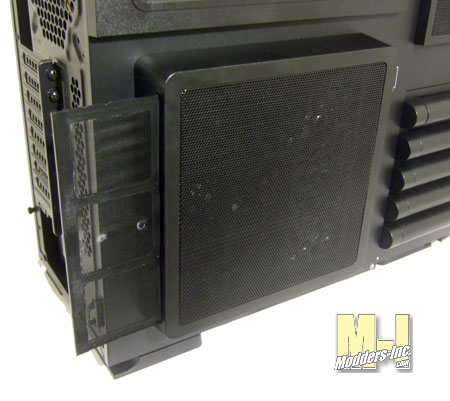 The large box at the lower end of the left side panel is home to another 200x200mm fan. Metal mesh cover the outside allow for maximum air flow and behind that there is a filter to ensure that the air you put in to the case is keep as clean as possible. 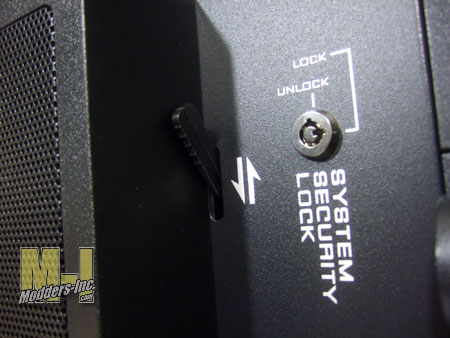
A second lock assemble is placed on this side to once again keep your hardware safe from wandering hands. A trip lever at the underside of the case is the release that allows you to open the door. But what I really wanted to point out here is the lever that sticks out right next to the boxed side fan. This is another feature that Thermaltake gave to you and I think it is great idea.
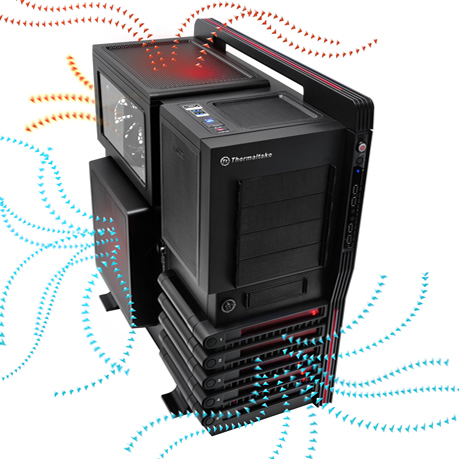
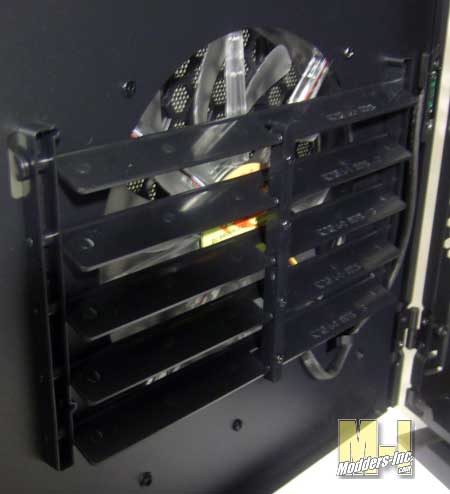 What that lever does is control a set of directional airflow vains. From the outside of the case you can direct the air either towards the bottom of the case, directly at your graphics card or upwards to the CPU area. This gives you more control to tailor how you want to cool the inside of your case and hardware. 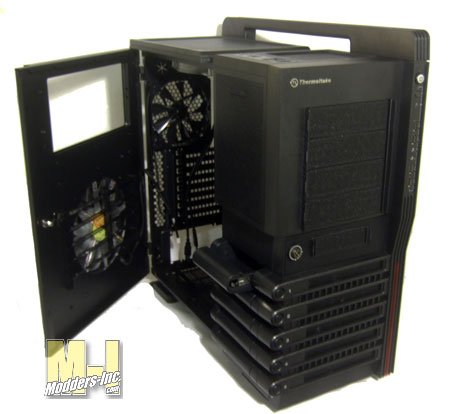
The side panel is actually a door and is hinged at the rear and fully open. If for some reason you need or want to remove the door you can by simply pulling up and off the lower hinge assembly.
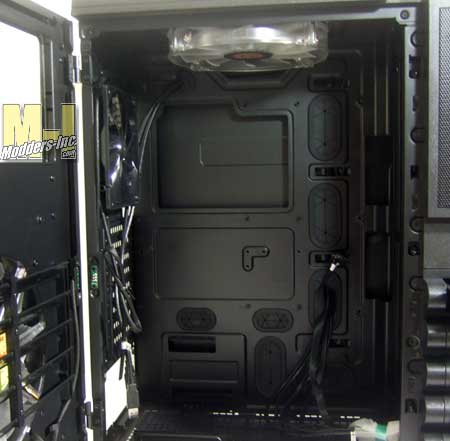 Finally we get to see the inside of the case and it is well worth the wait. What first grabs your eye is the massive opening in the motherboard tray that is 7 inches wide and nearly 6 inches at its tallest point. This is plenty of room for any sort of motherboard layout and makes it super easy to change out your CPU cooler. Also from this view we can see that you can easily toss in a couple of full-size video cards without any worries about them fitting and with the swappable drives sitting crossways in the case there will absolutely be no issues with the cabling and power cable getting the way.
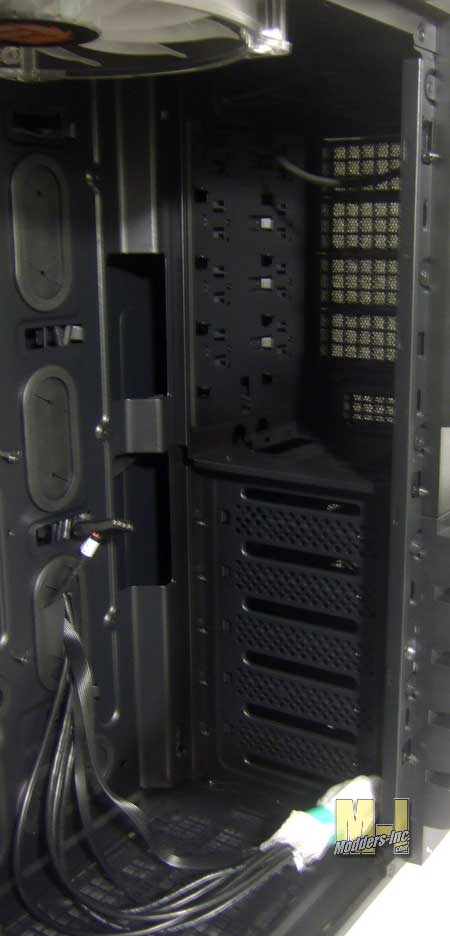 Turing towards the hard drive rack we can see that everything here is solid as a rock and all the edges have been rolled so you should have no bloody knuckles here. This is your only access to the top bays areas as only the door on the left side is removable. The cables that you see laying at the bottom are all the front port cables (USB headers, audio, power and etc). 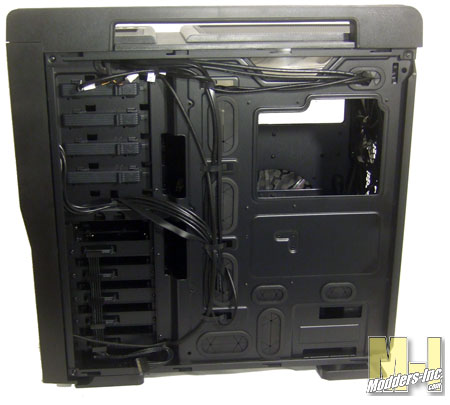 With the right panel off we get a great look at how well Thermaltake routed all the cables that are pre-installed for us. We can also see that the Level 10 GT has more than enough ports to run you cable through. Eight grommented ports of different size are located everywhere. Another eight or more access holes are place throughout the cage and motherboard tray areas.
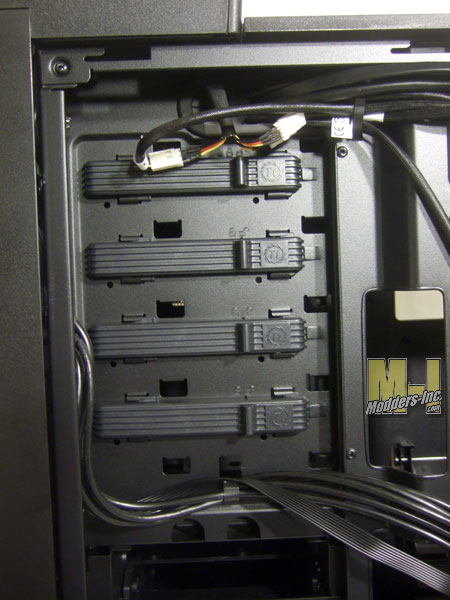
You do have to remove the right side panel to gain access to the tool less drive bay clips. Slide the drives or ROM’s in from the other side, push the clips into place and you are done.
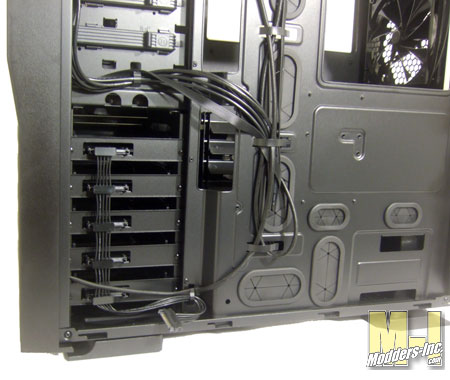
Here you can see just how far Thermaltake went with the routing of the cabling and the set up of the Hot Swap drives. A single cable is used to combine all five of the hot swap drives which really helps cut down on the clutter while the other cable are routed together and ran through the metal clips that are made into the from of the case.
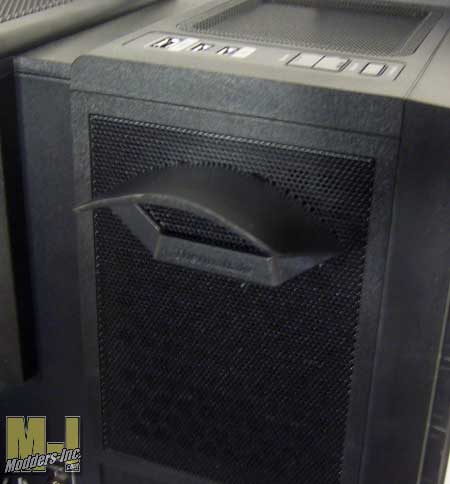 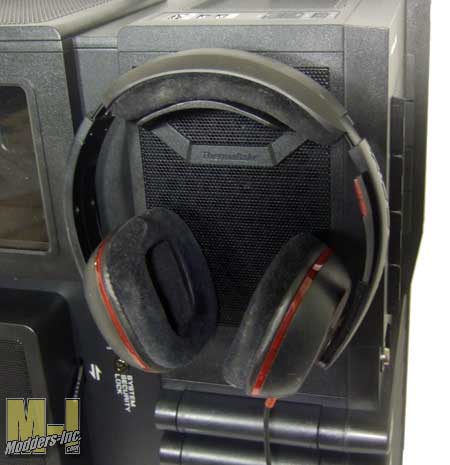
And finally if everything I showed you was not enough the final piece to this great case is this option. By removing a small rubber protective insert on the side of the case you can hook up the bracket that was mentioned at the very beginning of this review to make a head phone holder. Keeping your headphones out of the way seems to be a huge challenge for me especially at a LAN and this quick and easy add-on just made it so much nicer.
|
