Thermaltake Level 10 GT Computer Case
A Closer Look – Components and Design |
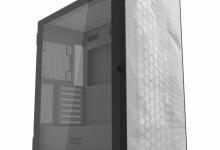
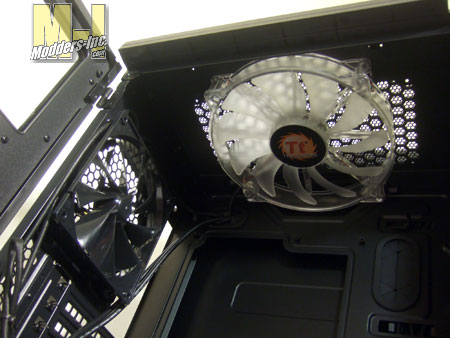
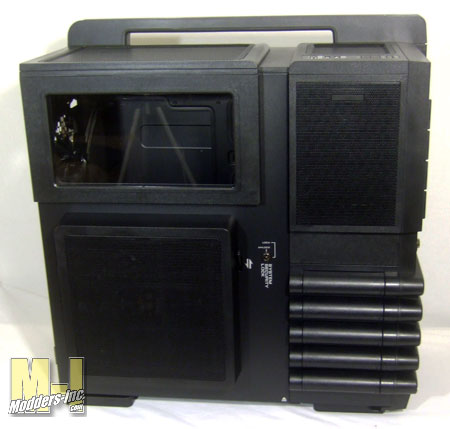 Here we have our very first look at the Level 10 GT and as I stated before that youcan recognize the styling right away. The Level 10 was absolutely a design that went in a new direction for the computer community. The one item that made it a bit of a reach for most was the cost of the case. At price around $700 USD it was for only those that could afford it, but many people wanted it. Thermaltake heard the voices and created the Level 10 GT with a price tag at half the cost of the original at a price around $270 or less at the time of this review. I will take you through the case and hopefully show you everything you need to know about this new case. 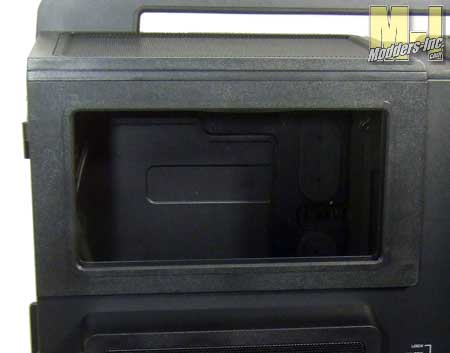 Starting at the top left of the case we are given an inside view of the case through this cut out that houses a clear piece of Plexiglas. From this vantage you get a clear look at the where the CPU cooler is located. If you plan on using water cooling to cool the CPU then you will get a great view of your hose and such. The lighting that is included and if you add more will give it a striking look when showing it off to your friends.
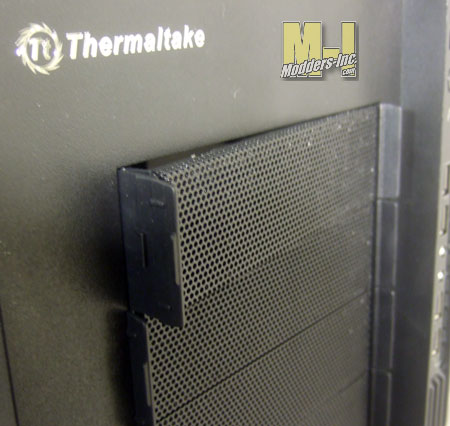
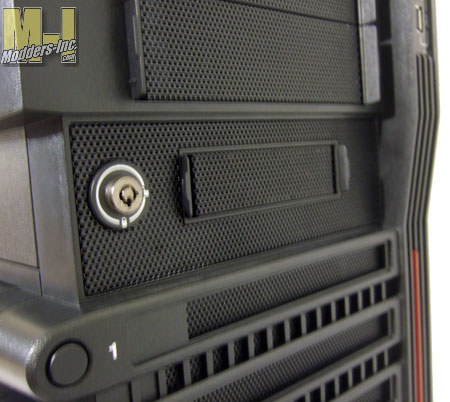
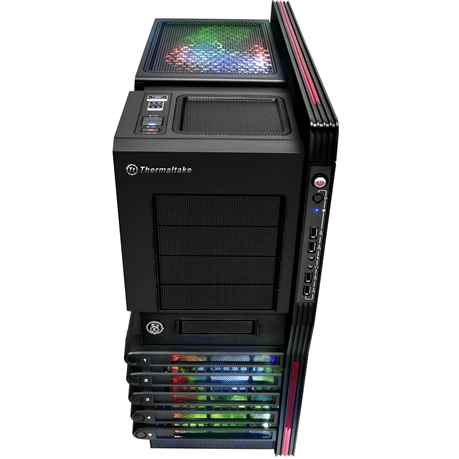
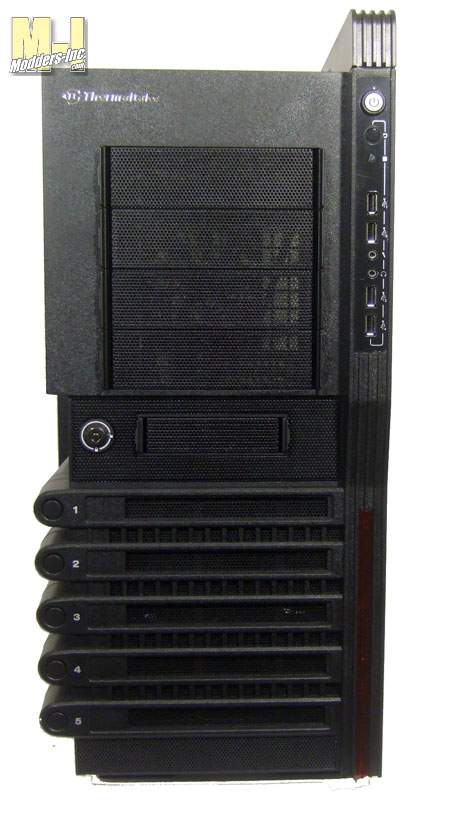 Welcome to the front of the Level 10 GT case. Unlike the Level 10 this case is designed as one piece, but gives you the illusion of compartments. Starting at the top see can see that the there are four fully screened 8.25 external drive bays and a 3.5 external bay. No that is not a button just to the left of that bay, it is barrel key lock… a what? This particular lock is used to secure the five labeled hot swap drawers (more on that later). Vents and a fan with LED’s are placed towards the front of the case to allow for cooling and coolness.

Normally you would see access to USB ports and audio jacks at the top of most cases, but like everything else the Level 10 GT has to be different. Just to the right of the external drive bays and long the edge you will find a fist load of 2.0 USB’s along with the power/reset buttons, power LEDand the headphone/mic audio jacks. This is at a pretty comfortable height when the case is place either on the floor or on a desk top.
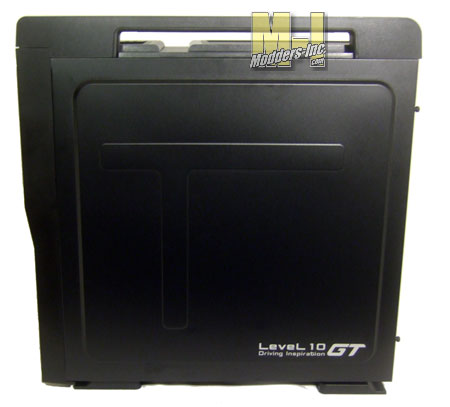
The right side of the case is rather plain when compared to the “compartment side”. The side panelhas been stamped that lowers a portion of the panel and at the same time a large T can be seen, I think this was a missed opportunity by Thermaltake as they could have easily put their trade mark Tt into the panel. With the side panel pressed into shape it helps create definition and strength at the same time.
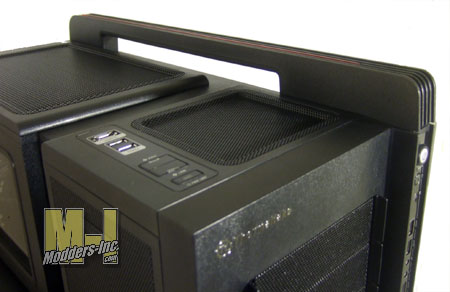
Highlighted here is something that a lot of ATX cases do not have and that is a handle. The handle is made of plastic, it is 1.25 inches thick, almost 2 inches tall and runs the entire length of the case. The handle attaches to the frame of the case and looks like it could be used to carry the almost 30 pound empty it case around, but personally I do not think I would trust it and just except the fact it is more for looks than function.
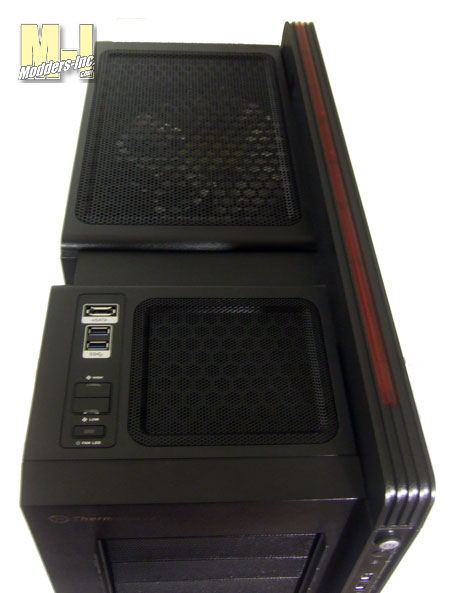 An overhead look at the top of the case gives us a glimpse at the top ports, controls, and two vented areas. The one closest towards the front of the case is where the 5.25 inch drive bays are located at. This helps any hot air escape the case without the assistance of a fan drawing out the air. The larger vented screened area at the rear sits atop the space where the CPU is located. A Colorshift, 200x200x30mm, 15dBA fan is place here to remove all that hot air that rises in the case.
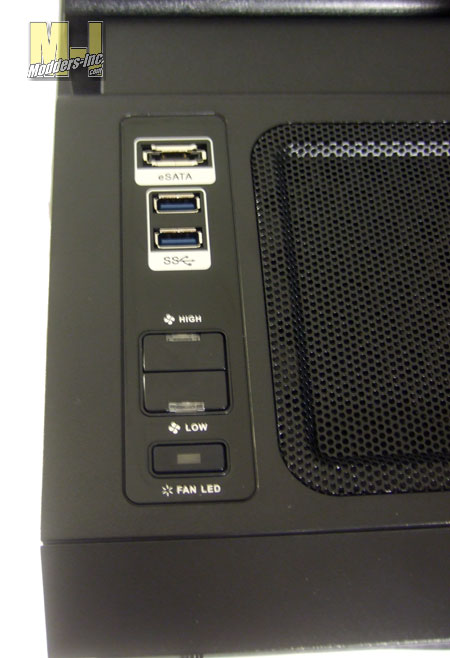
Placed at the left side on the top of the case we have more buttons and ports that are flush with the surface making less likely to accidentally hit one of them. The Fan LED button does exactly what it says as it turns on and off the LED’s to the front, side, and top fans. Each time you depress the switch you are able to scroll through three colors that are in each fan. Those colors are Red, Blue, Green and final a combination of the three that flashes. The Low/High buttons control the same three, very quiet fans speeds. Next we see two USB 3.0 ports that have cable connected to them at allow you to plug them in to the back ports on your motherboard. This is done because USB 3.0 headers on motherboards have not gotten to the “common” stage yet. A single eSATA ports completes our look here.
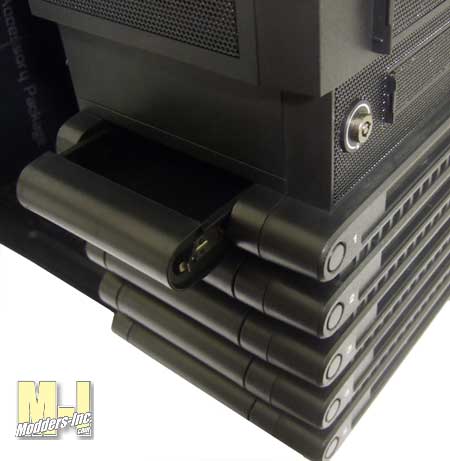
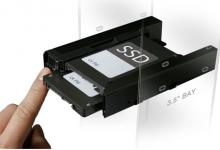
OK I know you have seen them and I even said something about them so it finally time to talk about it; those five ribbed items at the bottom of the case. These are in fact five Hot Swap…uh, Thermaltake likes to call them EasySwap PitStop HDD bays. Either way you say it you get a bunch of real hot swap drive bays, not just five trays with one adaptor on the back but all five bays have them. Each drive can be used for either a your typical sized hard drive or they can hold your favorite 2.5 inch hard drive’s or SSD’s. The lock that I pointed out at the front locks all these drive bays into place so that if you want to keep you hardware save when you are away you can keep it under lock and key. To remove the drive trays you must unlock it, press the large round button next to the number labeled at the front of the case and grab the rib. When you do this the bottom half fold upward creating an easy to use handle.
|
