Thermaltake Element S PC Case
Installation |
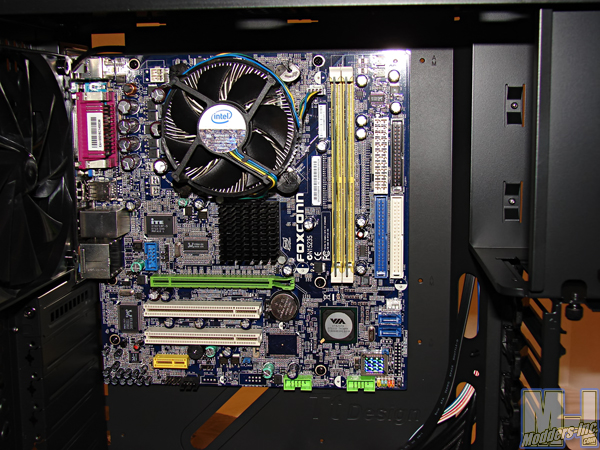 Installation in the Thermaltake Element S was simple and straight forward. I installed a Micro ATX board and had absolutely no issues what so ever. Though I did not install a large video card this time there is plenty of room for up to a 10.5″ long video card. 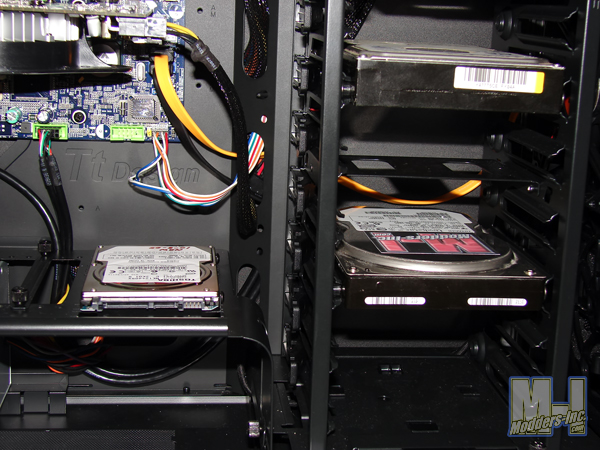 Here I installed a 2.5″ laptop hard drive just for the sake of showing you where it would actually go on the power supply chamber separator. The second 2.5″ HDD/SSD would mount underneath the chamber separator right adjacent to this one. 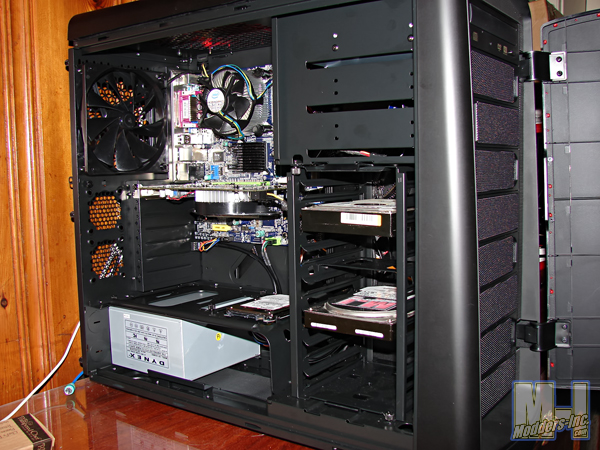 As you can see I installed a non modular PSU in the chassis and yet most all cables are hidden from view. I installed two hard drives in the HDD cage with the SATA connections toward the motherboard side of the case. 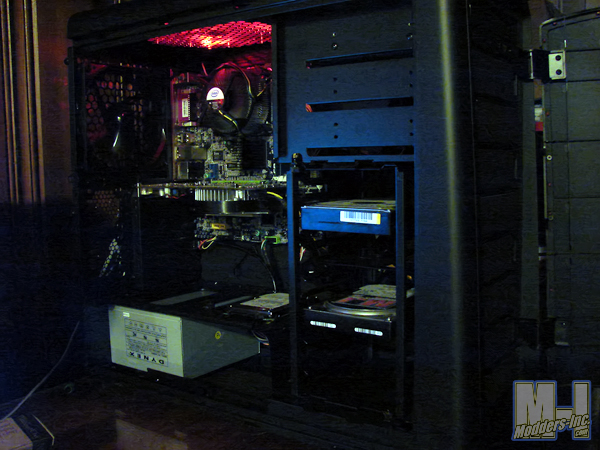
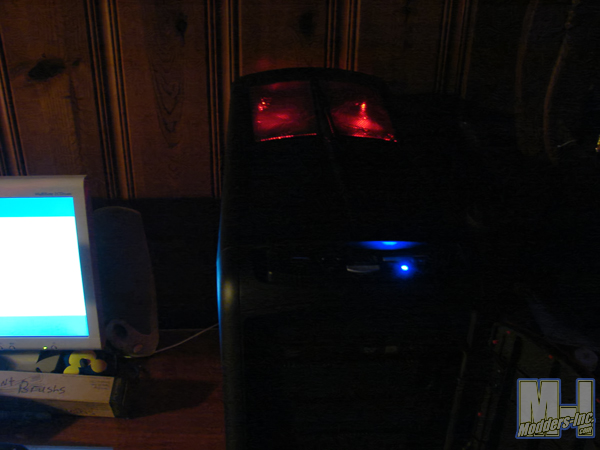
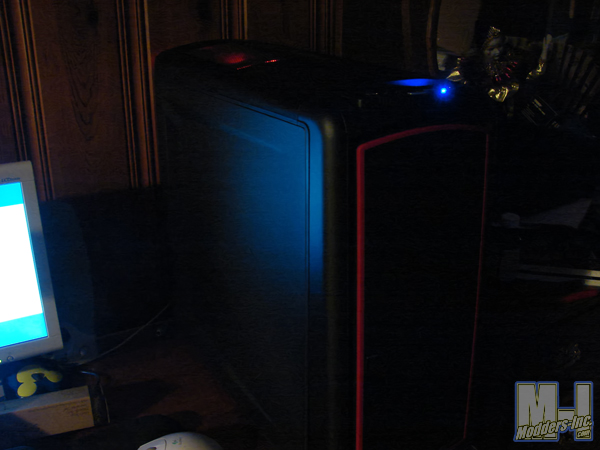 As you can see from the images above the Red LED light from the 200mm fan does not put out so much light that it over powers the room lighting when in low light situations. 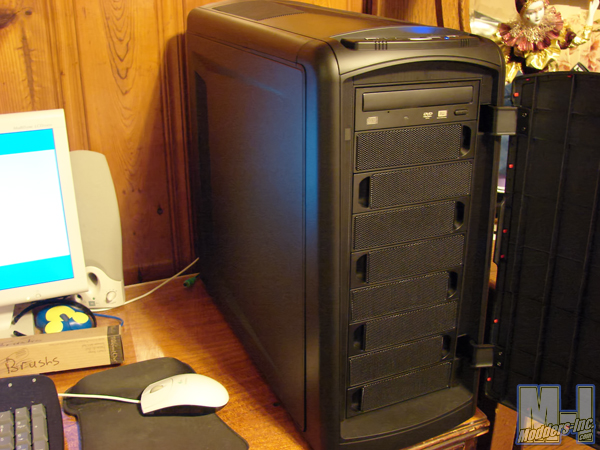 One thing I like about the drive bay covers on the Element S is that you are not stuck with one single direction mounting. As you can see above, I mounted the covers in a bi-directional pattern, for a bit of a different look. 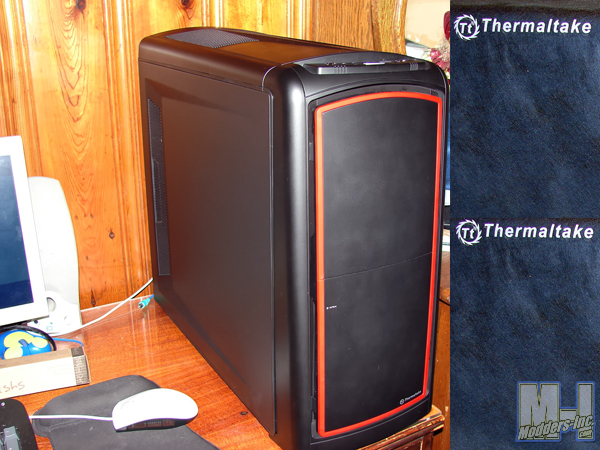
And here we are all buttoned up.
|
