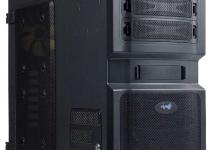
Thermaltake Element G Mid Tower Computer Case
A Closer Look
Digging into the case, it become immediately apparent that cable management has been on the front of the case designer’s mind when the layout was conceived. This case has more places to hide cable than a … well… *ahem*… you get the idea. If you are a cable wrangler, and you like to tweak your cabling, this case is *right* up your alley! With the matte black chassis, and many mid to high end PSU’s sleeving their cabling in black, it becomes VERY easy to “hide what you want hidden” in this case.
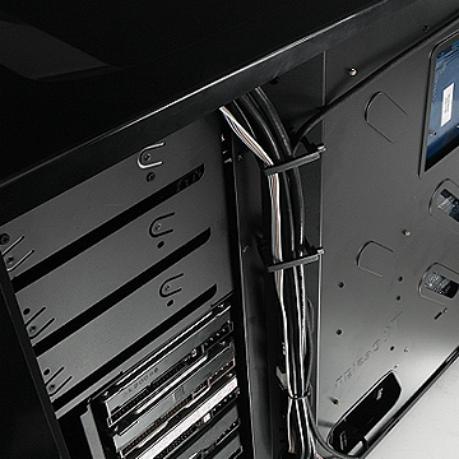
Thicker cabling like the main motherboard power header as well as any PCI-e graphics power headers, those can be fed through 1 of 3 oval holes that lead to a more open area (pictured above). The area shown above, all of the cables are held in place by snap clamps that are installed into the case, making for a much more organized vertical run. you can bring cables back into this area, and then up the run as far as you need them, then poke them back out into the main motherboard area through one of the other holes. In my installation instance, the cables that I ran through this area consisted of the front panel USB headers, the console group (reset/PWR/LED’s)2 sets (4 total) of the PCI-e graphics power header lines ATX motherboard header, regular hard drive power molex, and a flat IDE ribbon cable. You can see how good it looks in the main compartment and how unimpeded the airflow will be for the unit. WHen you are packing in performance components, this lack of air flow clutter is a huge bonus! If you are water cooling, but not water cooling *everything*, you still need airflow for the cooling of the power regulators as well as any passive heatsinks installed on the motherboard. Airflow is king, and this case is engineered to deliver.
The motherboard tray has cut outs for both cable management as well as possible CPU bracket access. The hole under the CPU area could also likely double as a passive heat radiation point under the CPU bracket. More air in the space behind the CPU should theoretically allow for an easier, passive radiation escape of heat to the back of the case, without the motherboard tray acting as an “insulator” or “incubator” that would be reflecting that heat back to the motherboard. All of that babble means that your CPU should stay cooler. There is also cable holes to direct the cabling from the PSU to the area behind the motherboard. There is a main hole at the base that is good for thinner cables to be routed to remote locations (like my square, 4 pin motherboard line that was routed behind and to a hole at the top corner of the motherboard tray),
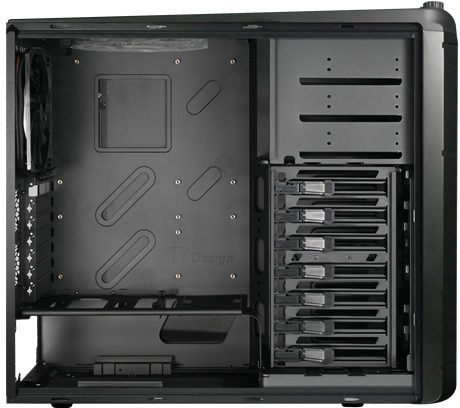
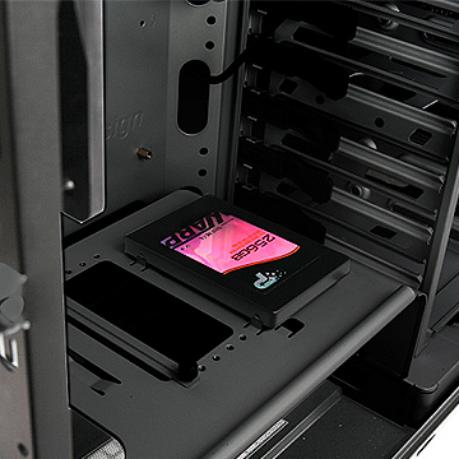
If anyone has read most of my previous case reviews I have almost ALWAYS harped on toolless hard drive installation on rails, and the fact that they always seemed to design their rails such that the drive could not be installed with the cabling at the back, it was always hanging and cascading like a cable waterfall down the front…. what an eyesore. You could put the cables at the back, but that involved a lot of customization. Not so with this case. The entire 7 bay 3.5″ hard drive bay is removable by loosening 2 thumbscrews. You load your drives by attaching specially crafted side nuts on the drive chassis, and then sliding them into the hard drive bay area, locking them into place with a friction lock mechanism that has a very satisfying “click”. The drives face rearward! Cabling can easily be performed after installing the bay back into the case and having the back panel removed, and feeding the SATA or ribbon cables back through one the proper oval holes referred to in our first paragraph. To make it even better, they have created a special place for 2.5″ SSD drives to be mounted and secured! In the picture below, you will note the placement of the SSD and one of the “oval” holes. Chances are most of the SATA cables from any of the 3.5″ hard drive bay would enter the motherboard area via that hole.
The three fans on the machine are all controlled from a central area on the top/front of the case. All 3 attach via a normal looking 3 pin header with power/ground/signal. The fans are already quiet when they are at their highest, but if your ears are annoyed by that meager ammount of sound, you can step the RPM’s back a max of 200 revolutions which gives even that meager hum a near mute! But the controller also houses another function. Push down on the controller knob and you can change the appearance of the fans! All of the fans have RGB LED’s installed and by pushing on the knob, you can cycle between solid red, green, or blue, or have the machine auto cycle between some other multi-color combinations. I wish there was a way to stop the color cycle on a specific setting as that would be a nuce way to tune the coloring more consistantly. Or, if you dont likt the light, you can turn all of the fan LED’s off. No attention grabbing bling…. just airflow performance!

The Front bezel snaps off with a single hand. There is a trigger mechanism at the bottom on the back side of the bezel that forces the tabs to open and allow the bezel to be removed. It has a metal, formed mesh that is held in place with bent tabs. I have concerns with how much flex there is in the plastic bezel when I pull it off. Always makes me thing I am about to break it. I’ve snapped my share of plastic in my lise, so any hard plastic snapping sound…. even if it is supposed to make that sound… scares me! ;)
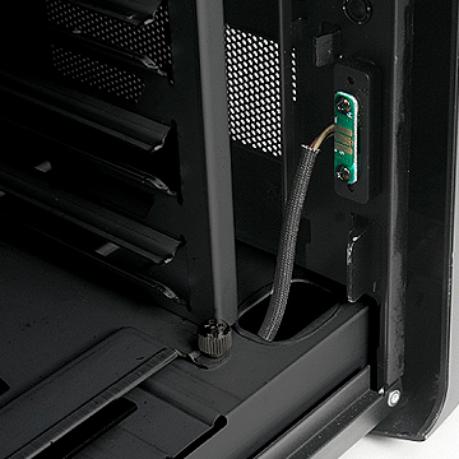
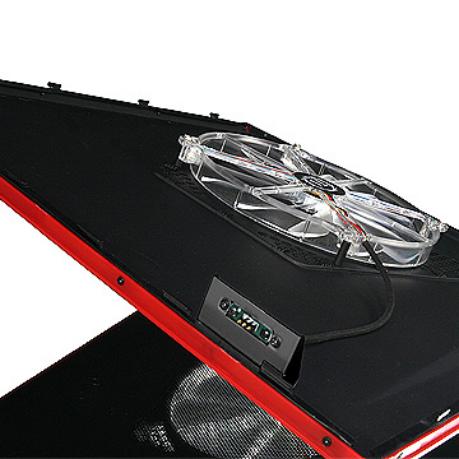
On the side panel fan, I *love* what Thermaltake did here. They attached a contact sensor at the edge of the framework so that when the panel is put back in place, the pins on the panel, come into contact with the pads on the pcb mouted on the case, and the circuit is completed! When you remove it, it is instant off. No cables to undo. THANK YOU, THERMALTAKE!!!
Oh yeah, and one of the most important things… rounded edges! I did not find a single sharp edge in this case. No blood! Nowhere that I was able to find! Kudos to Thermaltake again!
