Thermaltake Core V21 MATX Case Review
A Closer Look Inside
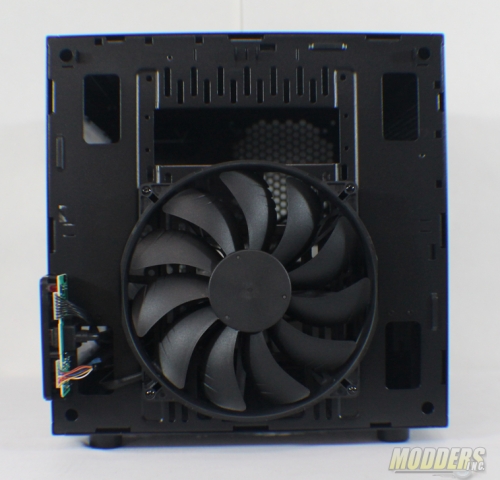
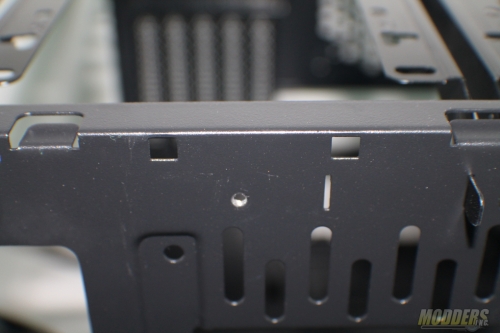
With the front panel removed from the Thermaltake Core V21 we can see the large pre-installed 200mm (Black) fan, Four large cut outs for routing wiring. In Addition to that along each edge there are mounts for you to relocate the Power, Reset, USB, Audio I/O panel.
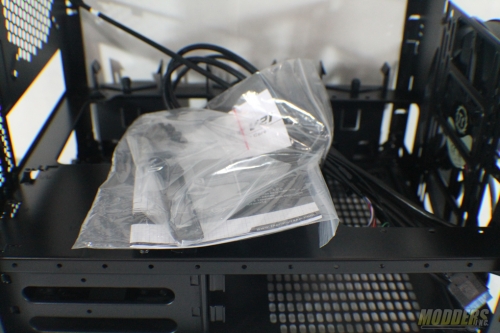
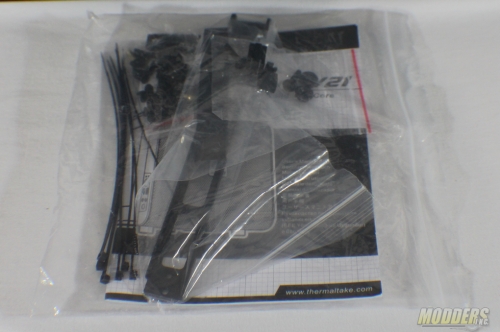
With the side panels off we find the plastic bag that come with the Installation Manual and all the supporting hardware for you to do your install.
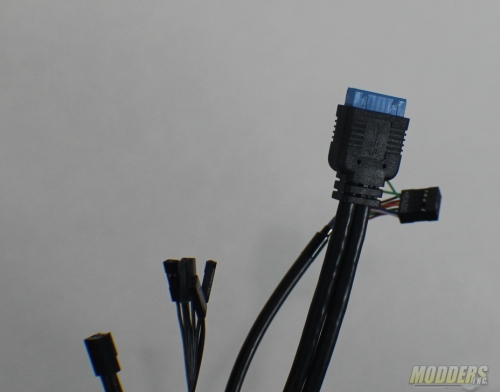
Inside you will find your front I/O panel wires they are all Black. You will find they are the same length as the wires that come in the Full Towers. I would have liked to have seen a shortened version for this and the ITX model.
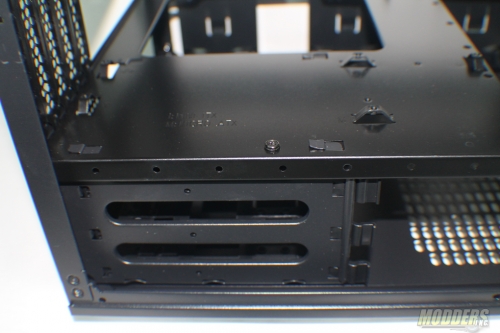
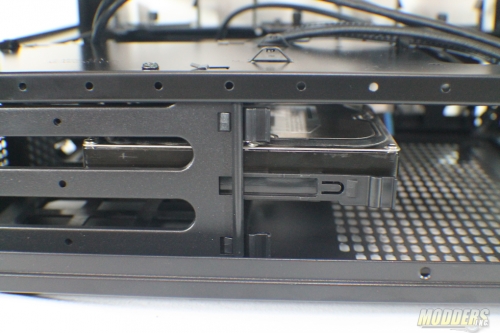
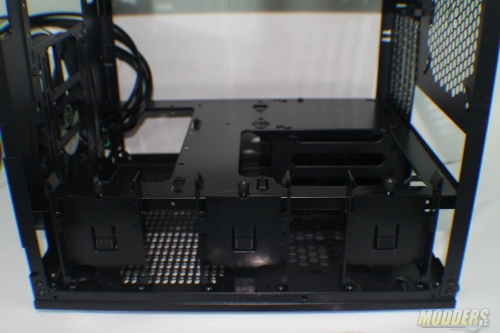
To the rear of you will find the modular drive cage that supports 3 x 3.25″ HDD/SDD. for HDD’s it is a Tool-less application. Just snap the Drive in place with the included plastic tabs that go into the drives mounting holes into the drive caddy, and slide the it into the cage. For 2.5″ SSD you will need to use the mounting screws that come with the supporting hardware.
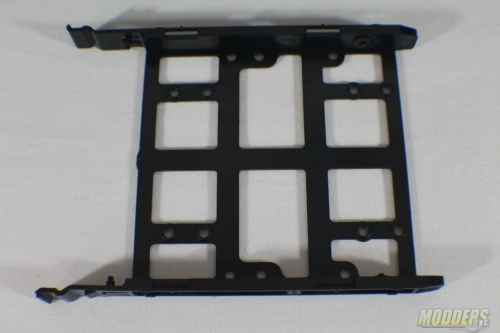
The opposite side has 3 x 2.5″ SSD caddies each one is made of plastic and is held in place with a Thumb screw, and can be relocated.
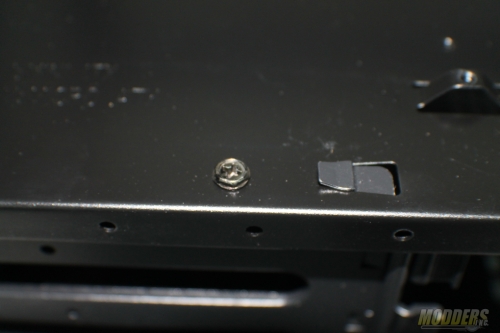
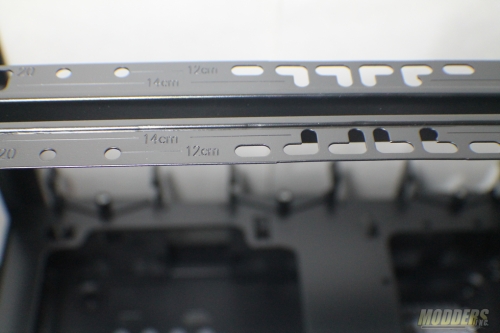
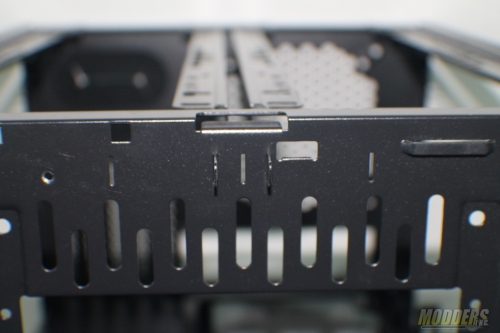
The top has two modular fan/radiator mounts that support up to 2 x 120mm/140mm fans or 1 x 120mm/140mm/240mm radiator each. The mount slide into slots along the front and rear of the chassis and is locked in place with a metal clip. There are three mounts located on the top and one on each side.
