Thermaltake Commander G41 Mid-Tower Chassis Review
Internal Features of the Thermaltake Commander G41
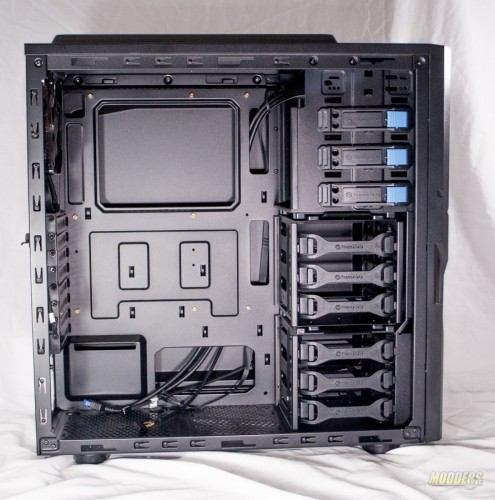
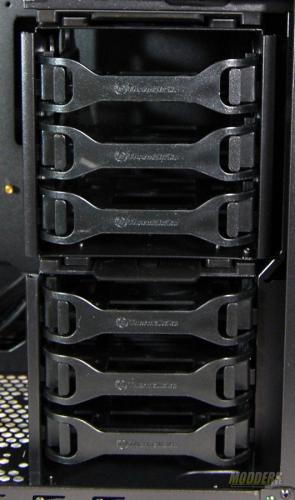
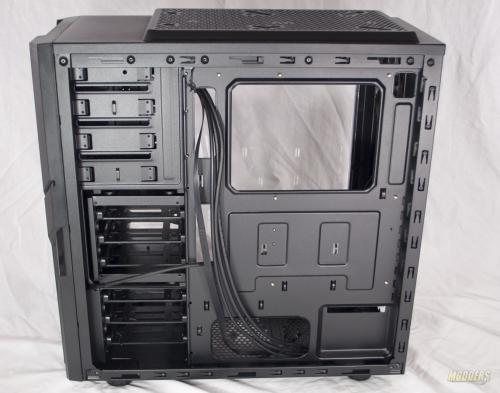
The inside of the Commander G41 appears to be quite spacious. There is a large CPU back-plate cutout, as well as several holes for routing cables. Unfortunately the cable management holes do not have grommets on them. On the right hand side there are three tool-less optical drive bays, as well as two hard drive cages which can house three 3.5″ hard drives each. The upper of the two hard drive cages is removable.
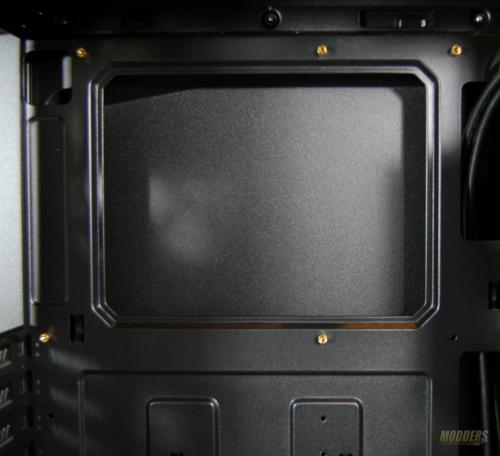
The CPU cutout is large enough to accommodate even the largest back-plate on every CPU socket available on the market today.
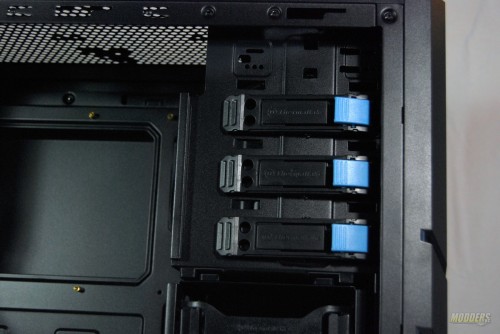
The three tool-less drive bays are simple to use. Simply slide the optical drive in the front of the case and it clicks into place. Once you’re ready to remove the drive you press the blue button and the drive slides right out the way it was installed.
The two hard drive cages each feature three removable sleds which are capable of housing either 3.5″ or 2.5″ hard drives. To remove the top cage there are two tabs which you squeeze inward and simply pull the drive cage out.
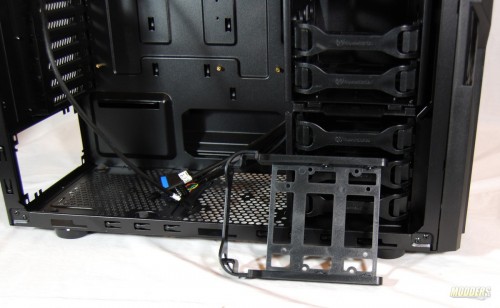
Here are the mounting holes for the hard drive sleds. 3.5″ drives require no screws or tools to install them, however 2.5″ drives have to be screwed into the sled.
Behind the motherboard tray are many anchor points for attaching your cables to ensure proper cable management. There is also a large opening in the top right corner to allow you to route your 4/8 pin CPU power connector for your motherboard. This access holes is place in better location that most other cases. Some manufactures place the hole at the which can “shorten” the cable and leave you about a half inch or more short.
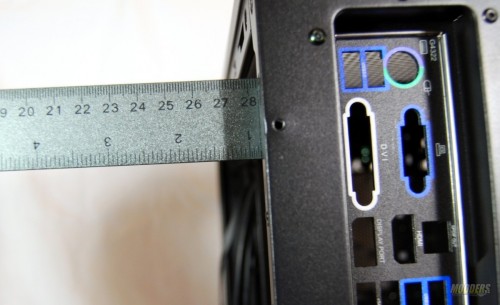
Behind the motherboard tray there is almost 1″ of clearance to manage and route your power cables. This isn’t including the extruded side panel, effectively there is just over 1″ of clearance to work with, should it be needed.
