Thecus N2560 Network Attached Storage Review
Internally there are two bays for hard drives in the Thecus N2560. The supported RAID levels are JBOD, RAID 1 and RAID 0.
 |
 |
 |
| Images courtesy of Wikipedia | ||
JOBD or Just a Bunch Of Disks is exactly what the name describes. The hard drives have no actual raid functionality and are spanned at random data is written at random.
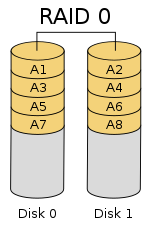
RAID 0 is a stripe set and data is written across the disks evenly. The advantage of RAID 0 is speed and increased capacity. With RAID 0 there is no redundancy and data loss is very possible.
RAID 1 is a mirrored set and data is mirrored from one drive to another. The advantage of RAID 1 is data redundancy as each piece of data is written to both disks. The disadvantage of RAID 1 is write speed is decreased as compared to RAID 0 due to the write operation is performed on both disks. RAID 1 capacity is that of the smallest disk.
For a full breakdown of RAID levels, take a look at the Wikipedia article here.
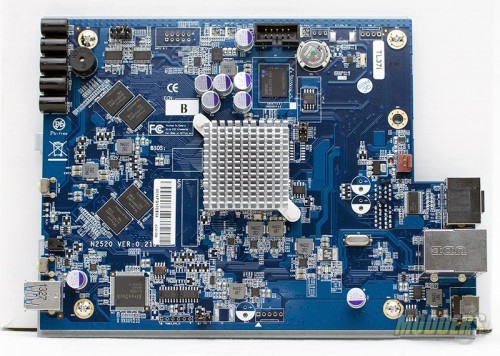
The Thecus N2560 is extremely easy to disassemble. A few screws later and the motherboard was out. The Thecus N2560 uses the Intel Atom SoC CE5335 Dual Core CPU running at 1.6 GHz. 2 GB DDR3 is provided by SKHynix. The network access is handled by a RealTek RTL8211E chipset. An Etrontech EJ168a handles the USB 3.0 functions and the SATA ports are handled by the Intel chipset.
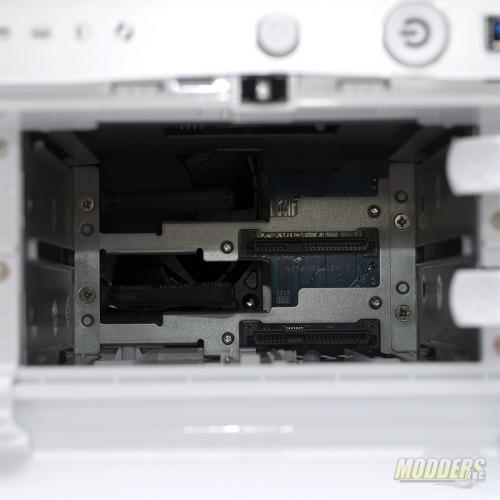
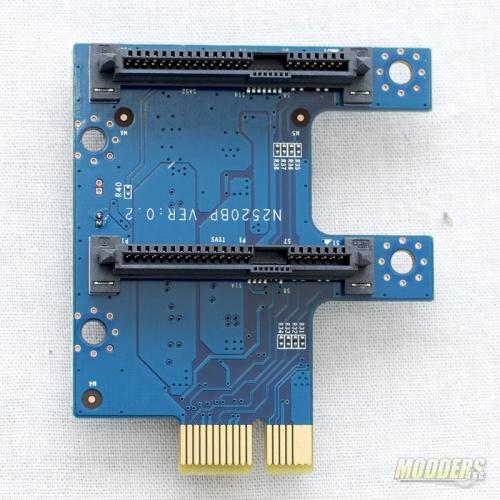
The hard drive connections are managed by a dual port PCI-E 1x riser card. When installed the riser is connected to a port on the back of the motherboard and screwed into the frame of the Thecus N2650.
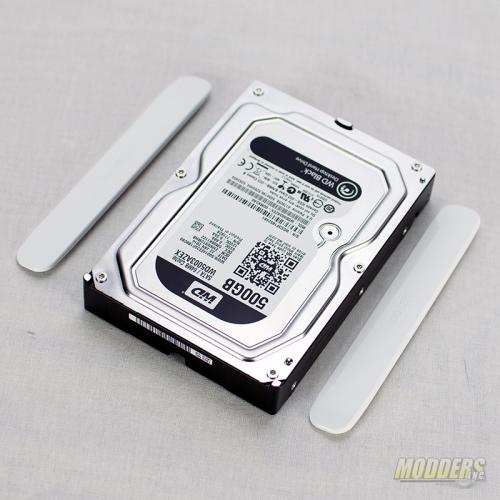
In order to get hard drives installed in the Thecus N2560 brackets need to be placed on the hard drive. With the price of SSDs on the decline, it would have been nice for Thecus to include a couple of SSD brackets but they did not. Mounting SSDs in the N2560 is going to be a little bit of a challenge but not impossible. A simple 2.5″ to 3.5″ hard drive adapter is all that should be needed.
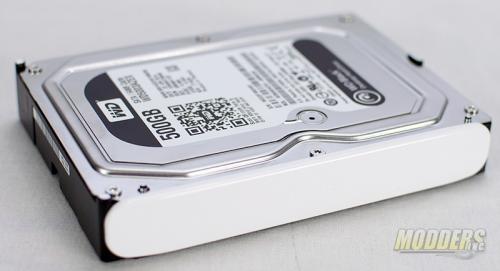
The Thecus comes with four brackets. To install the brackets, line up the mounting holes on the side of the hard drive with the tangs on the mounting brackets and give them a push. The brackets should sit flush against the side of the hard drive.
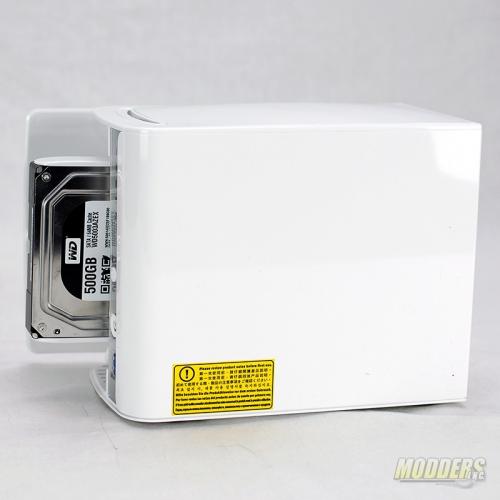
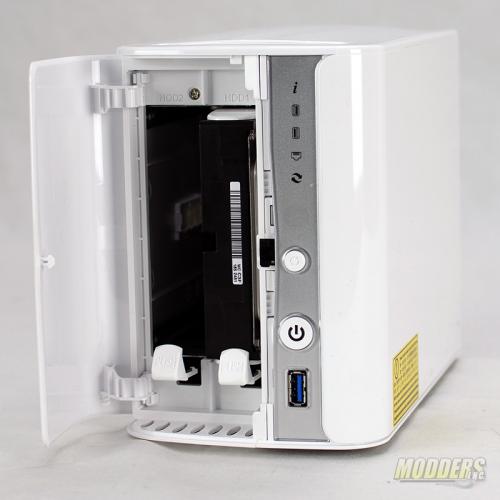
After brackets are installed on the hard drives they need to be installed into the NAS. Press down on the white locking tab at the bottom of each bay and slide the drives in. Make sure to install the drives in the correct orientation.
One drive is installed an waiting on the other.

Would it be possible to test more video formats/sizes using xbmc via the hdmi port, as this NAS will supposedly replace your stand alone media player.