The Antec Performance Series P120 Crystal Mid-Tower Review
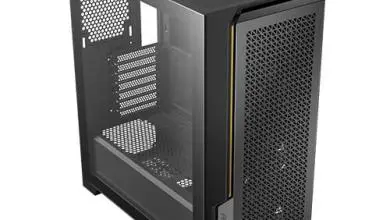
The Antec P120 Crystal is a Mid-Tower that won't break your bank.
Hardware Installation and Clearance Compatibility
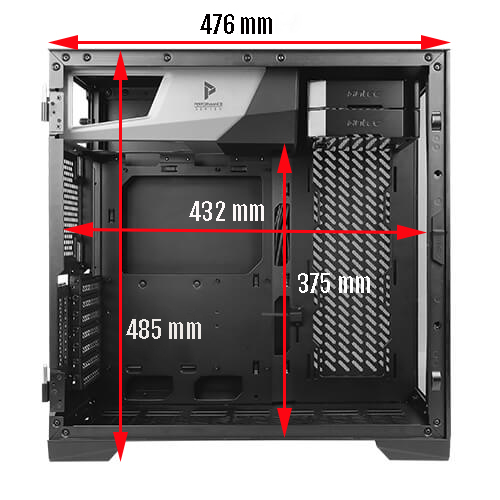
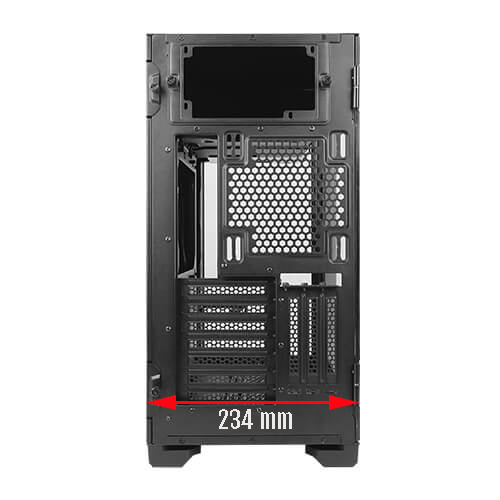
Measurements
- Overall Height: 485 mm
- Overall Length: 476 mm
- Overall Width: 234 mm
- Inside Length (Frame to Frame): 432 mm
- Internal Height (Frame to PSU): 375 mm
Clearance
- Max GPU Length: 450 mm
- Max CPU Cooler Height: 185 mm
- Max PSU Length: 294 mm
Radiator Support
- Bottom: 120 mm, 240 mm, 280 mm or 360 mm (20 mm max thickness
- Exhaust: 120 mm
- Motherboard Side: 120 mm, 240 mm, 280 mm or 360 mm (Bottom drive cage must be removed to use a 360 mm radiator)
Hardware
- Core I7 8700k
- Aorus Z370 Gaming 7
- EVGA RTX 2080 Super FTW3
- 500 GB Samsung 860 EVO M.2
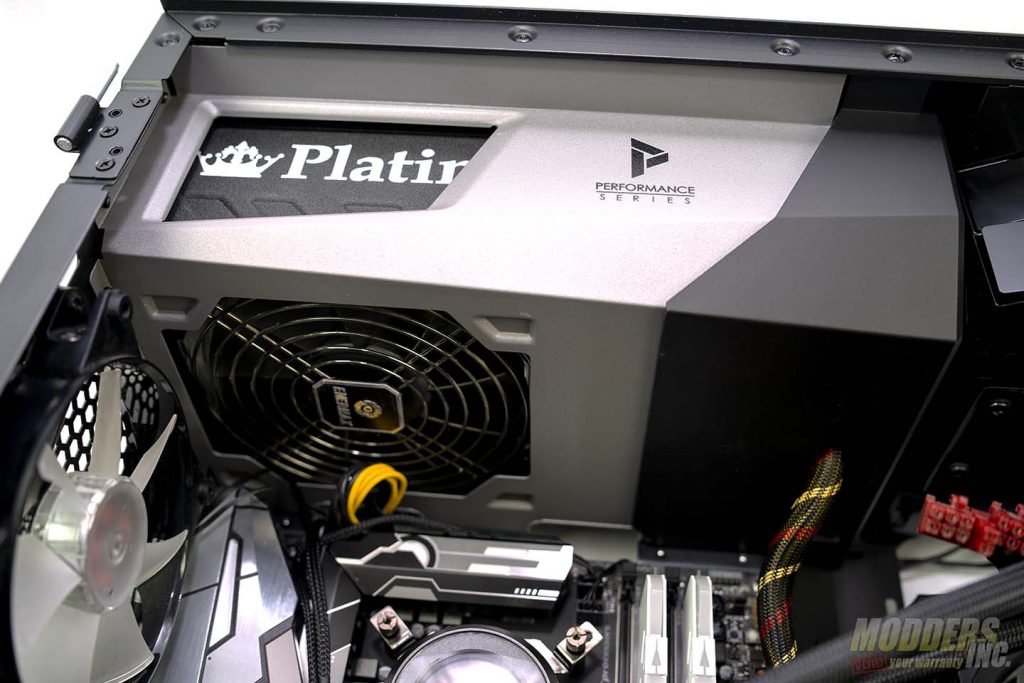
- Enermax Platimax 1350 Watt 80+ Platinum Power Supply
- Patriot Viper RGB DDR4 3200 MHz Memory
- Cooler Master 240 mm AIO Cooler
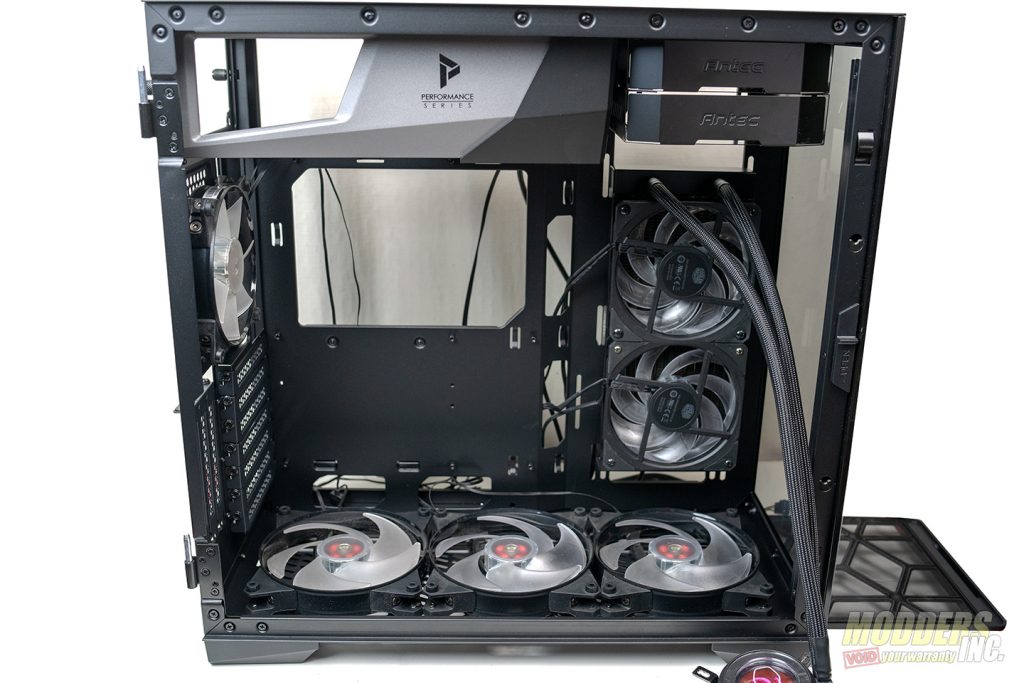
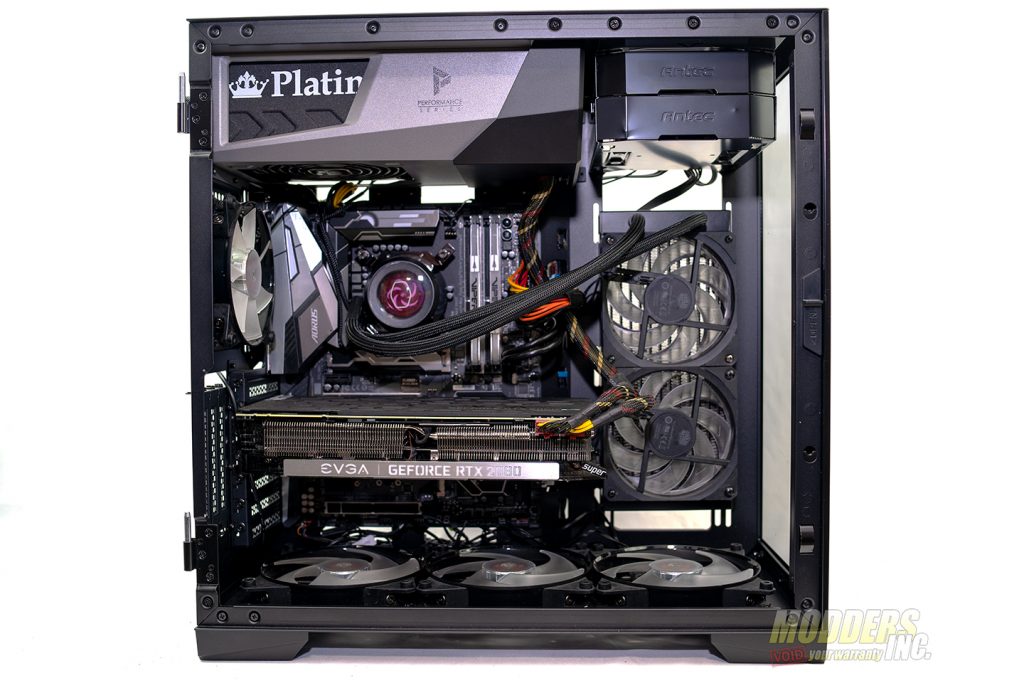
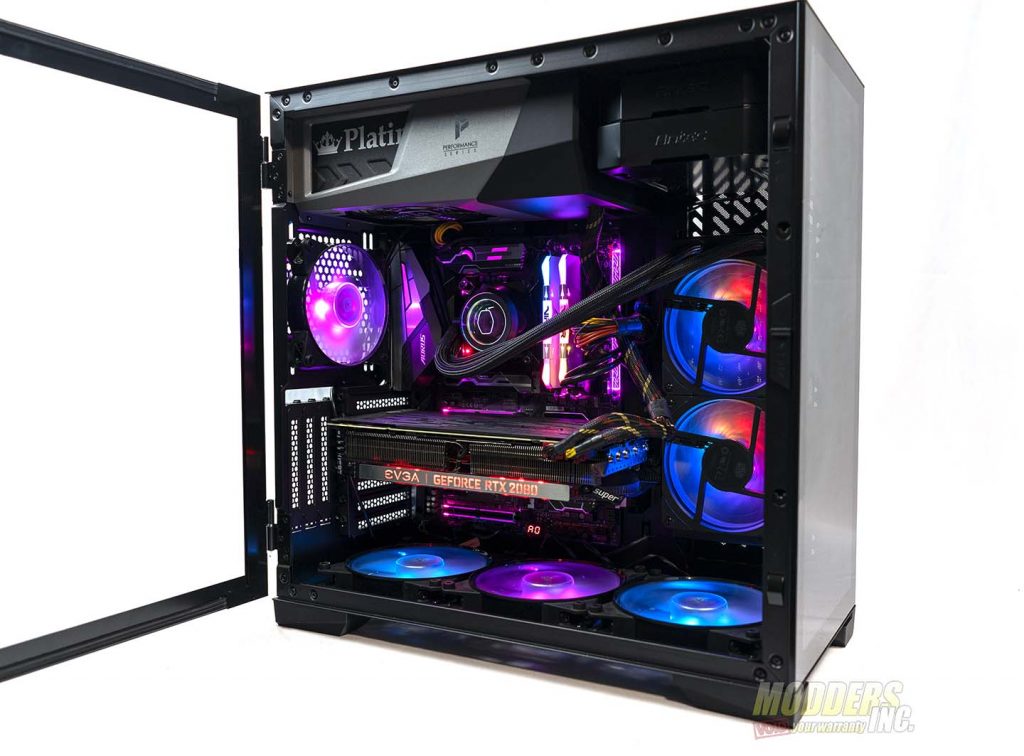
The first step to the installation process with the P120 Crystal was to mount the 240 mm Cooler Master AIO used for this build. Next was to install the exhaust fan and three 140 mm fans in the basement of the P120 Crystal. Since I used 140 mm fans in the basement of the case, I had to first remove the feet of the case to install three fans. Next, we installed the power supply.
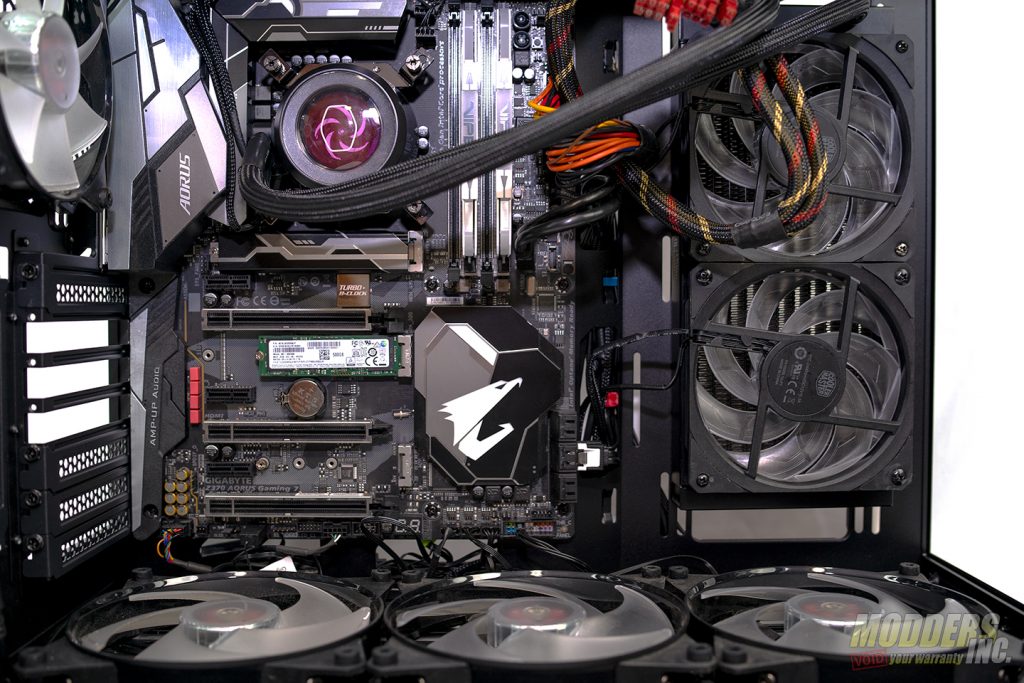
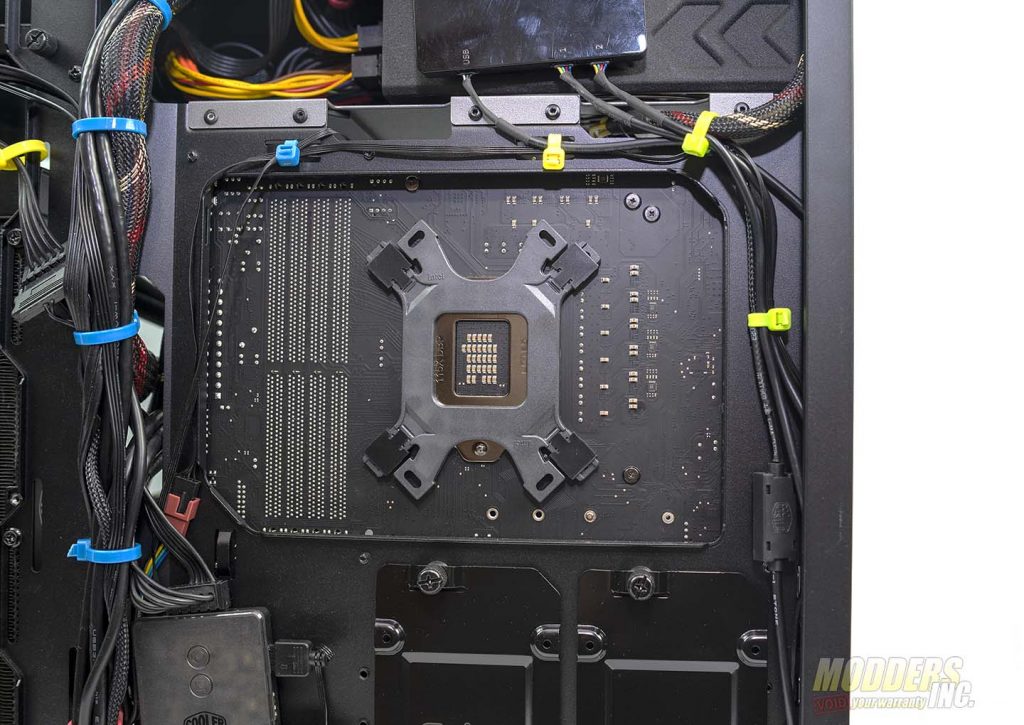
Once the fans and power supply were installed in the P120 Crystal, next came the motherboard. The Antec P120 Crystal can support up to an EATX motherboard. Once the motherboard is installed, we mounted the pump and block combo for the 240 mm Cooler Master AIO cooler used in this build. I had forgotten to install the backplate initially. Luckily, the cutout on the rear of the motherboard tray is big enough that this wasn’t an issue. The cut out behind the motherboard is large enough that you can easily swap out backplates without removing the motherboard.
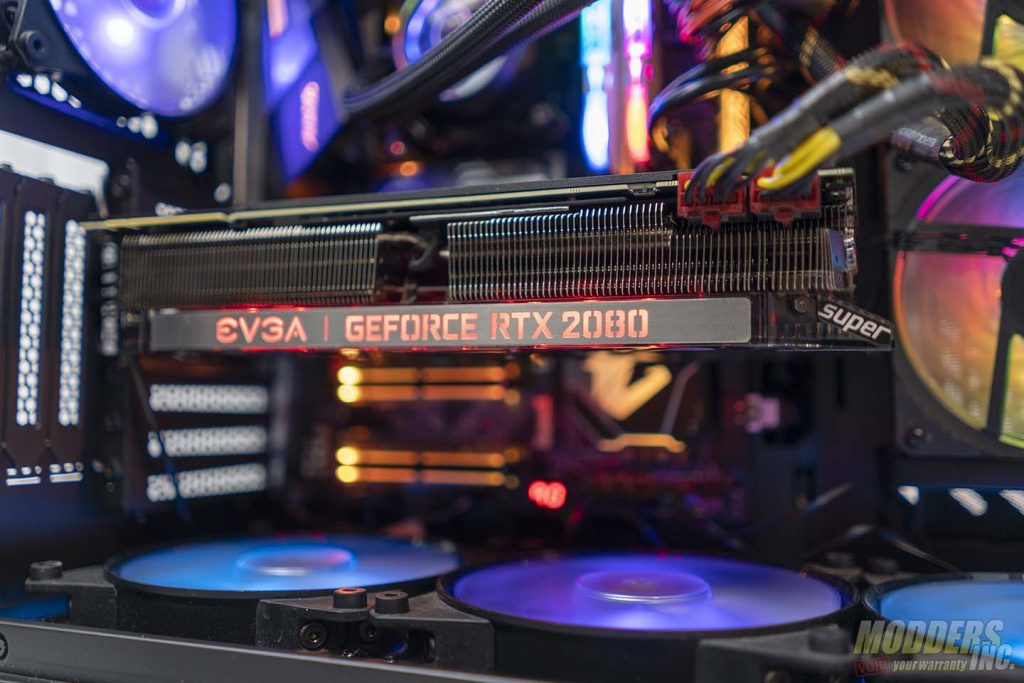
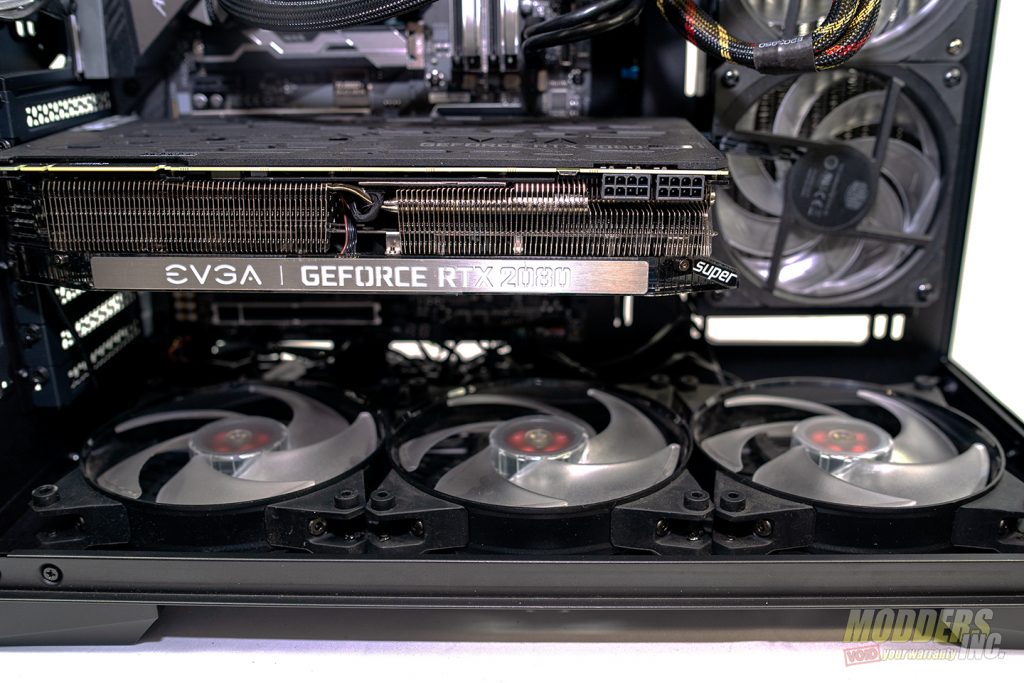
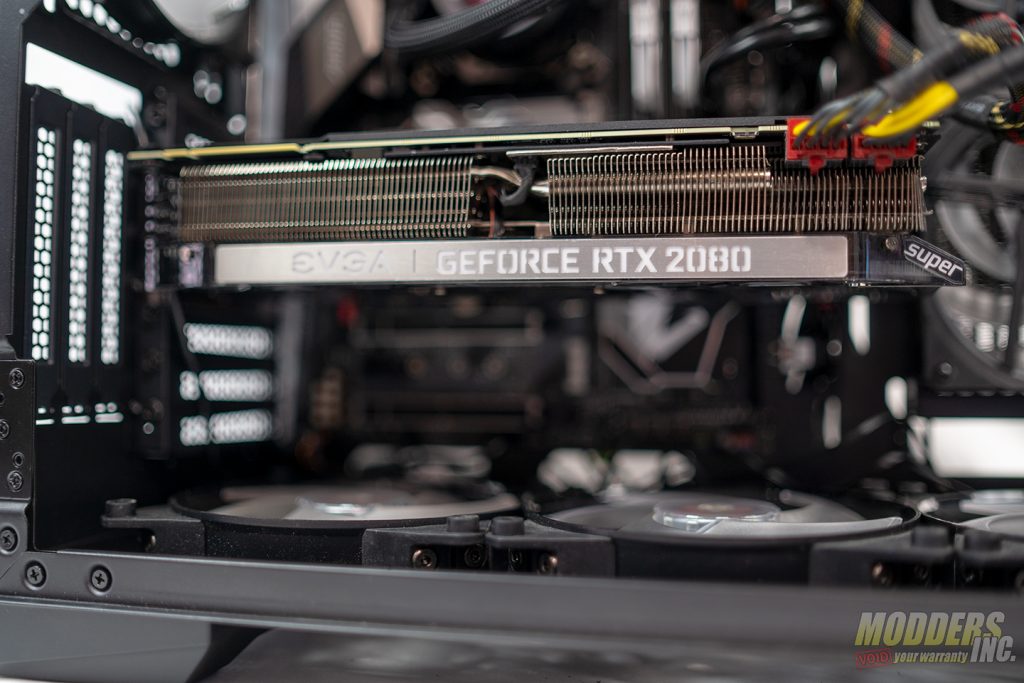
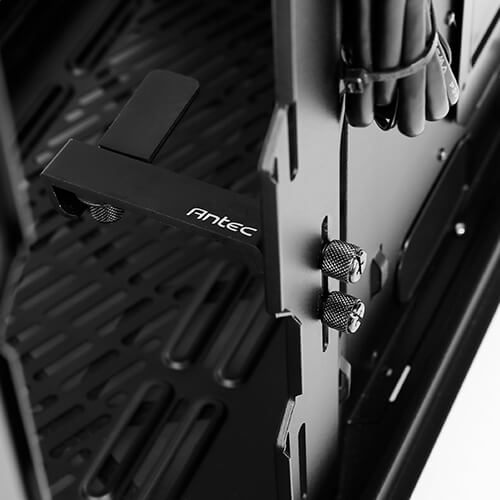
With the bulk of the hardware installed in our P120 Crystal and the AIO hooked up, next we installed the graphics card. For this build, we used the EVGA 2080 Super FTW3. A great feature of the P120 Crystal is the inclusion of a GPU support bracket. Sadly, I seem to have misplaced the one that came with our review sample and have yet to find it. However, it’s still an excellent addition to the P120 Crystal.
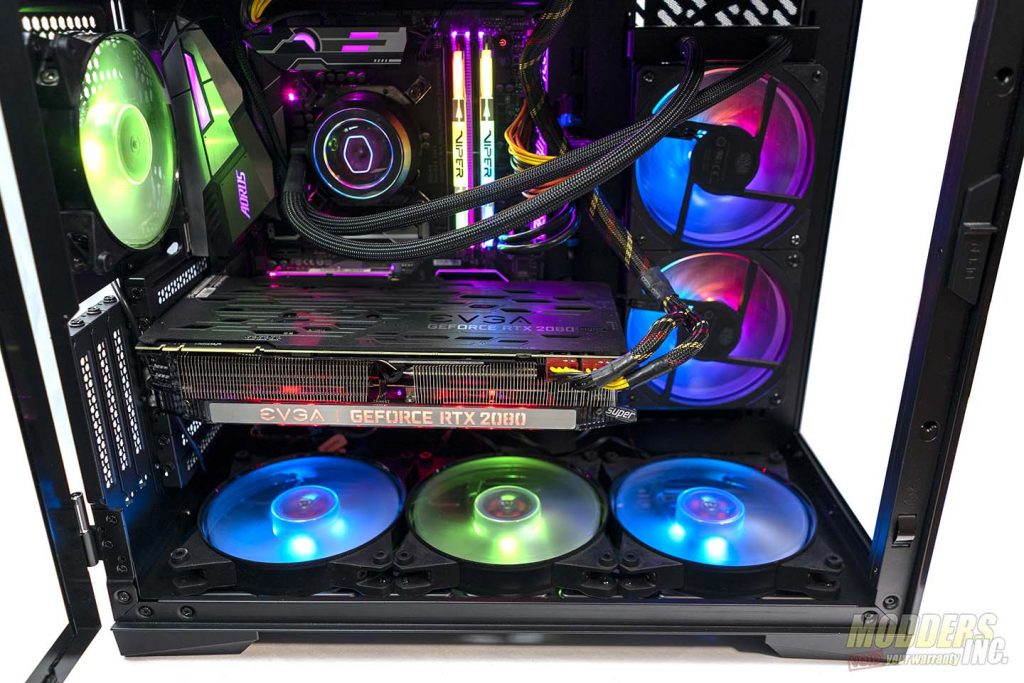
Now that our build in the P120 Crystal is essentially complete, it’s time to start the cable management and install the RGB controllers for our fans. For fans, we used all Cooler Master MasterFans. There were three 120 mm fans and three 140 mm fans used in total. The three 140 mm fans used in the basement, a single 120 mm fan used for the exhaust and two 120 mm fans used on the 240 mm AIO cooler.
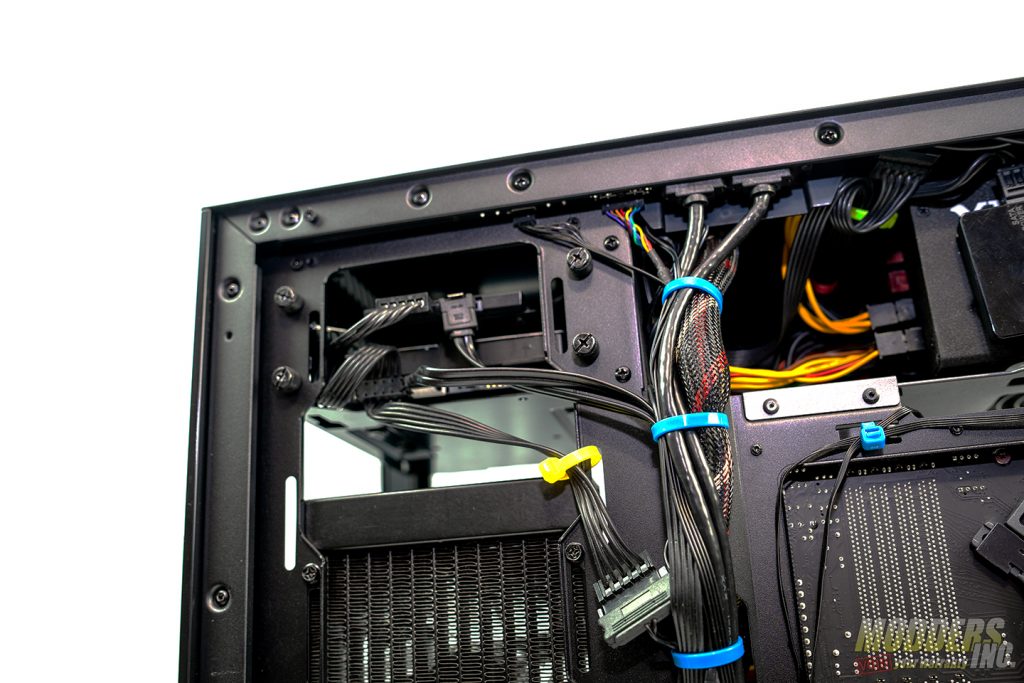
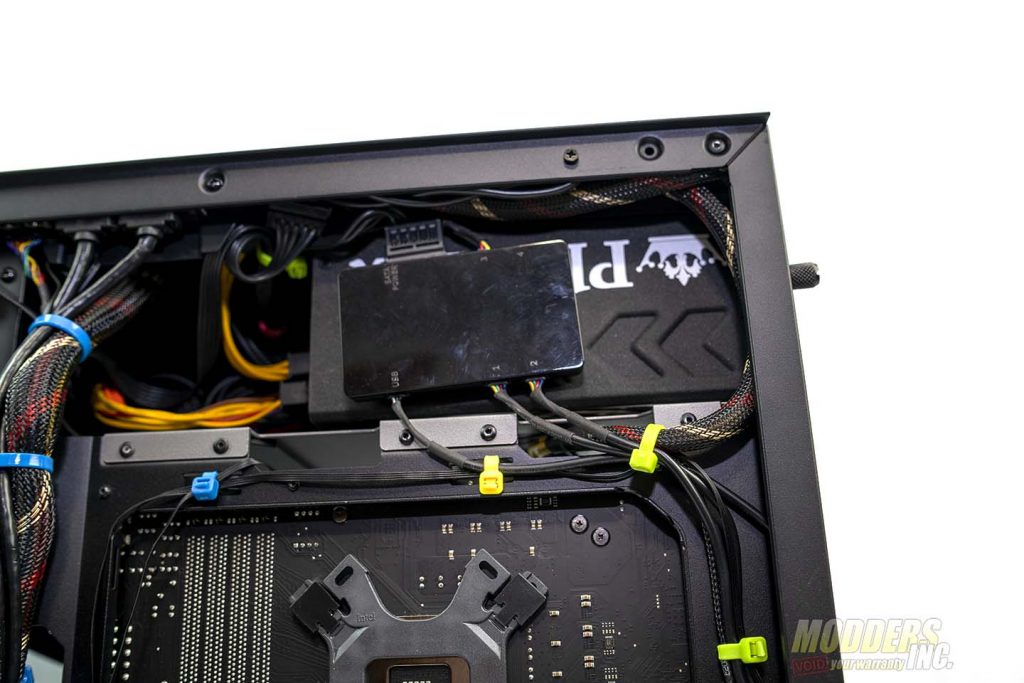
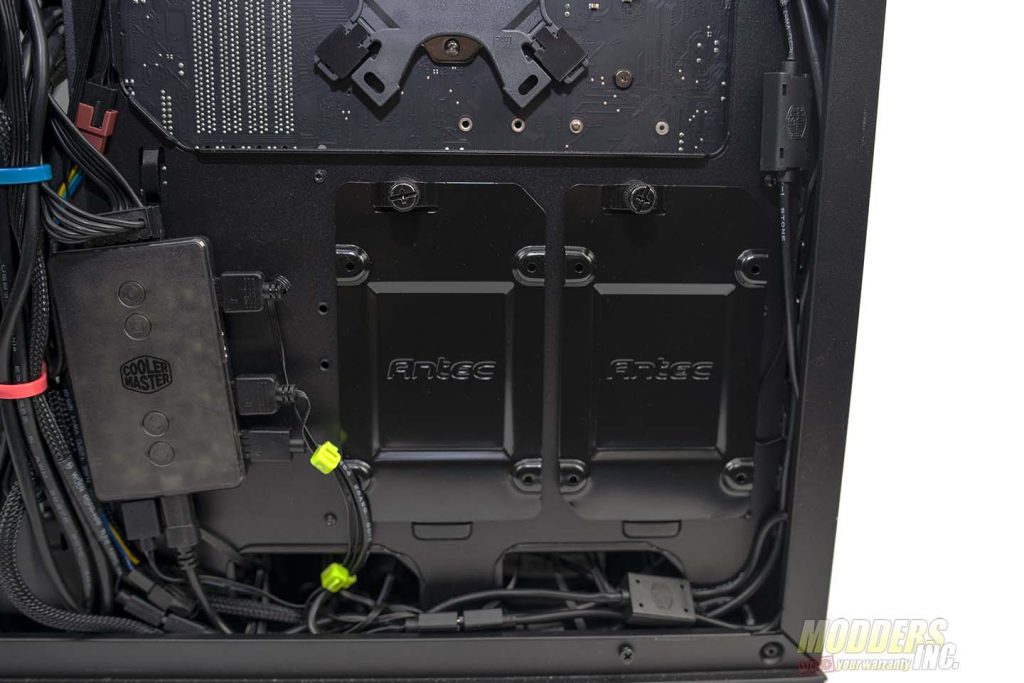
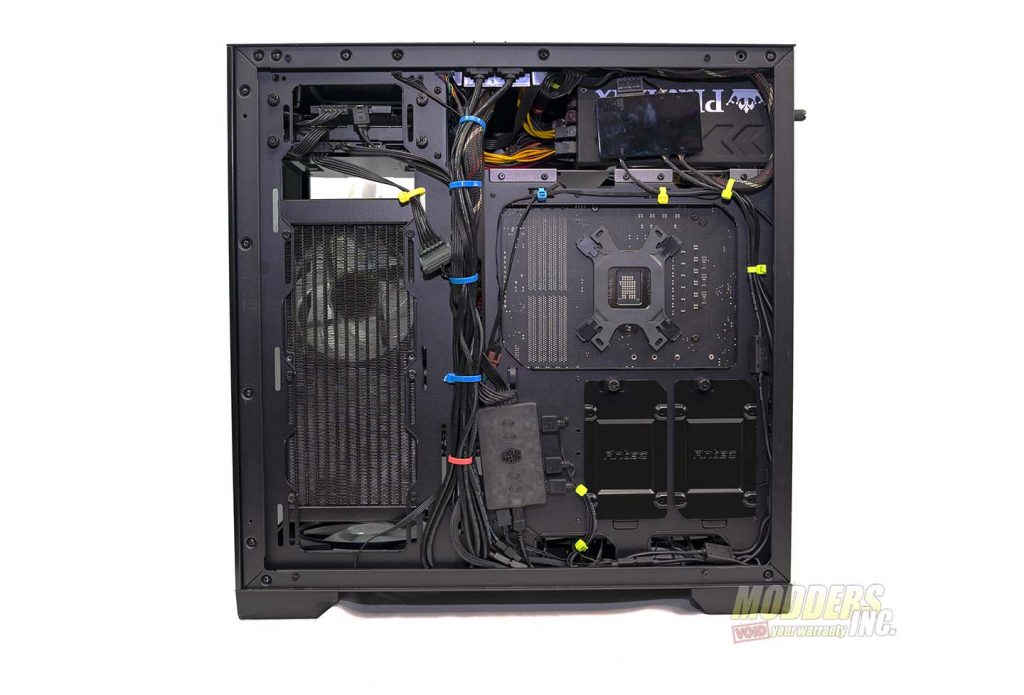
Now, I’m generally not that good with cable management. Especially using stock cables and two RGB controllers. The first step was to hook up the drives in the drive cages and begin to tie up the front panel cables. I had low expectations for my cable management, mainly due to the fact we used two RGB controllers in this build. As we all know, RGB controllers add several wires behind the motherboard tray. However, with the ample room the P120 Crystal provides behind the motherboard tray, cable management was rather simple and I was rather pleased with the result.
