TerraMaster F2-220 Review: Network Attached Storage at Affordable Price
Initial Setup and Dashboard TOS 3.0.23
Before you can actually start to configure your device you need to go to http://start.terra-master.com in your browser and download User Guide and TNAS Desktop application. Currently there are two separate versions for Mac and Windows.
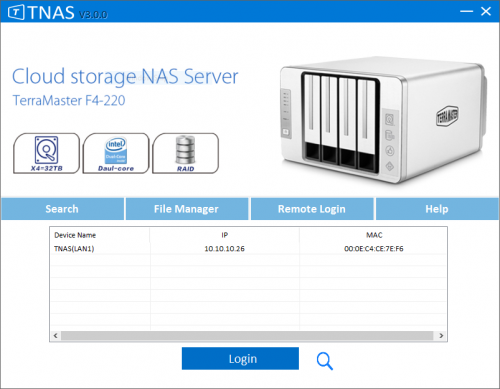
Once you have downloaded the TNAS software and have installed it; you can use search functions of it to find your device’s IP address.
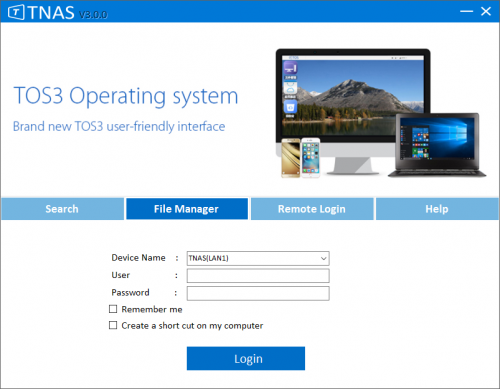
This little application is useful for initial set up and File Manager. To manage files on the device you can use File Manager in TNAS application.
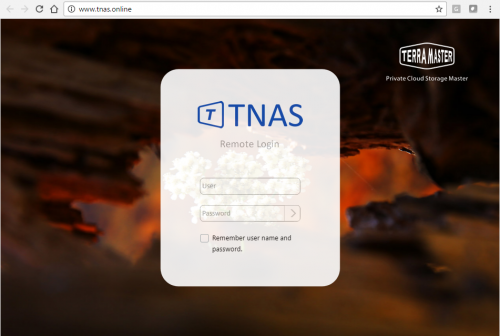
F2-220 could be managed from the cloud and the quickest way to do that is to either go to “Remote Login” in TNAS software of go to http://www.tnas.online.
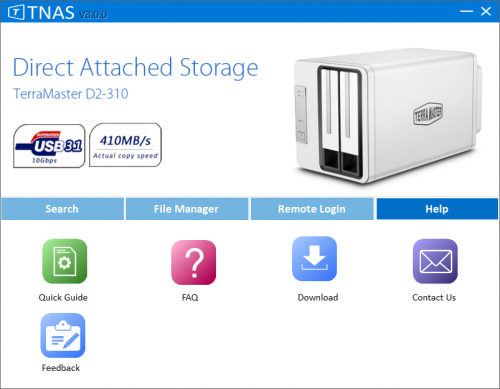
Help menu has some helpful items as well. Here you can submit a feedback or contact Terra Master for support and help with your device.
Initialization
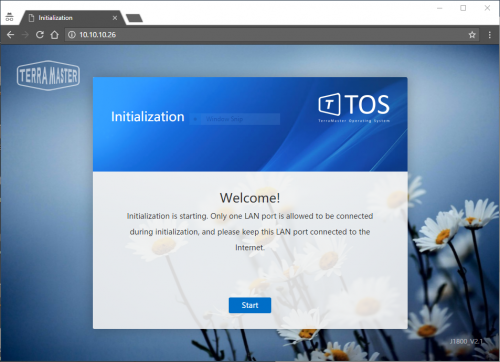
To get started with the Initialization you should have your hard drives already installed and unit connected to LAN and powered on. Device will use DHCP to get IP address. To find what IP address has been assigned to F2-220 you either need to run TNAS tool or a simple IP scanner on your network.
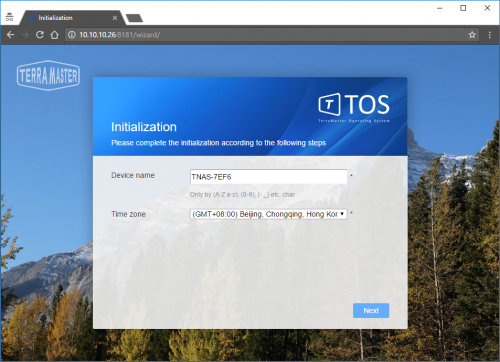
Once you know the IP address of F2-220 you can enter it in your browser and follow friendly installation wizard.
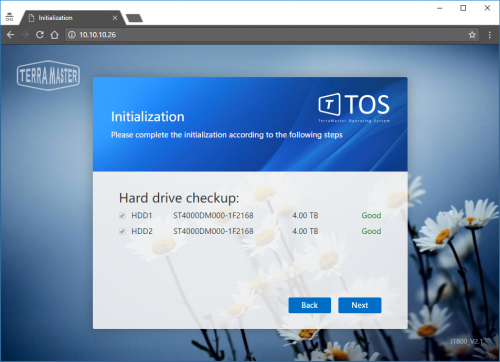
Since this device only had two hard drives, two drives are going to be listed in the Hard Drive checkup screen. If the drives are bad or have issues this is the screen that is going to tell you not to use them.
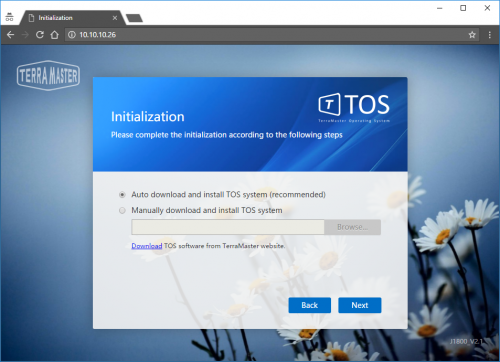
Installation of TOS system is being done in two ways, automatically or manually. In automatic mode wizard download the OS from the Terra Masters website.
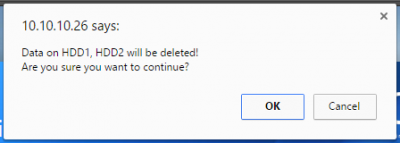
Before installation, all of the old data on the hard drives will be removed. This is your last step before wiping hard drives.
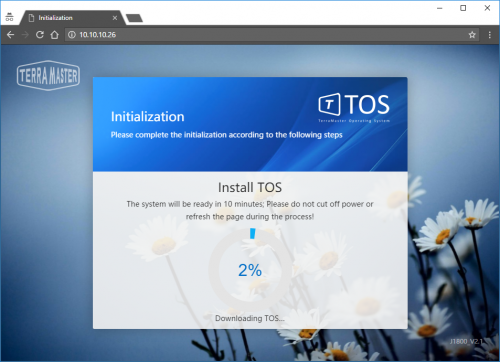
The downloading and installation of TOS takes about 10 minutes.
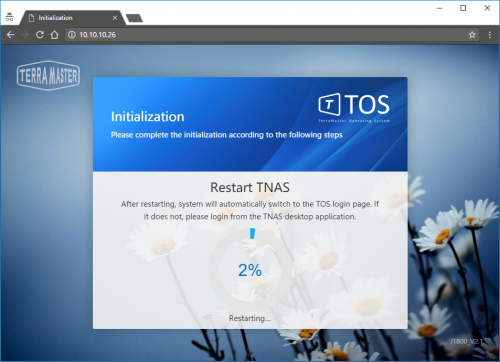
After successful installation system will restart and you will be placed in to the configuration of settings.
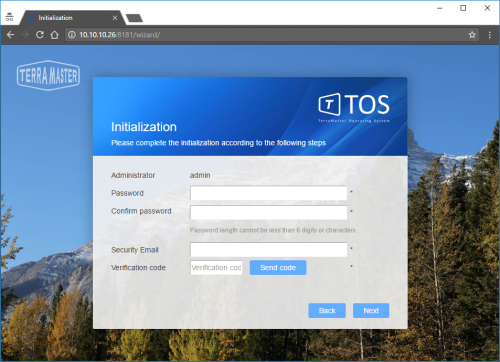
You need to create a new password for “admin” account before you can set up the rest of the NAS.
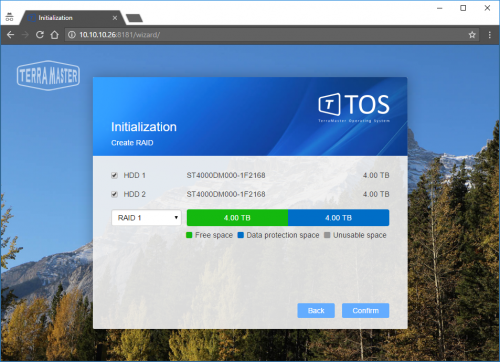
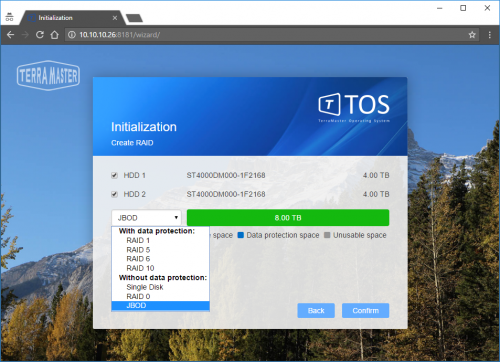
Since we are using two hard drives here, RAID options are limited to either RAID 1 or RAID 0. RAID 1 provides mirror redundancy of your data. So if you lose one hard drive to failure your data will not be compromised. RAID 0 stripes your data across both hard drives eliminating redundancy but increases overall capacity. With RAID 0 if one hard drive fails, the data is gone.
Other RAID/modes with two disk model are Single Disk and JBOD (Just a Bunch of Disks). In JBOD mode you can combine two different capacity hard drives where as in RAID 1/RAID 0 you would need two identical drives.
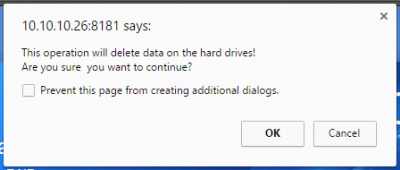
At this stage you are asked once again that this is what you want to do. Clicking OK will remove all of the data from the drive and prepare them to be operational in RAID 1.
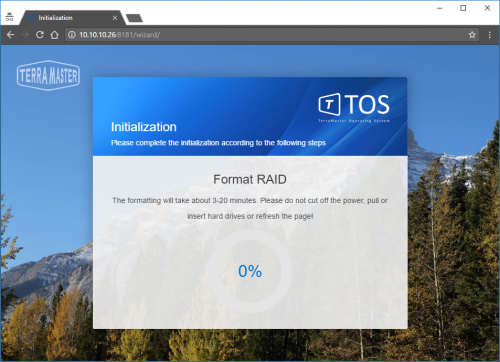
The format took close to 6 minutes. We were formatting two 4 TB hard drives.
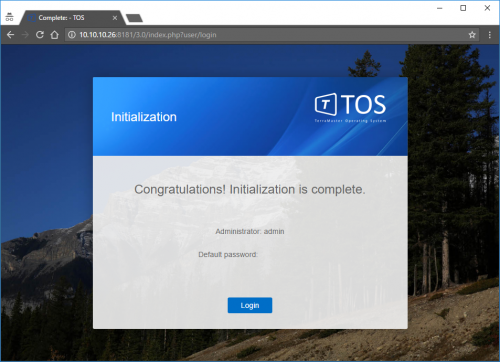
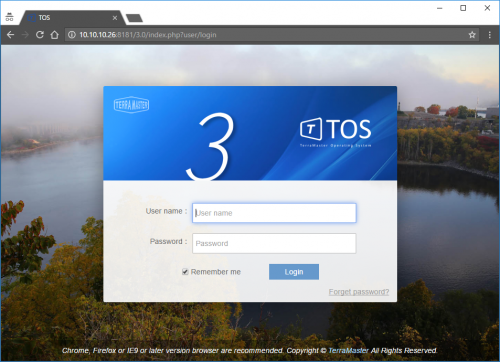
Once the format is completed we can now log in to TOS Dashboard.
Dashboard
TOS Dashboard is version 3.0.23 It appears that Terra Master uses TOS across all of their NAS platforms and that they do frequent update of the OS.
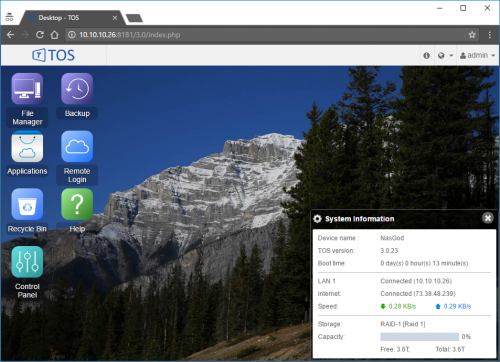
The OS runs in the browser window. Here I am using Chrome however, TOS also supports Firefox as well IE9 or later. Once logged in, a small window displays on the bottom right corner with System Information. Desktop reassembles Windows desktop and has few shortcuts on it however, most of the configuration could be found in the Control panel.
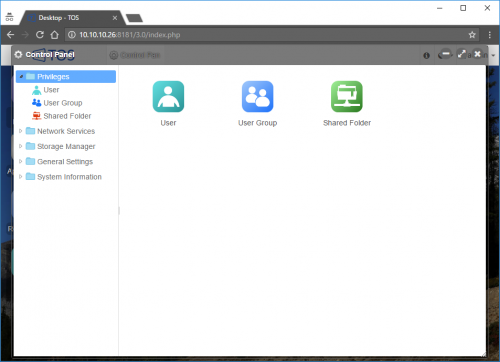
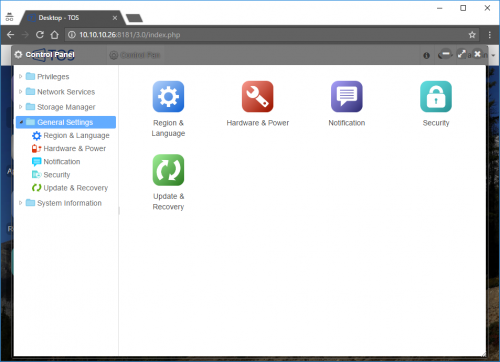
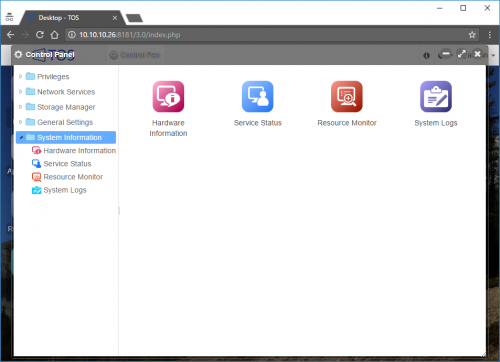
There are five sections in the Control Panel; Privileges, Network Services, Storage Manager, General Setting and System Information. Privileges section is designed to help create users and groups and attach them to shared folders. This is the primary way to use this NAS for storage.
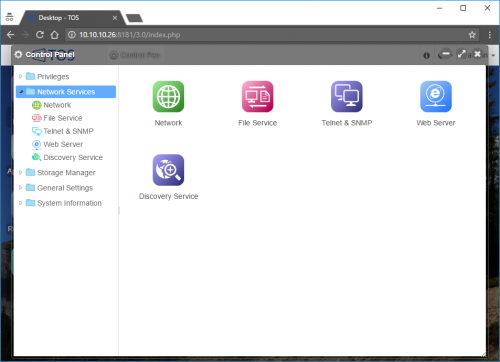
Network Services offer general network configuration, file services configuration such as FTP and NFS, Telnet and SNMP, web server configuration and discovery configuration for media services. Yes you can set up a web server and host your own web sites with F2-220.
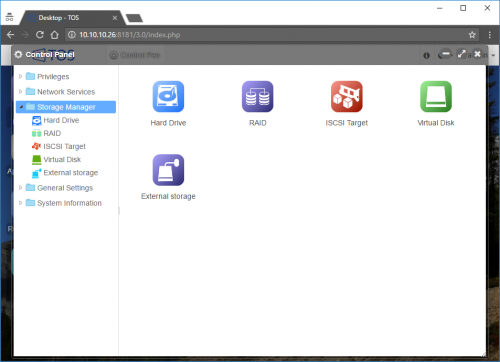
Storage manager allows users to check status of the hard drives, create RAID groups, Configure ISCSI Targets, create Luns/Virtual Disks and manage any external storage devices you might had plugged in to USB 2.0 or 3.0 ports on the back of the device.
General Settings give users ability to customize F2-220 as far as power control, notifications and security. System update could be performed from this menu as well.
Under System Information menu there are Hardware Information tab that displays basic statistics of the hardware, Services status, Resource Monitor and System Logs.
In addition to these settings and configuration options, Terra Master offers some applications that could be pulled down from the Internet and installed on to the F2-220 itself. Following is the list of applications that could be installed:
SVN Server
Plex Media Server
Dropbox Sync
Clam AntiVirus
Media Server
iTunes Server
Download Station
MySql Server
Mail Server
