Synology DS209+ NAS Diskstation
Installation |
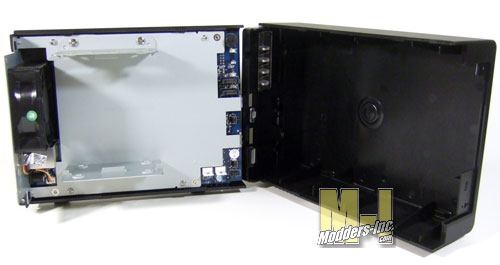
Installation of the hard drive could not be any easier with the Synology 209+ Disk Station. The best way of doing this is to lay the enclosure on its side with the power connection point at the bottom. Next place your hands on both sides of the Disk Station the push upper part away from you with your thumbs. This will cause the case to slide forward then lift off the upper piece and you are now ready to install the drive(s).
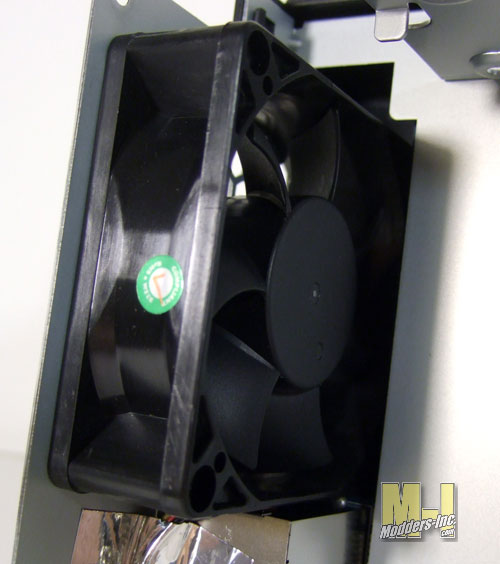
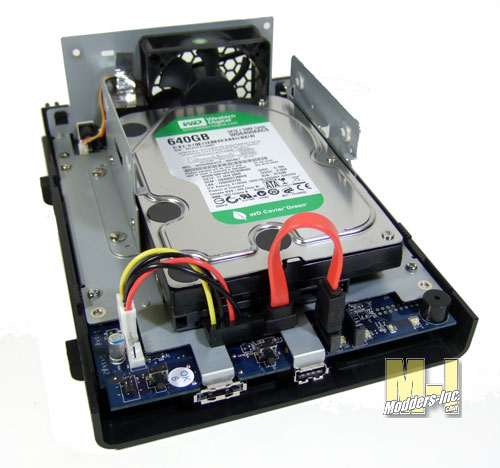
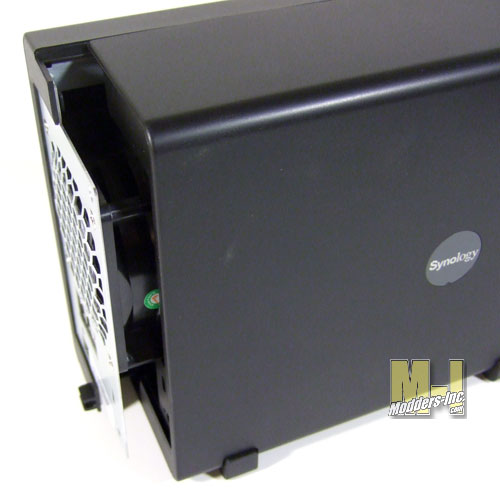 Before we install the drive(s) I thought we would take a quick look inside. From this vantage point it is really clean and simple. All we see is where to mount the drive(s), plug in the power and data cable and the cooling fan.
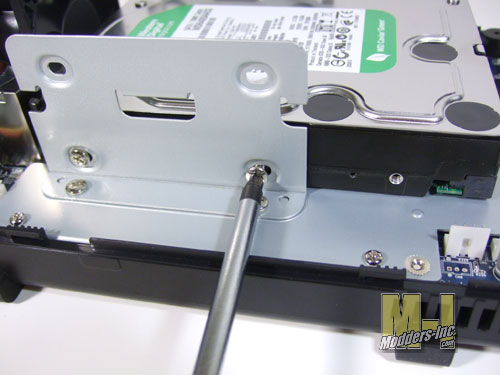
Mounting the drive to the unit is no different that installing a drive into your PC. With a phillips screwdriver and the supplied screws you will have the drive securely installed in minutes. To install the 2nd drive all you do is repeat the steps of the first drive.
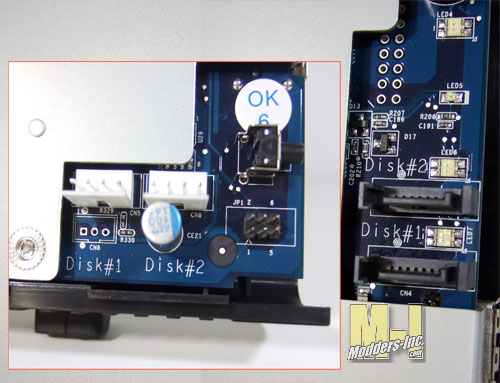
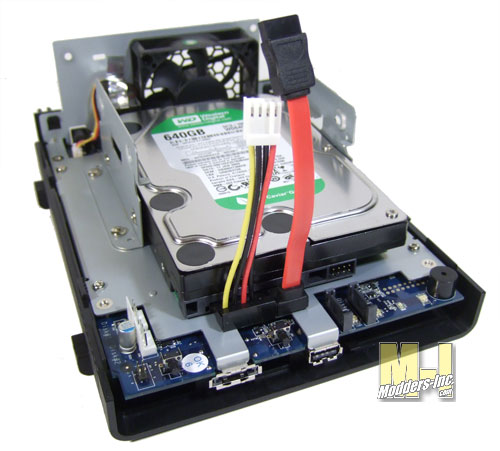
 Special made power and data cables are provided for a quick and easy install. Each plug on the circuit board is label for the corresponding drive. After this is done just slide the cove back on, plug in the next work cable and power and you will be ready to install the software. Make sure that the unit is on and that all the corresponding indicators are lit.
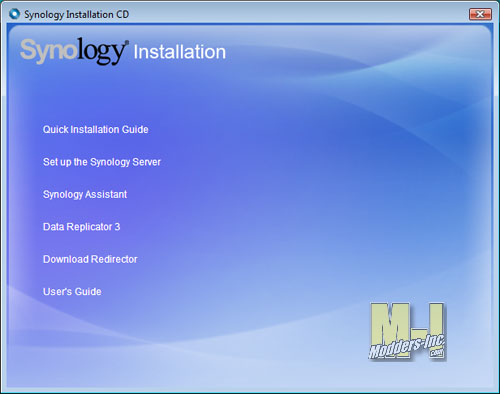
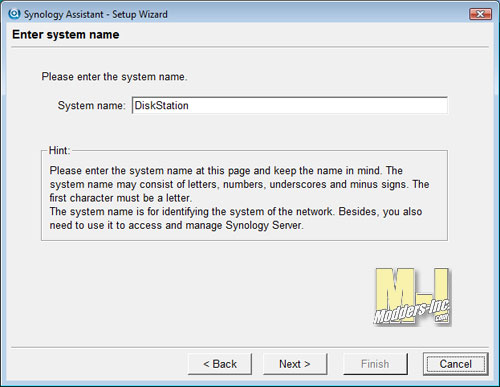
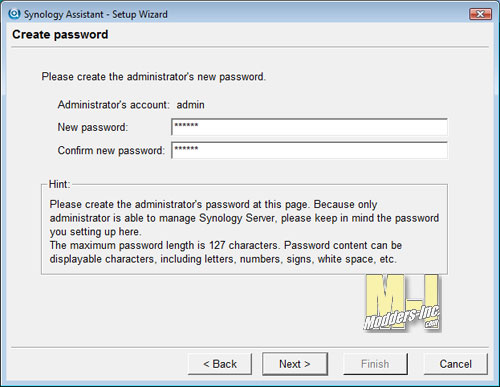
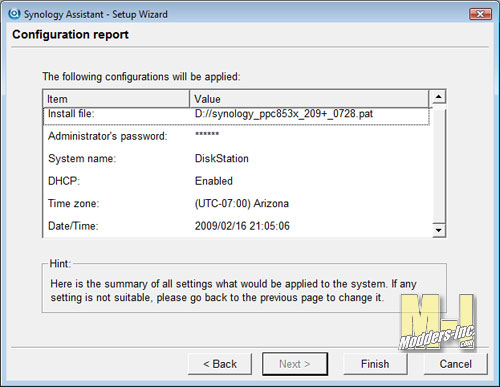
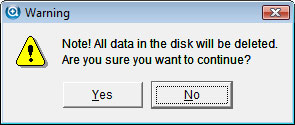
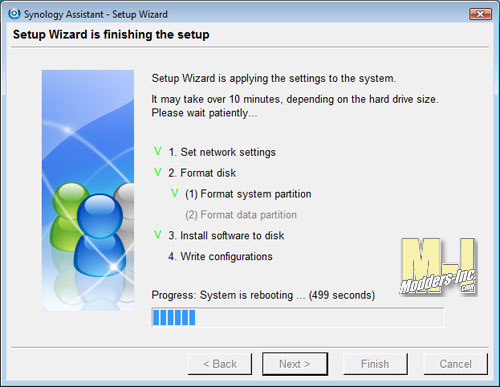
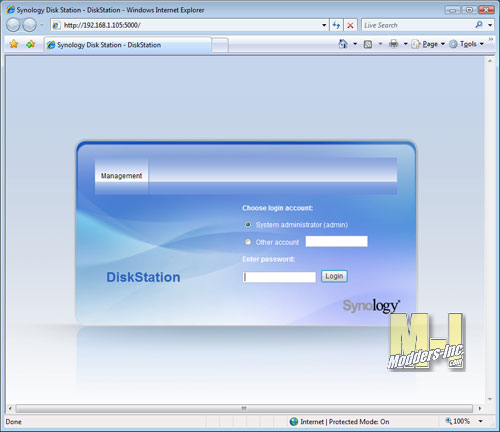
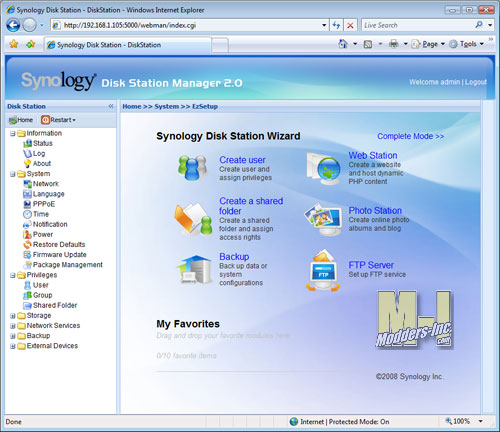
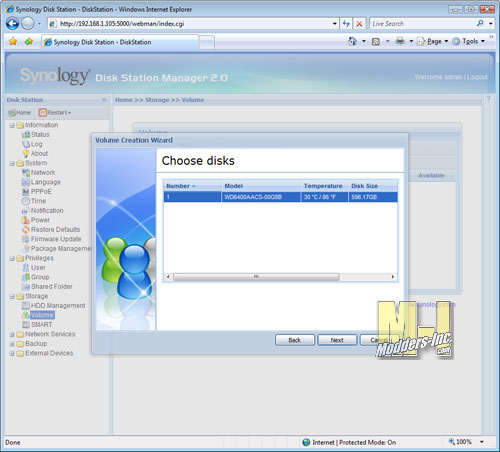
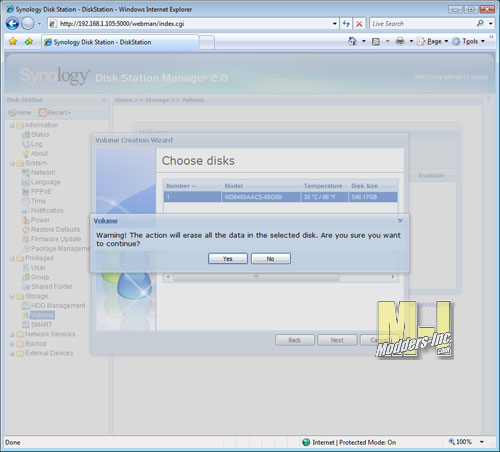
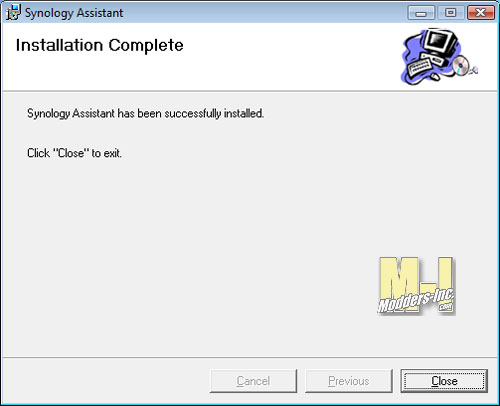
  Insert the included install CD in your main PC that will be the control center for the Synology 209+ Disk Station. You can install the software on to multiple PC’s if needed since all the changes that are done to the disk station are kept on the unit, but it is just easier to control the access to the configuration software on one computer. Below you will see some screens shots that were taken during the initial setup of the disk station. I can not show you all the setup screens as there would probably be a few 100-1000 screens so just take a gander at what I did capture.
As you can see the interface to the software is through a web broswer
Every aspect of the Synology DS209+ is configurable and is done through the web like interface. I found that it was really easy to understand and use doing it the old fashion way of not reading the manual. I was still able to setup everything that I wanted to use and looked at all the other items that I will be using in the near future. Just in case you have any questions or if are smarter than me and do read the manuals a very comprehensive manual is included on the CD in a PDF format.
|
