Synology DS209+ NAS Diskstation
A Closer Look |
Our first look at the Synology DS209+ out of the box might not give you the Wow factor, but it is what lies inside that will wow you. Constructed from heavy plastic the outer shell has a flat black and slightly rough finish to it. True, it is no beauty queen but it is what is inside that counts.
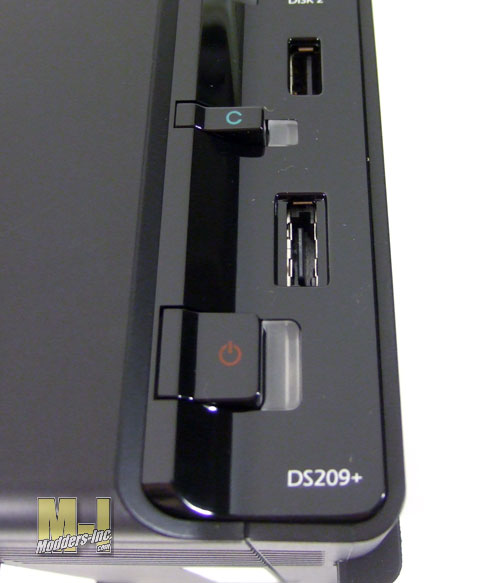
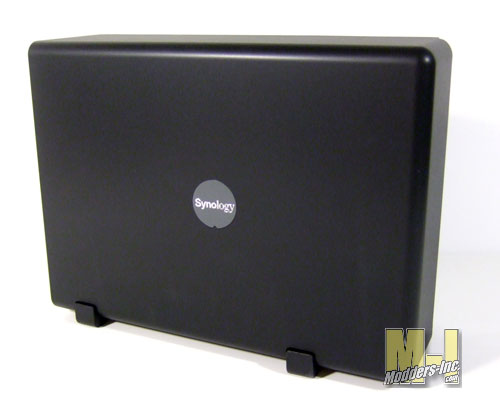 The only thing that does have a bit of flair and style to the unit is the right side of the front panel. This is where you can see if the unit is on and working and what troubles there might be. 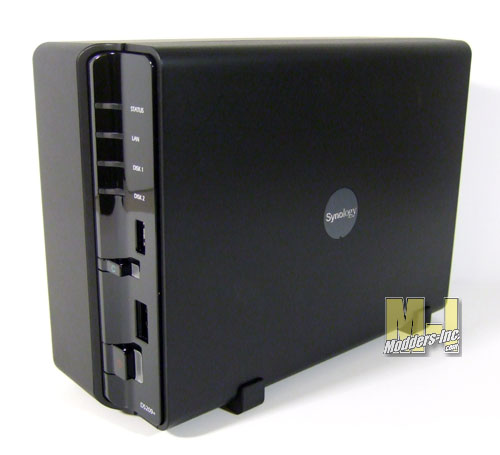 Upfront we see that there are a minimal amount of buttons and ways to interact with the NAS which of course and be expected. A NAS is meant to be placed away somewhere once the hard drives are install and pretty much forgotten about. What we do see are four indicator lights that tell us that the unit on, it is connected to the LAN and that the hard drive(s) are installed and working. The Disk light will flash when the drive is being access from another source. These same LED’s are used to trouble shoot the unit if something where to go wrong. Below the LED’s on the front panel is a USB port that is used to copy an external USB device, such as a thumb drive. If you use a portable thumb drive a lot this is a quick and easy way to make sure that all you data is kept safe somewhere else. A little bit of setup has to be done after the software has been installed, you have to tell it where you would like the USB device to be copied to, once you have done that all you have to do is insert the drive and press the copy button (located just below the USB port). 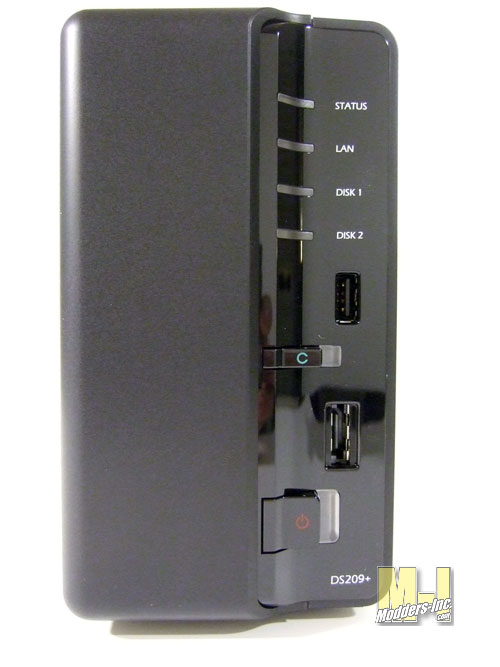 Moving on down the front we see another port which is a eSATA connection. When an external SATA hard drive is connected a temporary shared drive/access is created, once the drive is unplugged the once seen drive will go away. Lastly the power button is at the very bottom which has a blue LED for its indicator light.
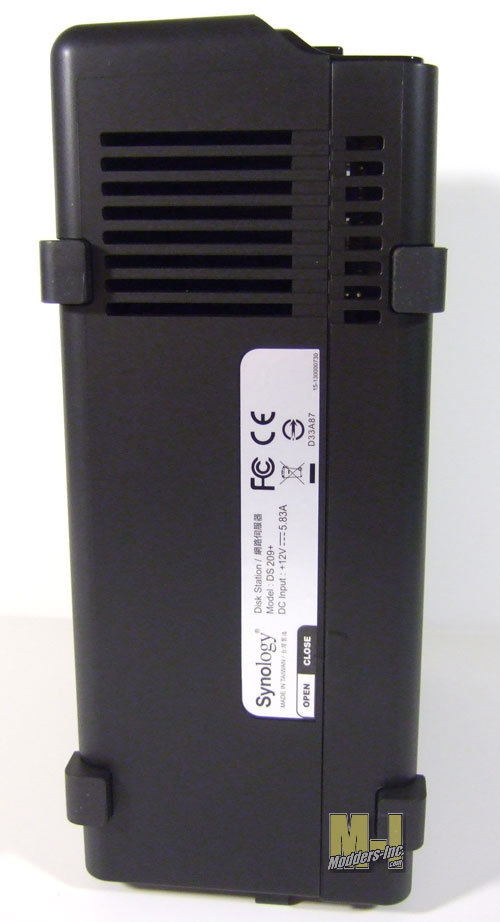
Tipping the DS209+ up on the rear end we get a look at the underside of the enclosure. Well there is not much to look at here other than the intake slots for the air.
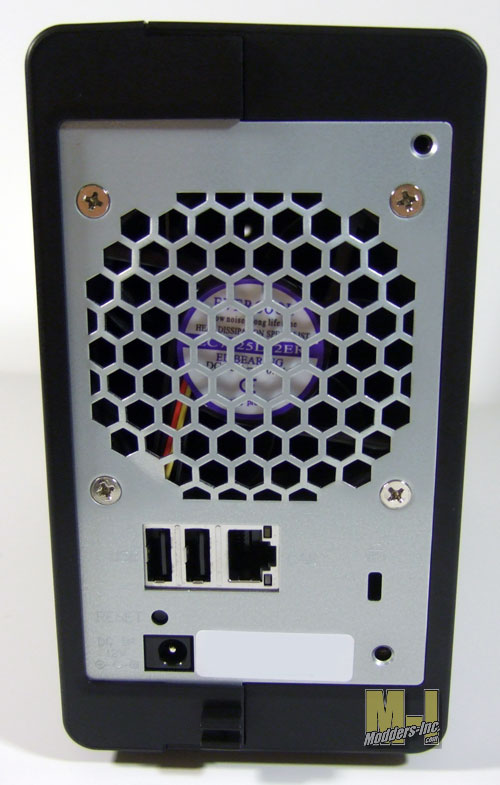
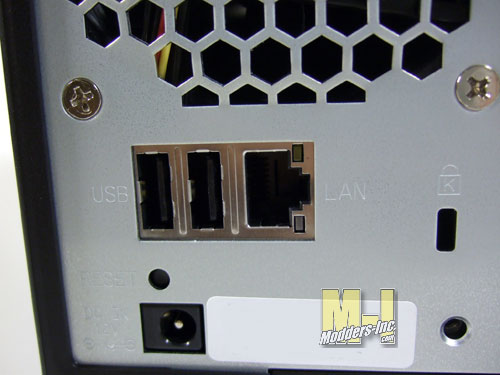
Taking our attention the to the back of the unit we are able to locate the exhaust cooling fan, two USB ports, the network port and the power plug.
So what is driving this NAS to be what it is. Taking it apart we see that it pretty much looks like a micro motherboard, but without the normal I/O connections. A 800MHz CPU makes sure that everything has enough working power and 512MB RAM to help make sure that there is plenty of cache. A Gigabit LAN connection should give some great transfer time for those that it available to them. A small passive heat sink sits on top of the CPU and it looks to be cooled by the air that is being drawn through the case due to the 70mm x 70mm fan. 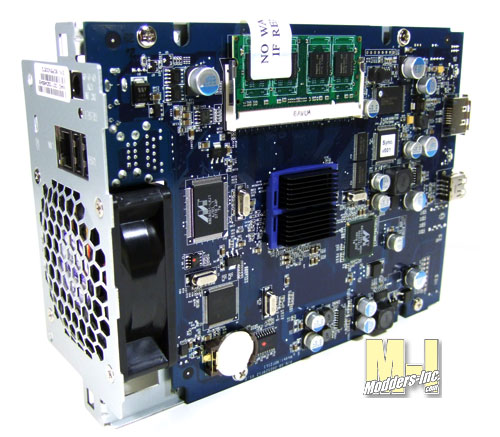 The memory looks to be just you everyday Laptop module so I am guessing that is why they put the “Warranty Voided” sticker across the it. This would keep most people from messing with it, but I bet slapping a larger module would help in the performance quite a bit. 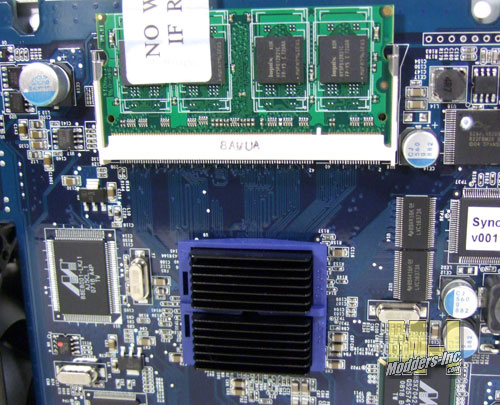 |
