« Chips and Boards | DiskStation Manager (DSM) User Interface »
Synology DiskStation Start-up Wizard
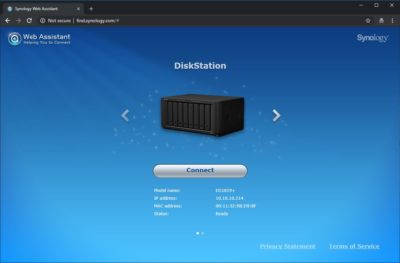
After installing the drives, you’ll need open a browser window and go to the IP Address of the DS1819+. To get the IP address of your device you can navigate to (find.synology.com) and the browser will find the device for you.
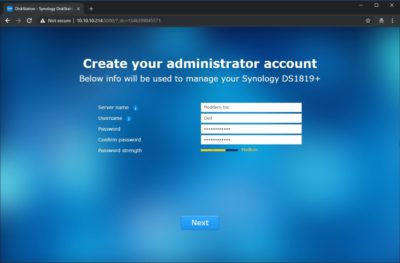
Next step is to create an administrator account to manage the DS 1819+. A strong password is highly advised here.
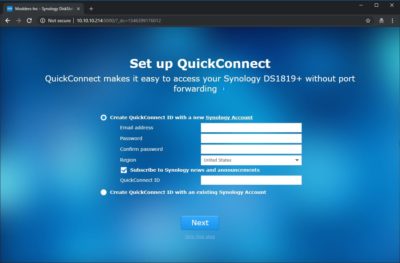
If you would like to set up QuickConnect you can do so on this step of the wizard. QuickConnect allows remote access to NAS from outside of your network.
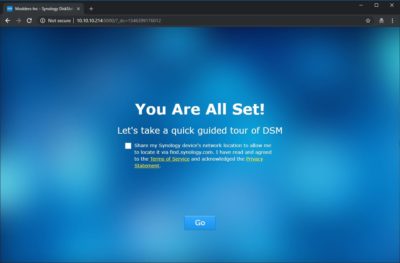
That’s pretty much it. The NAS software will self-configure the basic settings and give you a prompt to log in. The entire process is automated and takes less than 2 minutes.
