DiskStation Manager (DSM) User Interface
This section was taken from a previous review of Synology DiskStation, DS418J. Most of the DiskStation Manager OS interface is unchanged throughout the interface.
DiskStation Manager or DSM is the interface you will use to configure the NAS with; the latest released version is 5.2 with 6.0 beta 2 available for download. There are a lot of configuration options in DSM. I am covering what I feel is the most important options in order to get the NAS up and running on the network.
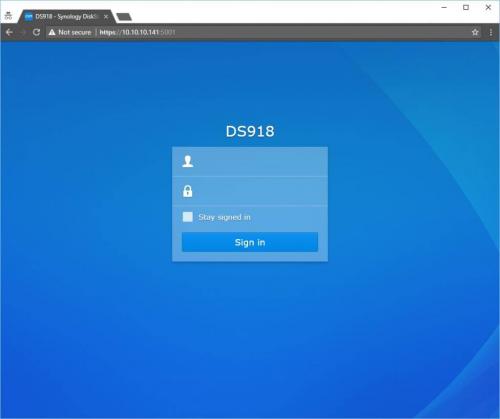
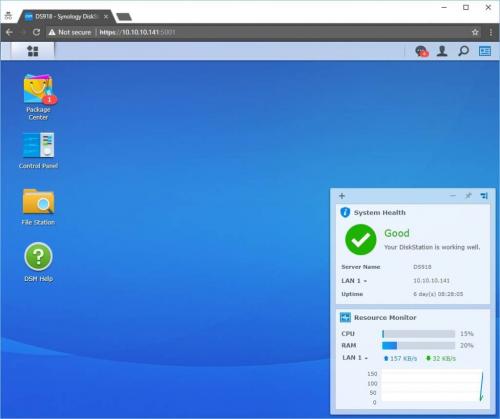
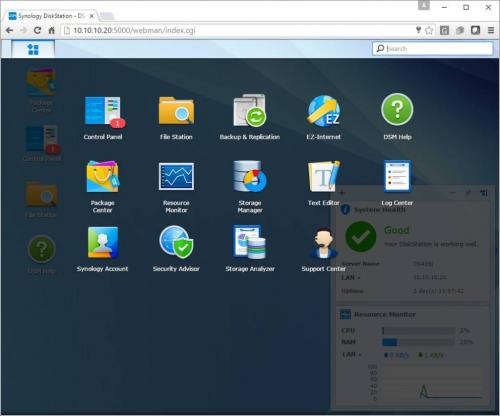
After the initial configuration, anytime that you’ll want to log into the NAS, you’ll need to enter the username and password that was set up in the Startup Wizard. After logging in, you’ll be taken to the desktop. The desktop functions in a similar manner to the Windows desktop on your PC. You can create shortcuts to the most used configuration items in the menu. By default, a small monitoring application launches in the lower right side of the page. The application displays quick details on the utilization and health of the NAS.
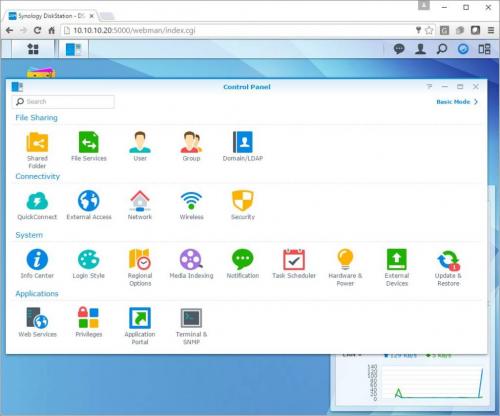
The main application on the menu that will be used to configure the NAS will be the control panel. The control panel has most of the options that will be needed to get the NAS up and running.
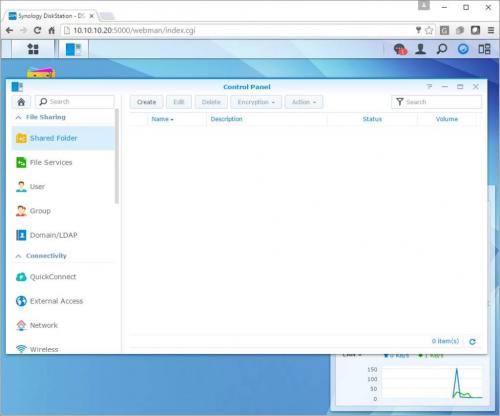
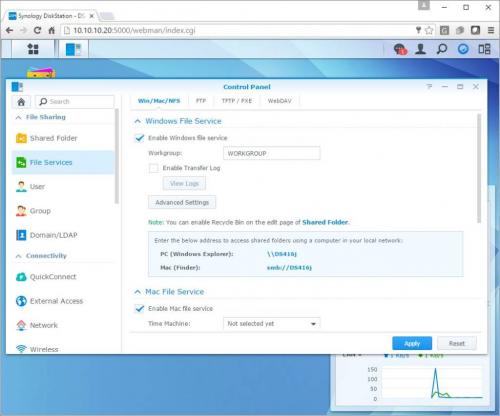
By default, a lot of the services needed, such as file services have already been turned on. After the disk volume has been created (next section) you’ll just need to create shared folders and assign permissions and the users can start using the NAS.
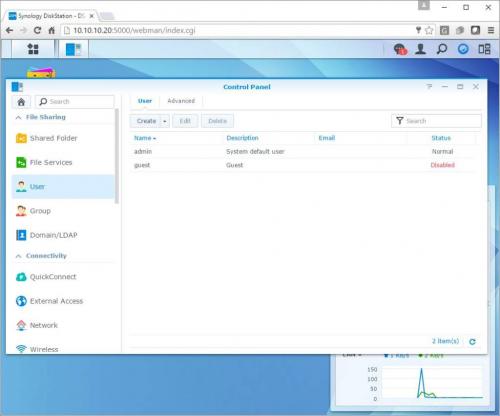
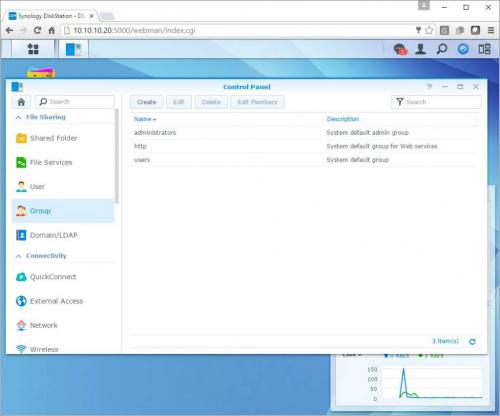
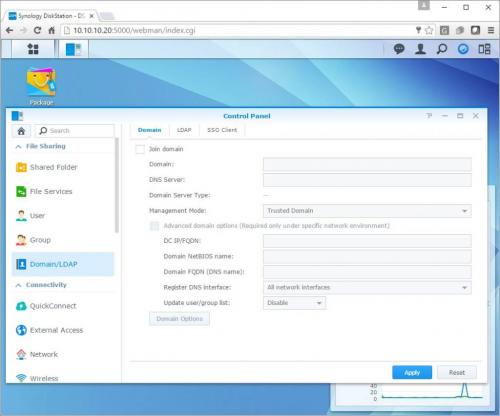
Users and groups can be created to give access to the NAS’s shared files and folders. If no users are created, you will need to give the guest or public account read/write access to the shared files. If you run a Windows Active Directory domain, you can configure the NAS to synchronize user information from your domain. At that point, you will also be able to grant domain users access to shared folders and eliminates the need to create separate users for your domain and your NAS.
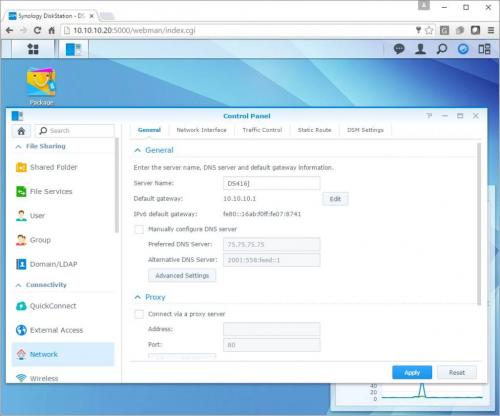
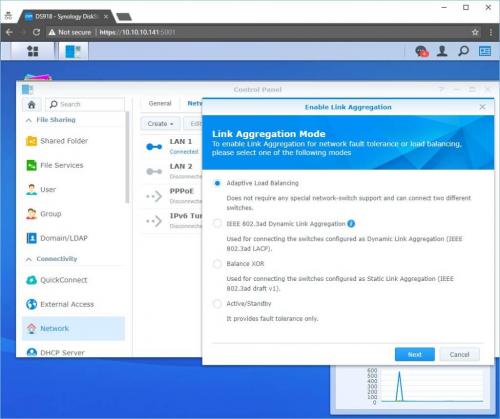
The network menu is where all the networking configuration is done. Synology DS918+ has two network interface, it can be configured for load balancing or failover. With multiple network interfaces can take advantage of creating a Link Aggregation Group (LAG) and LACP in order to do load balancing (managed switch required). Keep in mind that creating a LAG will not increase bandwidth from a single host. It increases the overall bandwidth the NAS can use on your network to multiple hosts.
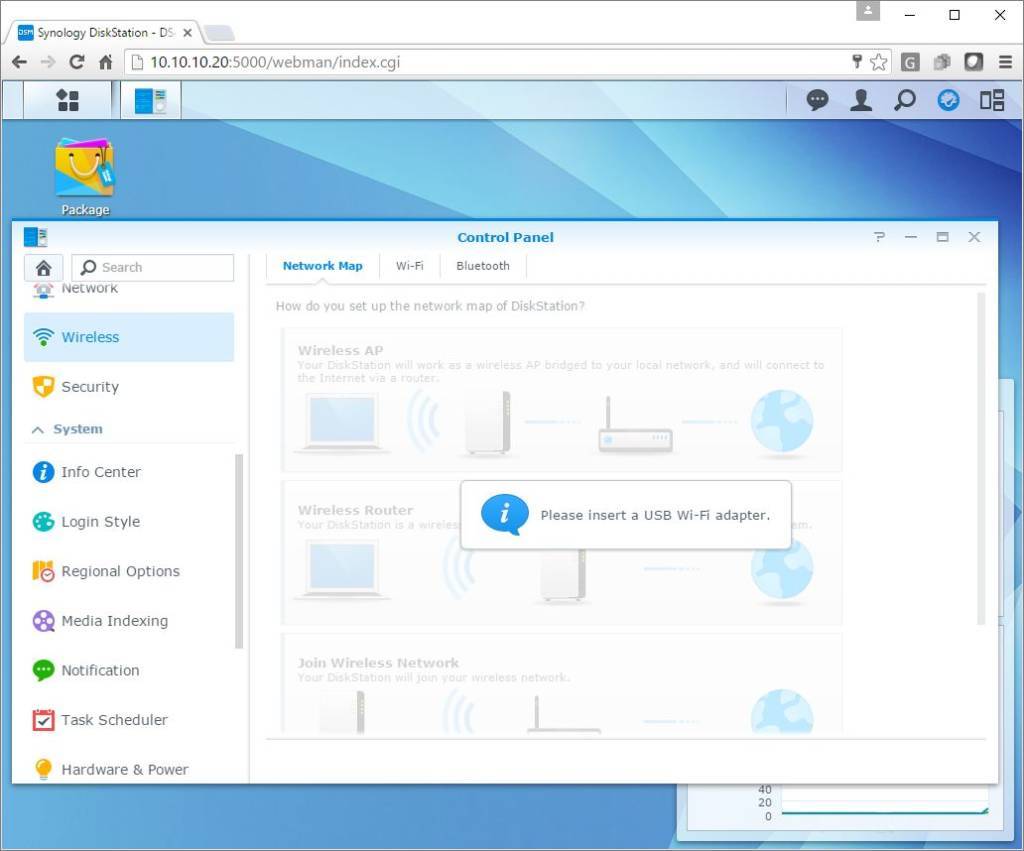
If you don’t have the ability to cable your NAS for example in a dorm room, you can install a USB wireless or blue-tooth adapter and get network access that way.
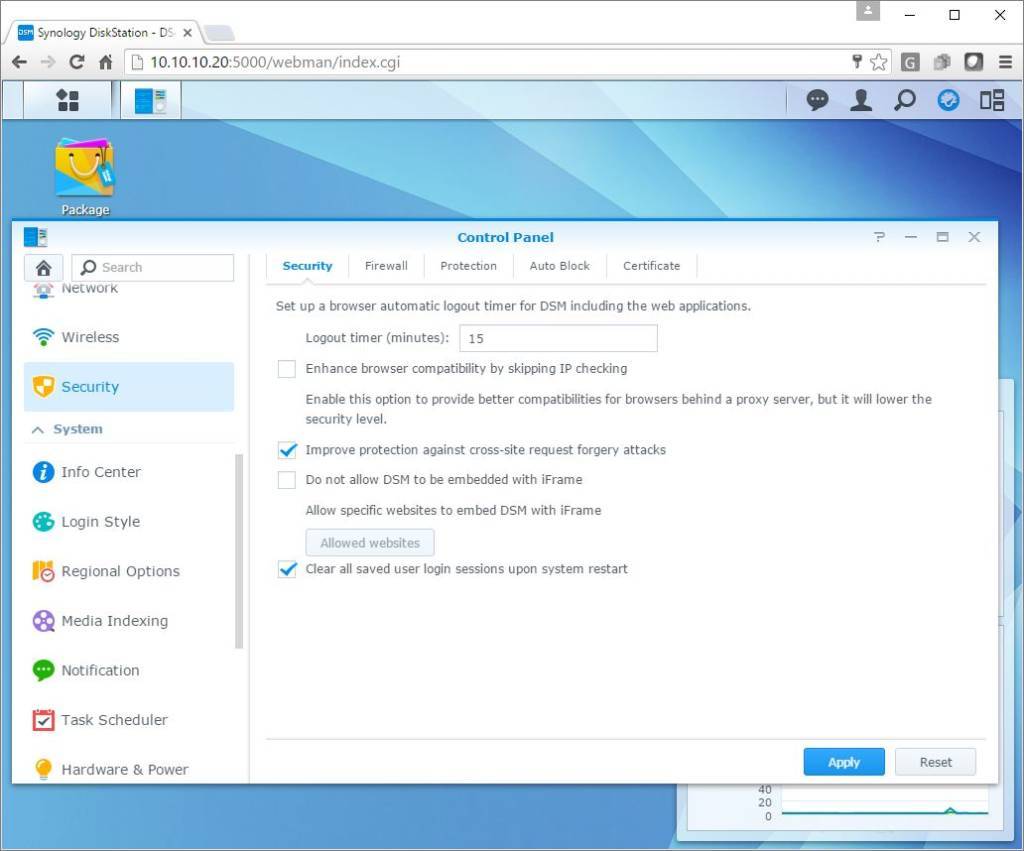
The security tab allows you to configure such items as user interface timeouts, firewall, and certifications. The firewall tab can be used to restrict network traffic to and from the NAS in order to help protect it from network attacks and can help reduce the chance of a network breach. The NAS also offers denial-of-service protection and the ability to install your own certificate to further secure the NAS.
