Synology DS418play Streaming Performance
Usually at this stage of the review I perform Intel NAS benchmarks however, I was asked to concentrate on streaming aspects of DS418play instead.
There is no better way to test the product but using it and experience everything that the user might experience. I had DS418play for about a month and I went through an extensive user case scenarios in form of streaming media from the device. Before you can actually use DS418play as a media server you would need to install a “Video Station” from the package center. The installation is very simple and only take 1 click to install.
There are few ways you can access Video Station from DS418play. One example of accessing Video Station would be from the ‘Main Menu’ and another example through the web browser. To access Video Station trough web browser you need to enable HTTP or HTTPs server and configure it to listen on specific port. Sounds hard but it is really not. Here are some steps to get that accomplished.
- Make sure your computer and Synology NAS are connected to the same local network.
- In DSM go to Control Panel > Application Portal.
- Select Video Station and click Edit.
- Check Enable customized port (HTTP) or Enable customized port (HTTPS).
- Click OK to save your settings.
- Enter one of the following in the address bar:
- The server name of your Synology NAS followed by :9007 or :9008, e.g., http://diskstation:9007 or https://diskstation:9008 (The specific name depends on your settings made during initial setup)
- The IP address of your Synology NAS followed by:9007 or :9008, e.g., 192.168.48.14:9007 or 192.168.48.14:9008 (The IP address depends on the initial DSM setup settings)
- Enter your username and password and click Sign in to launch Video Station.
If you face any issues or difficulties please reach out to Synology. They are very helpful.
Most of us have Smart TVs and if that’s your case, it would be most beneficial to install Synology ‘DS Video’ app on your TV. Following are the steps to get it installed and configured on Samsung Smart TVs.
To get started with DS Video for Samsung Smart TV, please do the following:
- Install Video Station on your DiskStation, and select folders to index your movies, TV shows, Home videos and other libraries.
- Install DS video on the Samsung Smart TV. It can be found in the Samsung App Store.
- Make sure you have Wi-Fi or Ethernet connection to the Internet before entering the Channel Store (required for Samsung TV apps, even on local networks).
Once installed, launch DS Video and configure DS Video with proper IP address, port and password. After a few seconds you will be presented with User Interface.
Streaming
So what I have been doing for a month is basically streaming some of my home content and few free movies which were encoded in 4K. My choice of the connected devices was two Samsung Smart TVs and a ROG Laptop.
All of the tested devices were hard wire connected to a Gigabit network so the wireless lag and speed variations were not part of my testing.
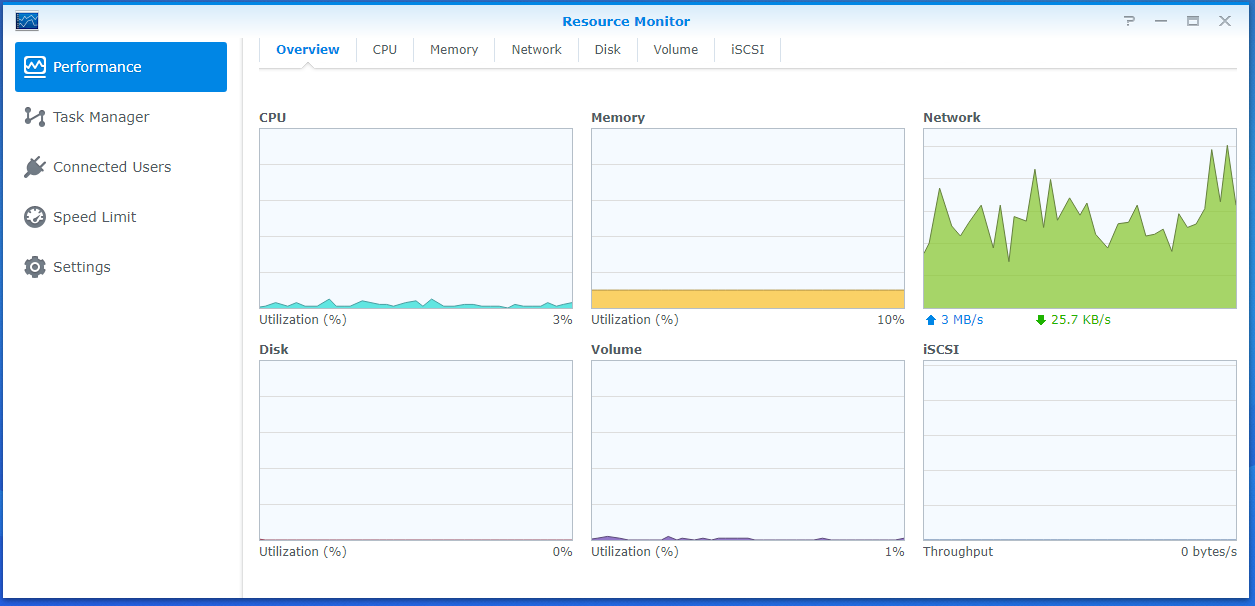
One of the tests I would like to share with you is the single stream of 4K content to Samsung Smart TV.
As you can imagine I had no issues pushing 4K content to my Smart TV. Buffering of the video took only few seconds and the experience of streaming was more than satisfactory. I experienced no major lag between skipping forward or backwards throughout the media. Audio reproduction was satisfactory and showed no signs of breaks or miss alignment.
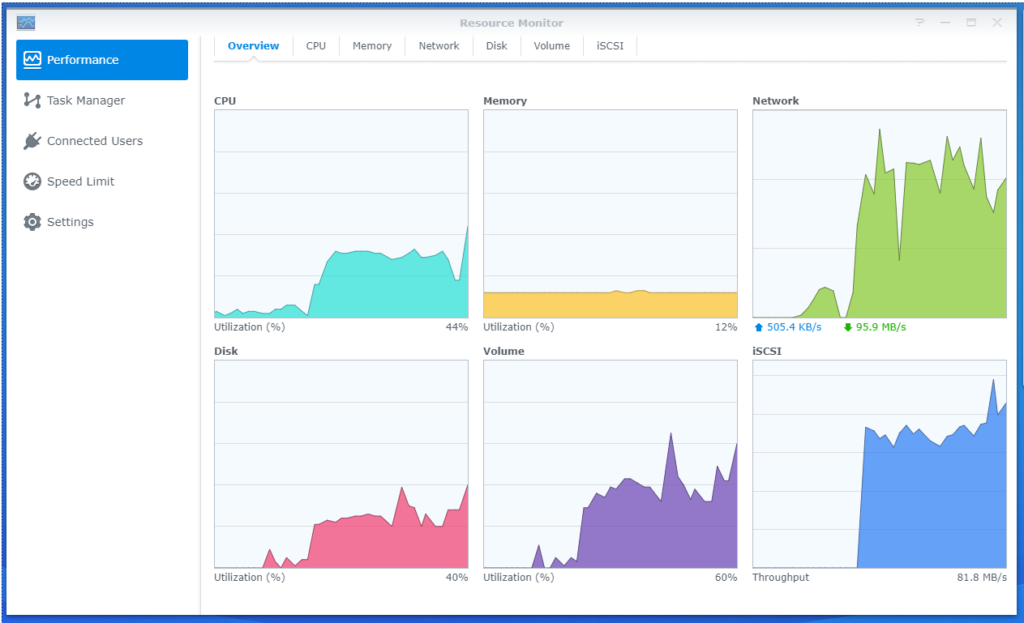
Another test case that I would like to share with you is the 3 stream case with 4K content to each device. As you can see from the metrics above the device started to utilize its resources however, my personal experience was not impacted. In the beginning of the streaming I did experienced a few seconds of lag however after the videos buffered properly I had no issues with the streams.
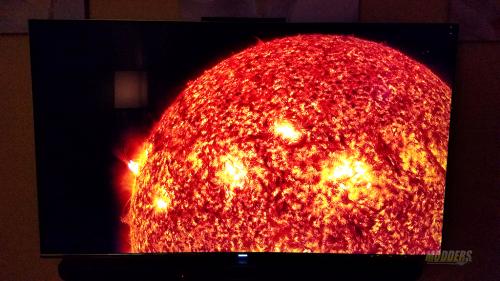
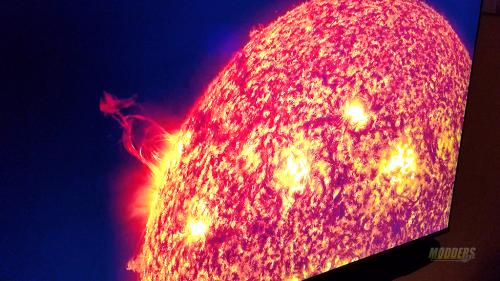
Quality of the media decoded was very sharp and clean. The first two images you see are of pure 4K content and the second set of imaged were reproduced in 1080p. The second set of images are from an older movie from 1972 Solaris. Even though the video looks old, it looked great on my Smart TV.
