Synology DiskStation DS416j Network Attached Storage Review
Synology DiskStation DS416j Start-up Wizard
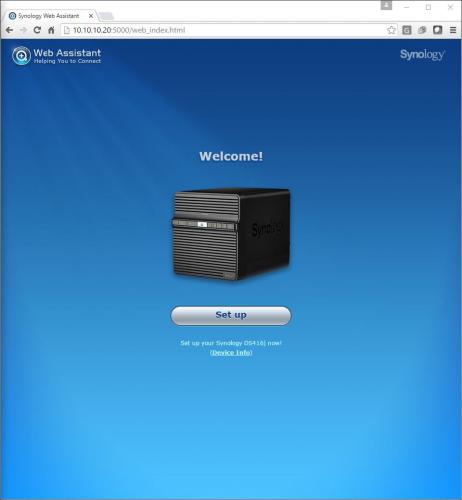
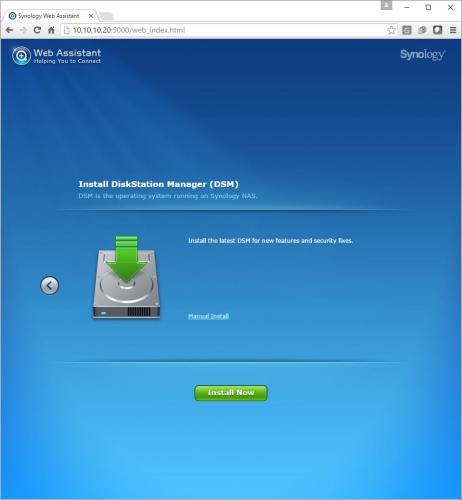
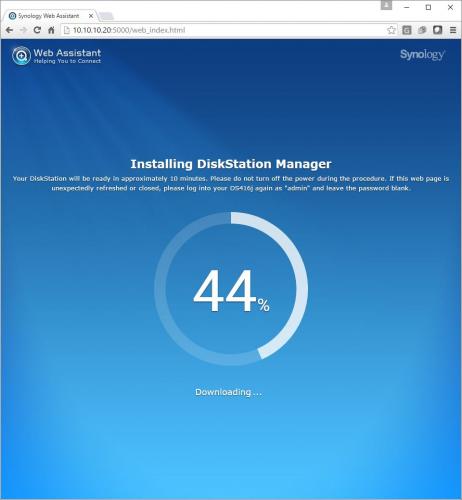
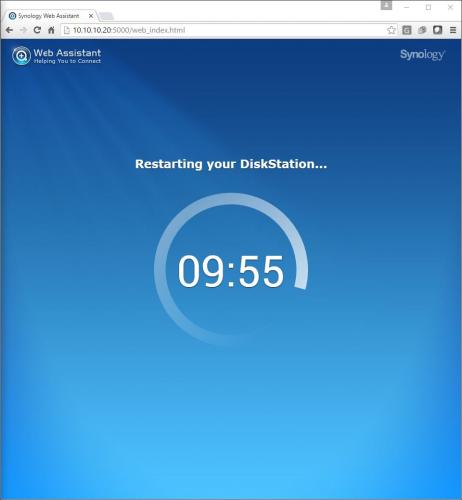
After installing the drives, you’ll need open a browser window and go to the IP Address of the DS416j. The first task the wizard will step though is updating your firmware. As long as the NAS has access to the Internet, it will go to Synology’s website and download the latest and greatest firmware. If the NAS cannot connect to the Internet, a manual install option is available. The DiskStation DS416j will show an installation progress meter while installing the firmware. After installation is complete, the NAS will reboot.
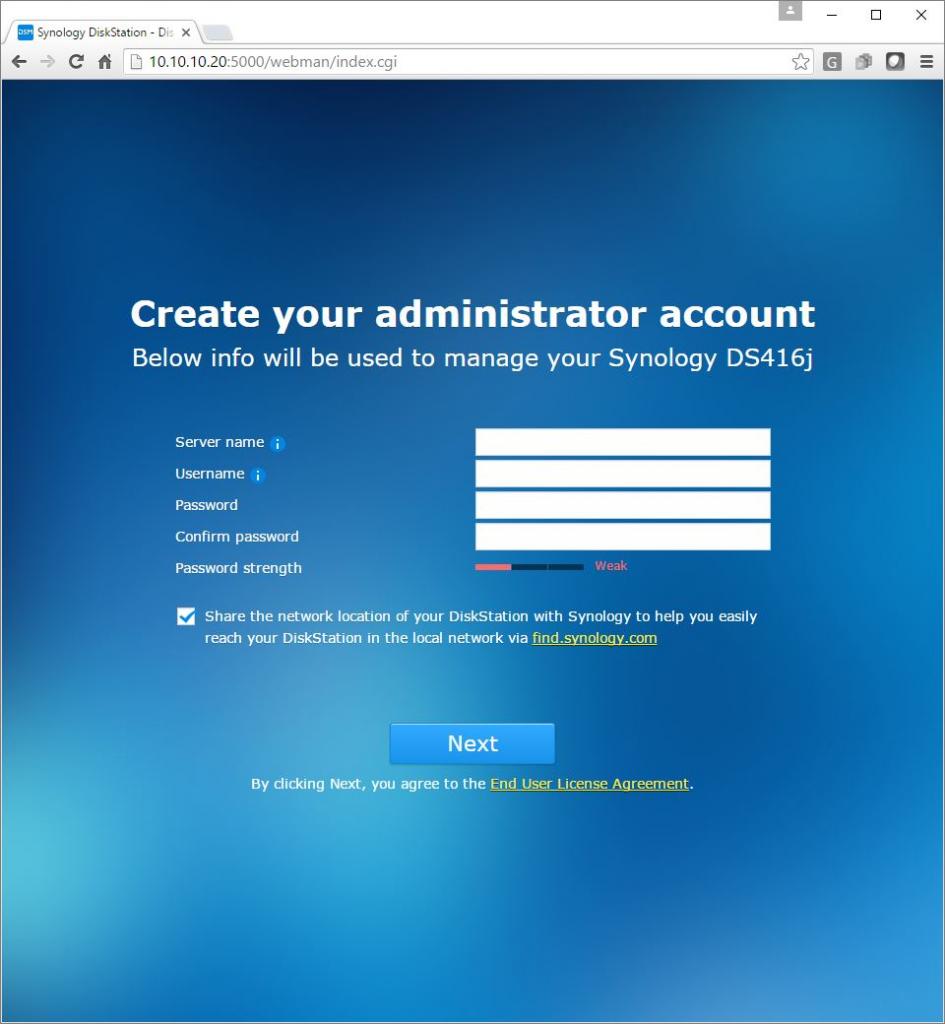
After the device reboot, you will be taken to the next step of the process which, is to set the NAS’s name on the network and set up an administrative user name and password.
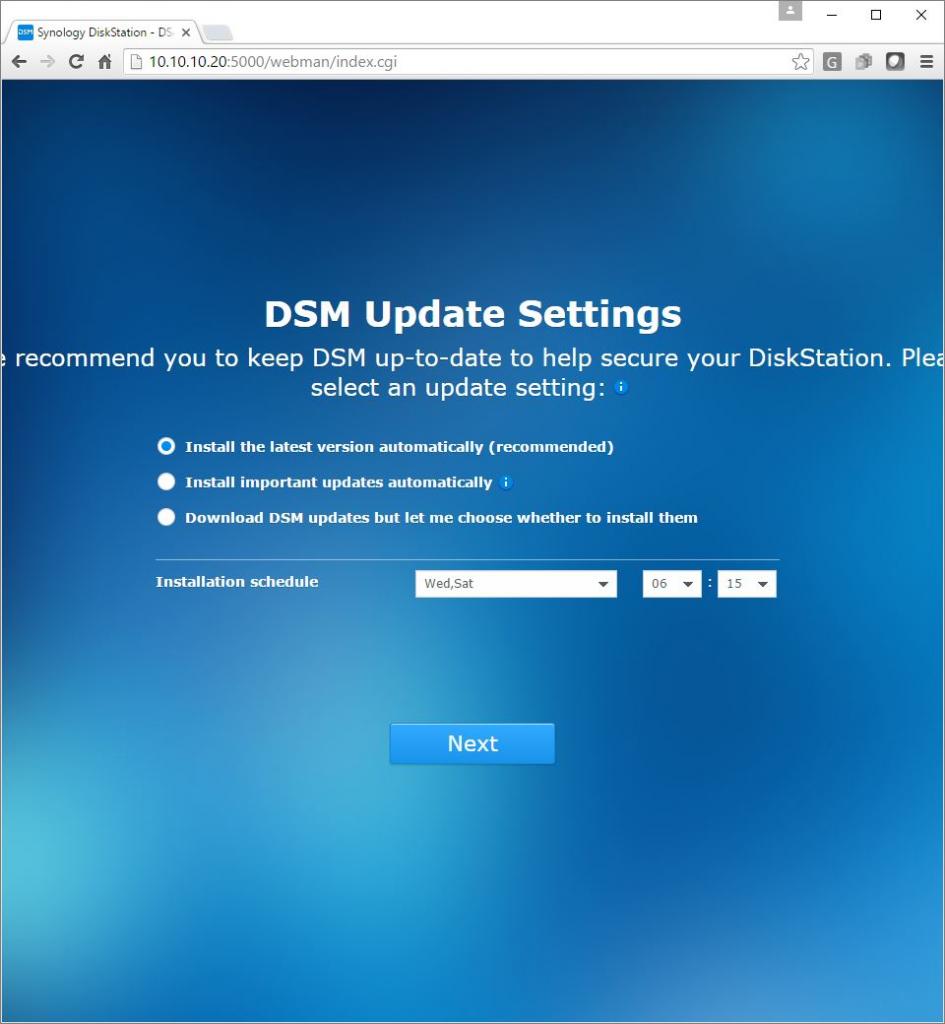
The next page will ask how you would like the updates to install from Synology and when to schedule them.
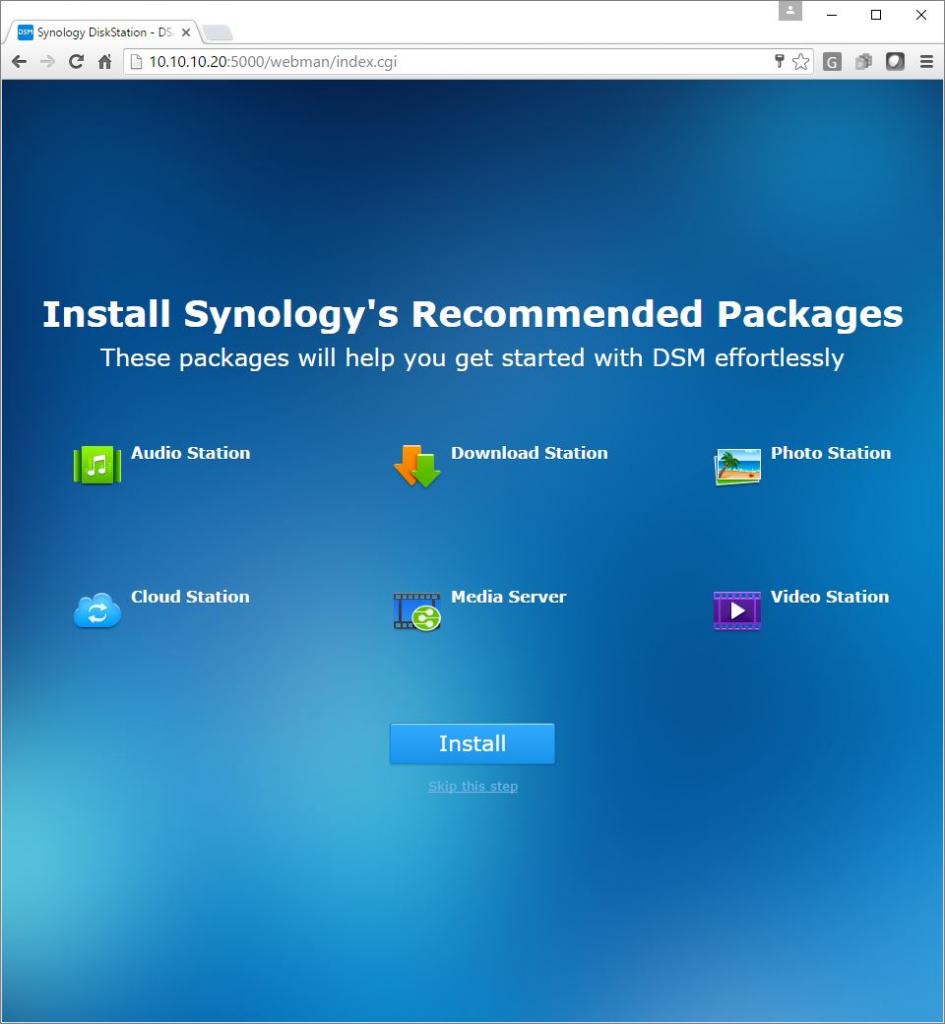
To get up to speed you are offered to install some of the useful applications with just a click of a button.
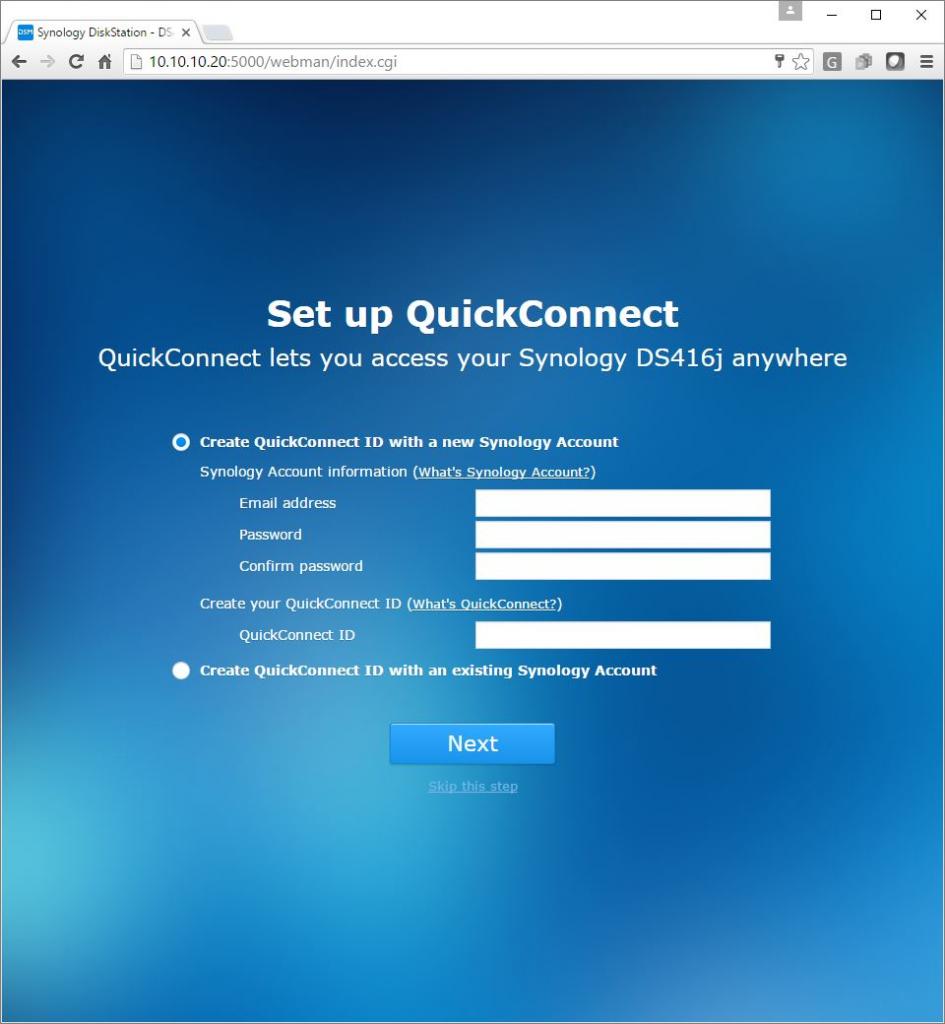
The next step in the setup process is to create a QuickConnect ID. QuickConnect is Synology’s solution allowing users to access the data on the NAS anywhere they can get Internet access without having to worry about configuring networking equipment.
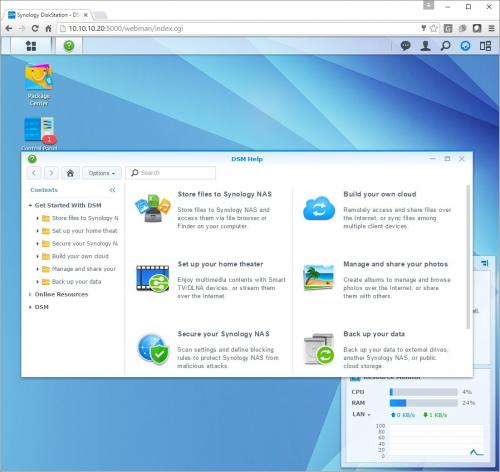
The final pages is the configuration confirmation page. After you click the next button, you’ll be taken to the DSM desktop.
