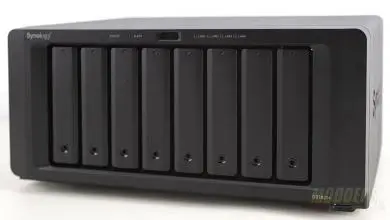
Synology DiskStation DS216+ NAS Review
Initialization & Start Up
There are a few ways to access the DS216+. The first would be by the IP address that the NAS gets assigned. If you don’t happen to know the address, simply typing http://find.synology.com which will direct you to the Synology Web Assistant. If the device still cannot be found, you can download and install the Synology Assistant.
The initial configuration of the DS216+ is done through the Synology Web Assistant. On the first page, you’ll be able to check out the device info or continue with the set up.
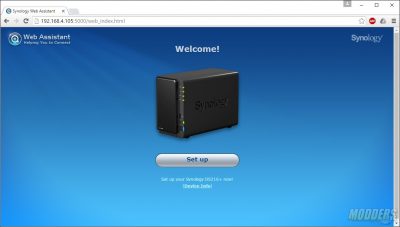
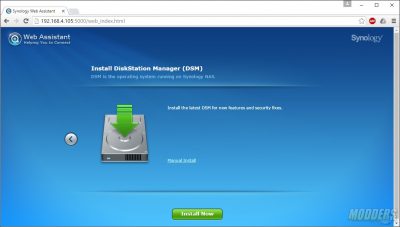
After clicking the set up button, you’ll need to install the Synology DiskStation Manager or DSM. You can choose to manually install DSM from a file stored on your local PC or you can choose to use the auto-install feature which downloads the latest DSM for the device directly from Synology.
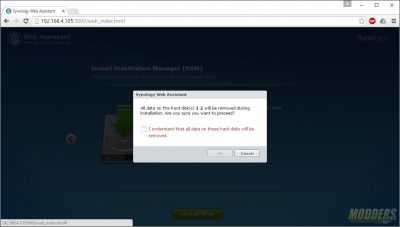
Before moving forward with the installation, you will be asked to confirm that this process will wipe any data from the disks.
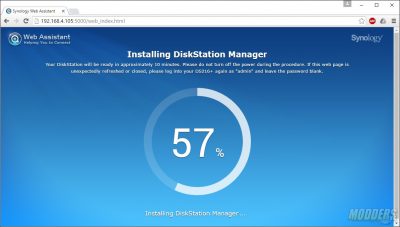
After choosing to continue, you will be presented with a screen that shows the progress of the installation.
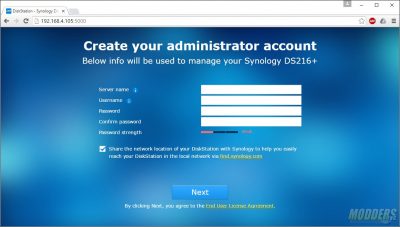
Next, you will need to name the device and create an administrator account for the device.
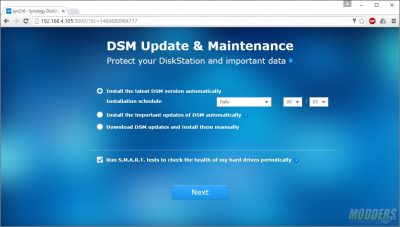
The next page is where you can set up the operating system update schedule.
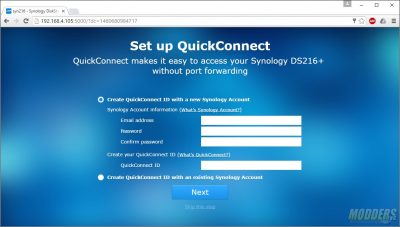
Synology’s QuickConnect allows you to access your NAS without having to forward ports in your Router or firewall. Simply create an account or log in with your existing account.
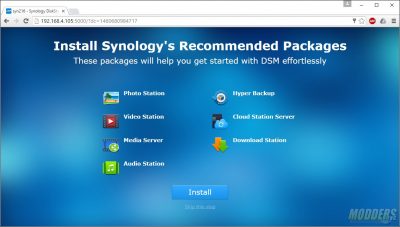
The next step of the process will suggest applications to install based on Synology’s recommendations.
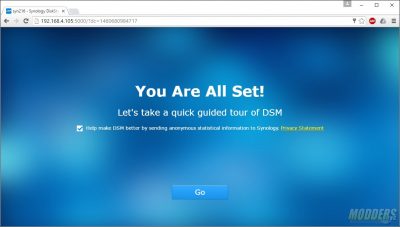
After the applications install, you are ready to head to the DSM management page.
