Misc PC ItemsNetwork HardwarePC Hardware Reviews
Synology Disk Station DS107+
« Page 2 | Page 4 »
Installation |
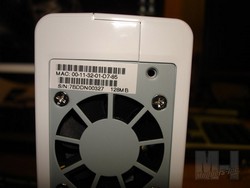 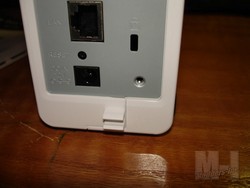 The Synology DS107+ comes with the two mounting screws already removed. Simply slide the right half toward the front of the DS107+. This will allow the two halves to unlock and separate.
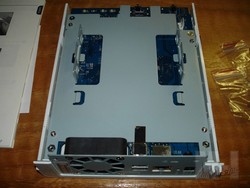 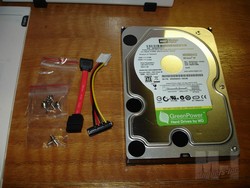 Now we want to place the left half of its face and sort out our mounting hardware. On the right we have the 500 gig WD drive we are going to install, the SATA and Power connectors, and the mounting screws for the hard drive and case.
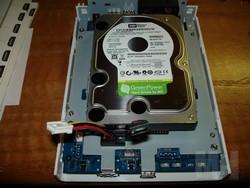 Next I plugged the SATA and power cords to the hard drive and placed it between the mounting brackets.
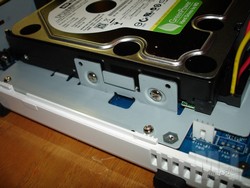 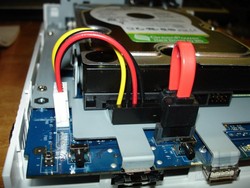 Secure the hard drive with the four mounting screws (provided) and then attach the SATA and Power connections to the DS107+’s board. Then all you have to do is slide the two halves back together and secure them with the two mounting screws (provided).
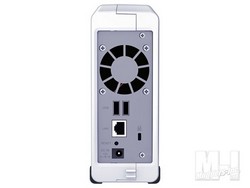 Setup the DS107+ in an appropriate location so that you have access to power and LAN sources. Once you have your connections made you can safely power up the DS107+. The large blue LED power indicator will flash for a little bit while the system is booting up. Once the indicator stops flashing you can insert the Synology Installation CD and proceed to follow the on screen instructions.
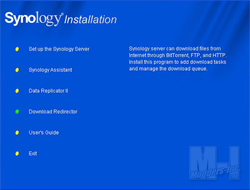 Between the on screen instructions and the manual, the installation of the software is pretty self explanatory. Once you have the needed items installed you will want to work through the configuration process, setting up your admin password and other essentials.
|
