Swiftech H320 X2 All-In-One Watercooling Kit Review
Installation
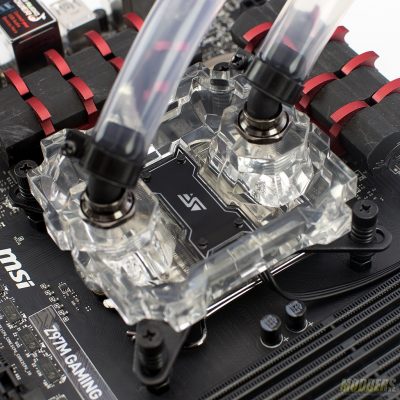
Installing the Swiftech H240-X is very similar to installing most other coolers. For Intel systems, first you’ll install the back plate, and then attach the waterblock to the CPU. For AMD systems, you will need to remove the stock Intel mounts by removing the screws on the bottom of the waterblock, then slide the Intel mounts out and slide the AMD mounts in.
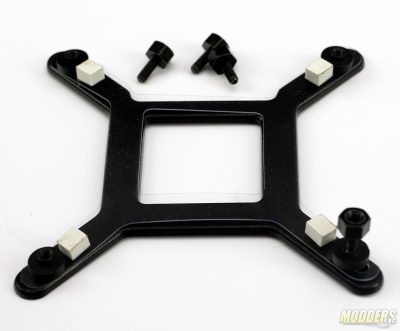
The first step in the installation process is to remove the back plate from the waterblock. Next, you’ll unscrews the four mounting screws from the backplate.
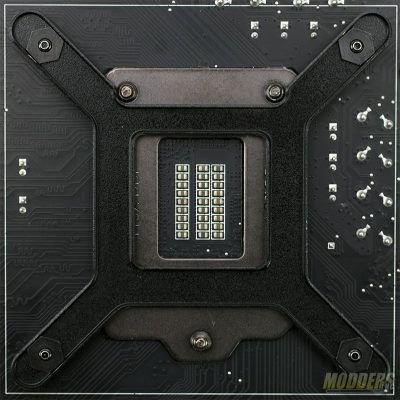
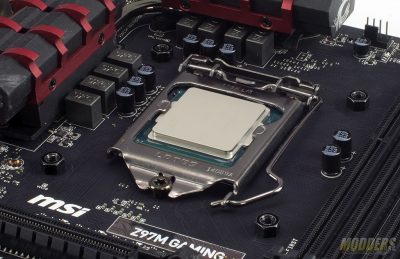
For our testing, we will be installing the H240-X on an Intel system. The back plate must be installed correctly. There are two reliefs cut into the back plate and they line up with the screws that hold the CPU retention mechanism down.
The next step is to flip the board over and secure the backplate using the mounting screws you removed earlier.
Next, add the thermal paste to the top of the CPU’s heat spreader. There’s some debate on how to apply thermal paste. I use a drop about the size of a pea in the center of the heat spreader. Then tighten the waterblock down using a crisscross style pattern on the screws in the corners.
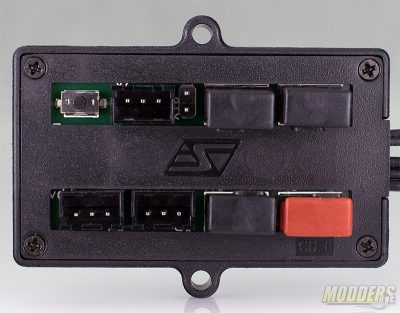
The final installation step is to connect it all to your motherboard using the supplied PWM splitter. You’ll notice the PWM splitter has four 4-pin PWM headers, three 3-pin headers, a single 2-pin header, and a small button. The splitter is powered by a SATA power cable from the power supply. The PWM header with the red cover is for the pump and the other three are for the fans. The three 3-pin headers power the lighting on the H320 X2. The two pin header and the switch control the lighting colors and brightness. The two pin header can be connected to your case’s reset button for easy use. Finally connect the pump and the PWM splitter power cables to the power supply and the PWM cable from the splitter to the motherboard’s CPU header.
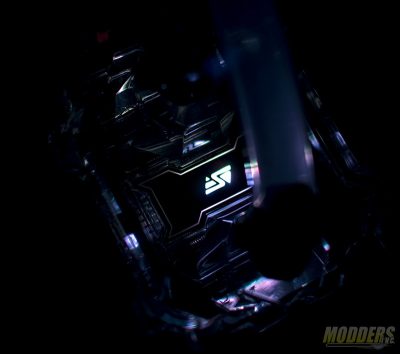
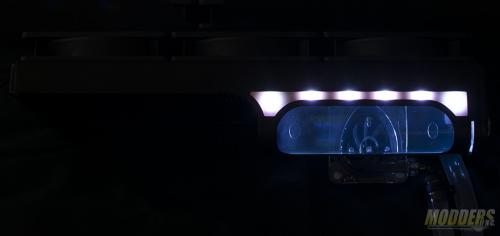
The PWM splitter also controls the lighting color and brightness for the lights on the waterblock, the radiator and in the reservoir.
