Installation
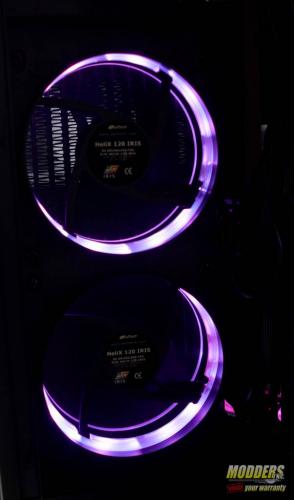
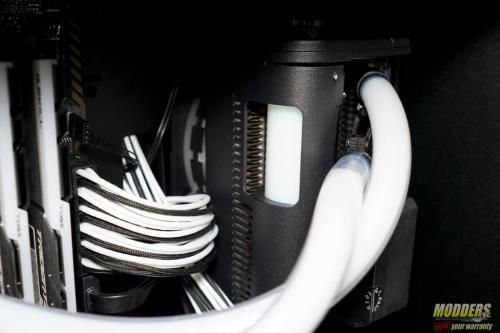
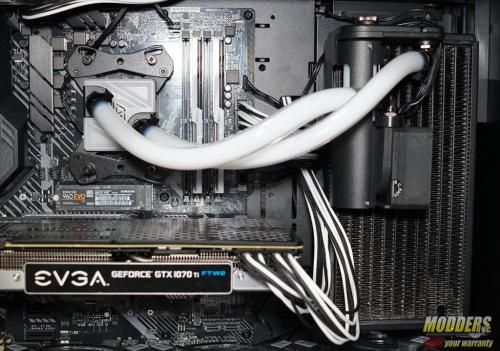
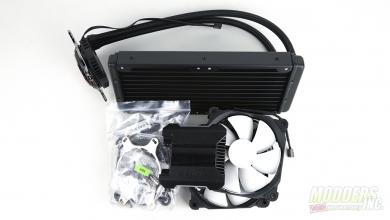
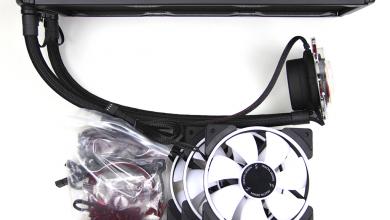
Insatalling the H240 X3 was simple and straight forward. I installed the cooler in the In Win 101c. The one issue I had with installing the H240 X3 in the particular case, was the fact the only spot in the 101c to install the cooler was on the back wall of the case, next to the motherboard tray. The rear of the case is vented, so air flow isn’t an issue. However, unless you’re looking down, at the back of the case, you can’t see the Helix RGB fans. It’s a shame too because the fans look great!
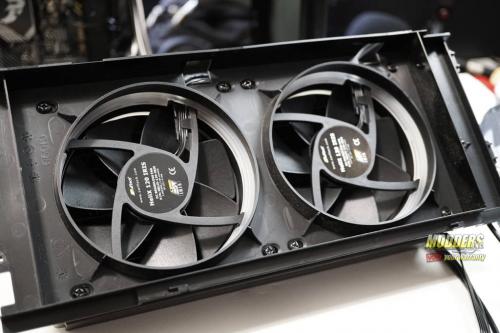
The 101c has a removable radiator bracket that makes installing an AIO or custom loop far easier than in most cases. Fist, I had to remove the fans from the cooler, then attach the radiator and fans to the bracket. The screws that attach the fans to the radiator were just barely long enough to work. However, I could use the washers. When I tried, the screws were just too short. So, if you do plan to mount the H240 X3 to any kind of mounting bracket, keep that in mind. You may need longer screws.
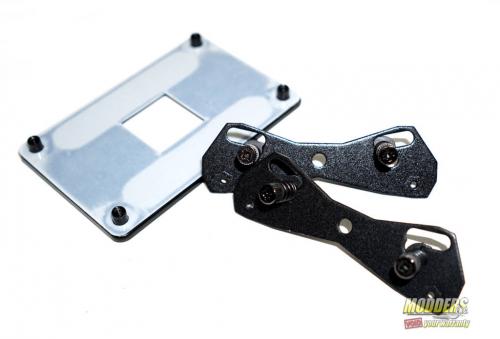
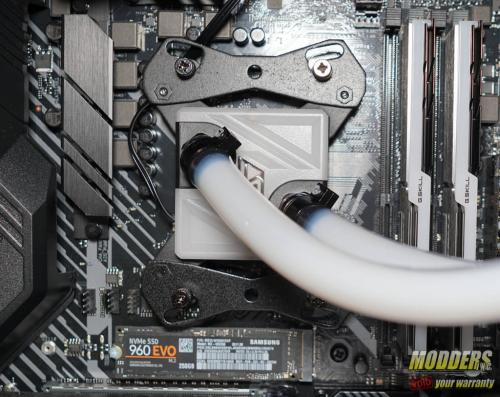
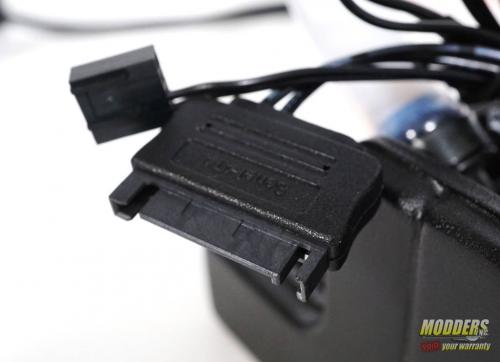
Once the cooler was mounted, it was easy to mount the block to the board. The PWM header from the pump gets plugged into the IRIS ECO controller and the pump is powered by a single SATA connection. The swivel fitting makes it that much easier to install the H240 X3. Since I was using AMDs AM4 socket, I had to use the back plate that came with my motherboard. Luckily, a still had one. There are two small brackets. Each with two screws affixed to them, that attack to the block. This allows you to use both AM3+ and AM4 motherboards with this cooler. Stock, the H240 X3 is set up for Intels consumer socket. The most current being LGA 1151. However, the H240 X3 can be used with all modern sockets from LGA 1155, 56, 50 and 51 to AM2, FM2+, AM3, AM3+, AM4 and TR4. The H240 X3 is also compatible with LGA 2011 and 2011 V3.
