Swiftech H240-X AIO CPU Cooler Review
Installation
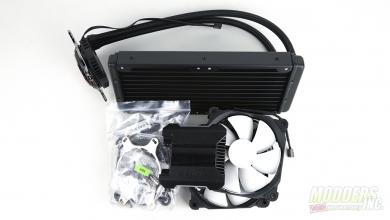
Installing the Swiftech H240-X is very similar to installing most other coolers. For Intel systems, first you’ll install the back plate, and then attach the waterblock to the CPU. For AMD systems, you will need to remove the stock Intel mounts by removing the screws on the bottom of the waterblock, then slide the Intel mounts out and slide the AMD mounts in.
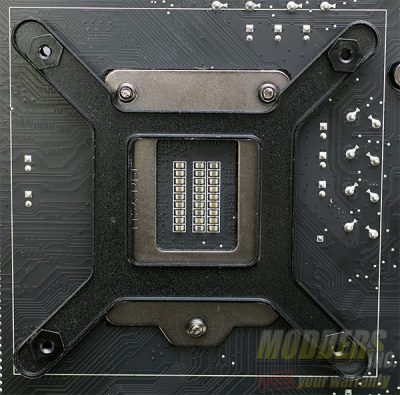
For our testing, we will be installing the H240-X on an Intel system. The back plate must be installed correctly. There are two reliefs cut into the back plate and they line up with the screws that hold the CPU retention mechanism down.
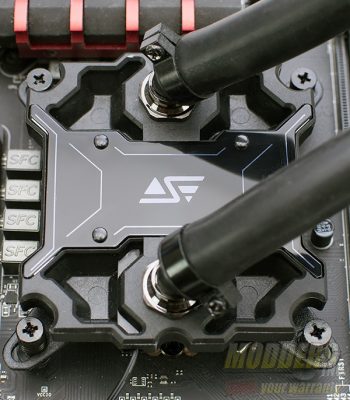
Once the backplate is placed correctly, simply put thermal paste on the CPU and tighten down the waterblock. Make sure to use a criss-cross pattern when tightening down the block to ensure even spread of the thermal paste.
Finally, you’ll mount the radiator. The radiator can be mounted with the reservoir window at the bottom and the fans at the top or in either vertical orientation. Swiftech recommends that the H240-X not be mounted upside down.
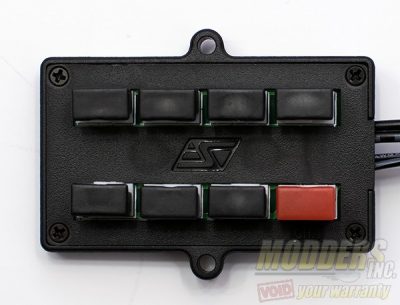
Finally, connect the SATA power connector and the PWM hub. If you are using the PWM hub ensure the pump is connected to the 1st (marked in RED) connector as this is the only connector that will feed the RPM signal back to the motherboard.
