Swiftech H240-X AIO CPU Cooler Review
H240-X Closer Look Continued
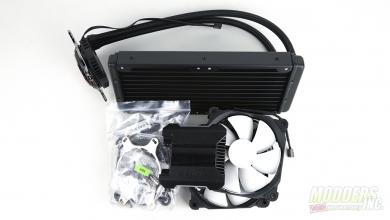
Before we get into testing, I want to show the kit torn down. This kit is billed as expandable and is easily taken apart. All you will need is a couple of screw drivers. Disassembly was done after testing was complete.
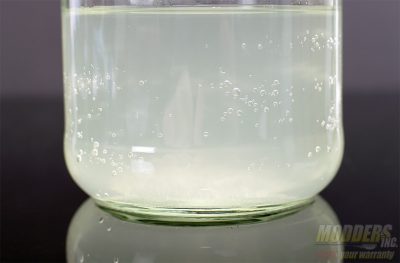
The first step in the disassembly process was to drain the loop. To do this, I unscrewed one of the clamps securing the hose to the waterblock. The glass I used was freshly washed and rinsed with denatured alcohol. There was a little bit of flux left over from the manufacturing process floating around in the coolant.
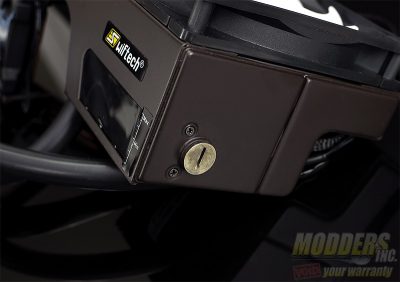
There is only one fill port on this kit. It is located on the right side of the radiator is we use the reservoir window as the “front” of the H240-X. The first step in tearing down the kit is to remove the filler cap and the two screws located near the fill port.
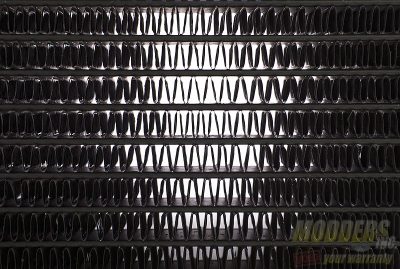
The radiator on the H240-X is custom built for this specific application. The radiator features 12-14 fins per inch.
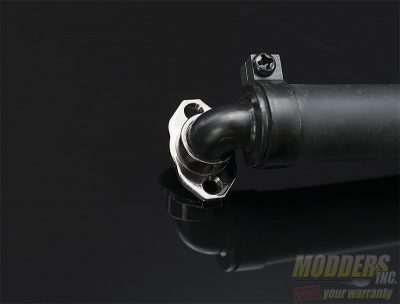
The tubing included with the kit is black PVC and is 10/16mm or 5/8″ x 3/8″ in size. Shown below and still attached to the tubing is the pump discharge connection that will need to be replaced if you choose to run G1/4 fittings on the pump.
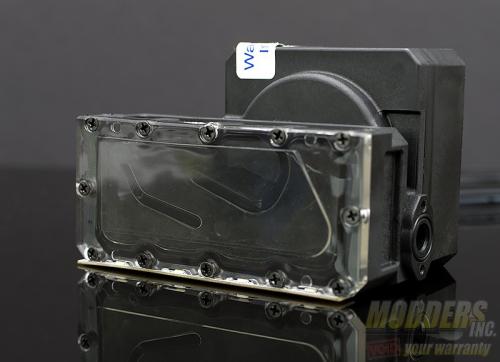
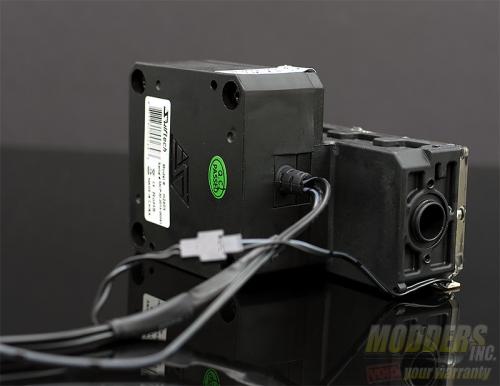
The pump and reservoir are taken out as an assembly for our purposes, but the pump can be removed by simply unscrewing the four screws located in the corners on the back. The pump features a ceramic shaft and PTFE bearing. The pump is rated for 6 watts of power draw and a max of 3000 RPM. The window of the reservoir is held on by 12 Phillips screws and can be replaced with one of the colored windows. This does not void your warranty with Swiftech but due to the nature of the replacement, it cannot be guaranteed that it will not leak either.
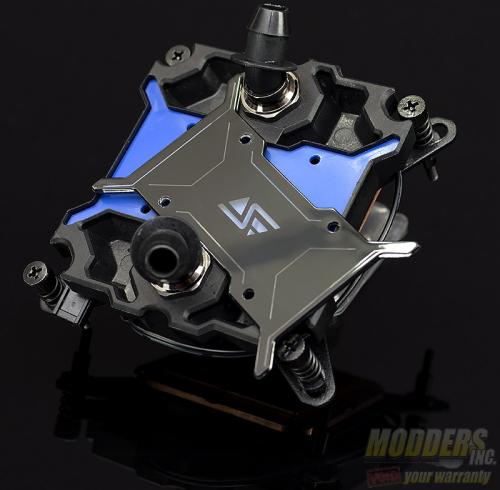
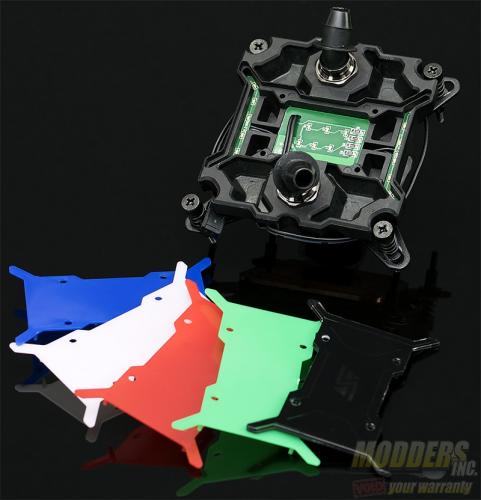
The Apogee water block can be customized as well. After removing the pins that hold the front cover on, the user can replace the colored insert with one of the four provided or create their own. In the center of the water block is the LED lighting and is powered off of either a motherboard header or the included PWM hub.
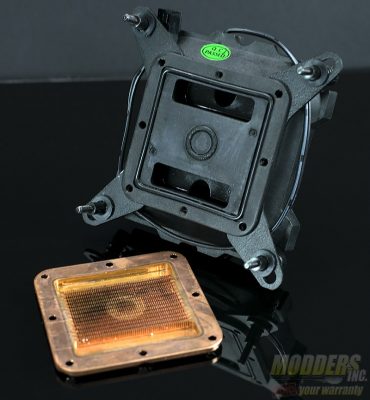
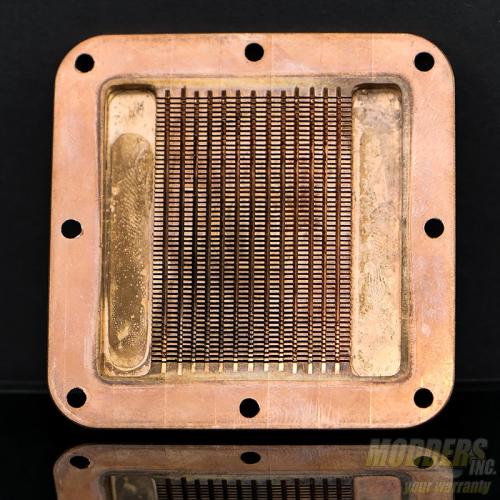
The waterblock has two channels that separate the incoming and outgoing coolant. This set up forces the coolant into the block on one side, across the pins and out the other.
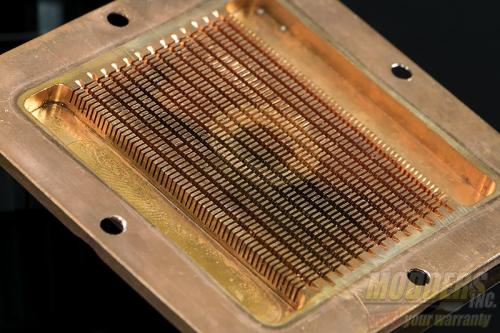
The base of the water block is machined from C110 copper and features a fin/pin array. 225 fins/pins increase the surface area the water comes in contact with as it flows through the block and absorb heat. I noticed a little bit of discoloration on the block however, I didn’t see any deposits or flux stuck in the fins.
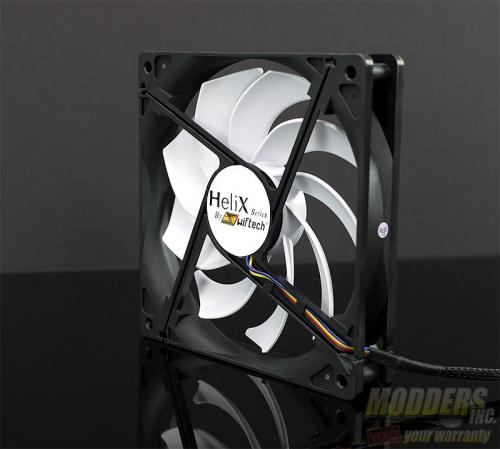
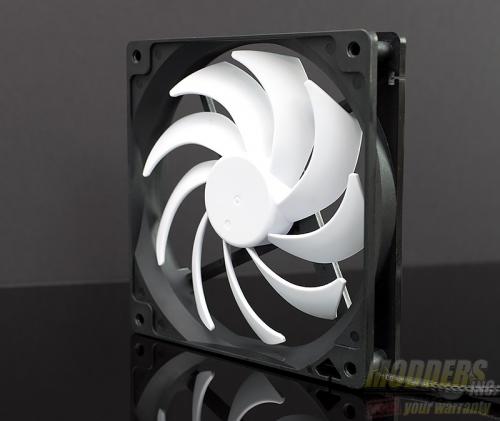
A pair of Swiftech Helix 140mm fans are included. These fans have a maximum RPM of 1800 can push 2.29 mmH2O with a maximum RPM noise level of about 28 dBA.
