A Step-by-Step Guide to Shooting Paint: Stepping Away From Black
Step 10: Dry Phase 2
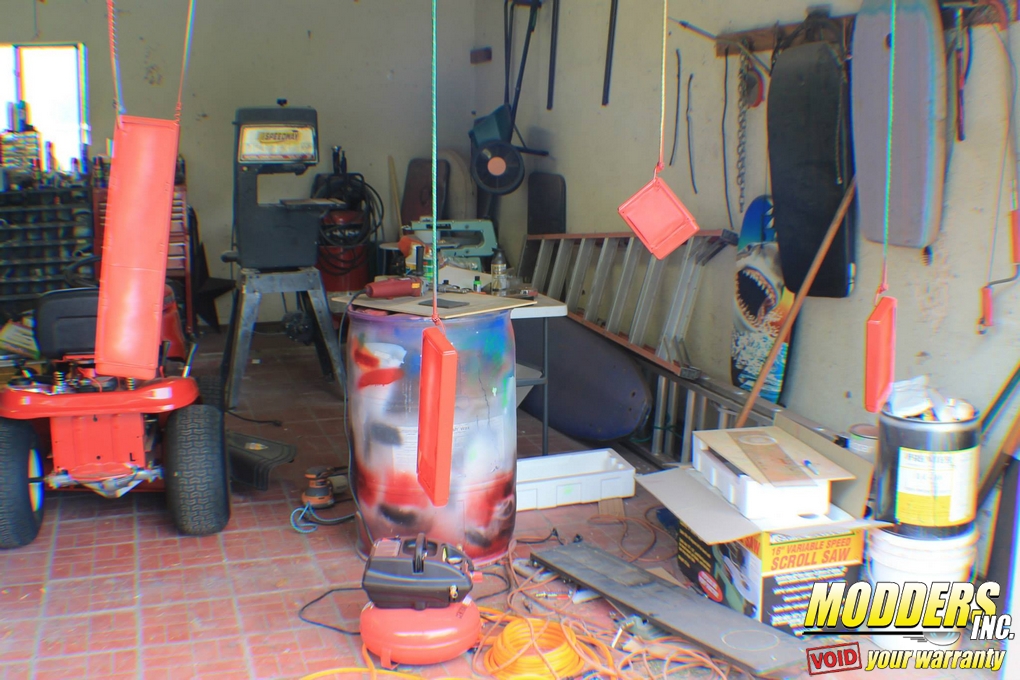
Once again, hang your subject out to completely dry. If you want to accelerate this process, use a hair dryer on LOW heat setting. Remember, DO NOT TOUCH IT with your bare hands. Wear non-powdered gloves or use a non-lint cloth.
Step 11: Tack Rag Phase 2
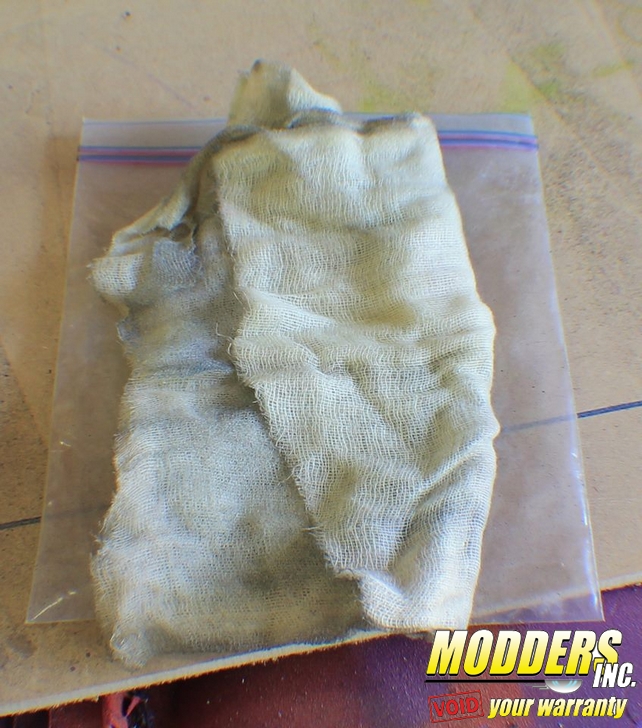
For the last time give your subject a full wipe down with your tack rag WITHOUT TOUCHING IT with your bare hands.
Step 12: Shooting the Second Coat
Just like in the first coat, keep the can 6-8 inches away from the subject you are painting. Start in the hard to reach places first, then the edges and lastly the fill-in. You should start to see the colors even out now. Wait 10-30 minutes to let the paint flash (dry to the touch), then hit it with the paint one last time.
Step 13: Final Drying
At long last you can sit back and reap the rewards of a job well done right? Wrong!!!! Now for the next 24 hours you have to make sure nothing comes into contact with your new custom paint job or you have to start over from the second sanding stage. If you skipped out on any of the steps, it will show up here. If you touched it when you weren’t supposed to and you didn’t wipe it down with TSP, the paint will lift and crackle. If you didn’t wait long enough to let it dry you will get what is called “Fish Eye”– what looks like little tiny craters. If that happens, you have to go all the way back to the first sanding phase.
I hope this step-by-step guide has helped. Good luck on your custom paint job.
See you next mod.
