Spray painting guide, shiney style!
OK, so I’ve decided I’m going to make my version of a spray painting guide, before I start I’d like to thank em3bilko as without his help, I would not be able to spray paint how I can, anyway back to the guide. First you’re going to need some supplies right?? Well here they are…. 1. 4-8 lint free cloths
2. The spray paint (I use Halfords own but you can use others)
3. Some rubbing compound – any will do just not to course
4. T-Cut – there is others you can use but I recommend this if you can get it
5. Turtle wax or a wax of your choice it is not important
6. Some polish (any are good) and a duster
7. Your project!
8. 220, 400, 800, 1500 grit wet and dry sand paper, if you can get hold of some 2000 grit that would be great! Before I start I have made it easier by turning this guide into steps, here they are, STEP 1: PREPPING
STEP 2: GETTING RID OF THE COLOR COAT
STEP 3: SANDING UP THE SCALES
STEP 4: PRIMER BABY!
STEP 5: THE COLOR COAT
STEP 6: CLEAR COAT
STEP 7: RUBBING COMPOUND
STEP 8: T-CUT AND BUFFING
STEP 9: POLISH IT!
At least this way, if you have done something you know which step to go to
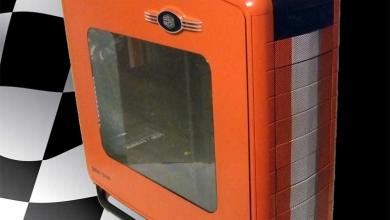
So here’s the project I will be using as a example…
Yes, that is my car-PC
STEP 1: PREPPING Ok so there’s your supplies, now first of we start by prepping your project, you will need to do this, 1. A bowl of warm soapy water
2. A cloth
3. A towel or something that is soft (this will be used to dry your project Now before we start I find that brushing any bits of crap or rubbish from the project help. Now get that warm bowl of soapy water and cloth and start to wash your project make sure you cover the whole area with the soapy water to make sure you get of any grease or dirt from the project. After you have given it a good clean dry it with a towel, the reason I say dry it with a towel and not let it dry itself is it sometimes tends to leave water marks due to weather Anyway now that you have washed and dried you project its time for some sanding,
If you have already sanded down your project you can move straight to step 4. STEP 2: GETTING RID OF THE COLOR COAT So you have a project which already has a color coat on yes? That’s why your here…anyway seems as you have a color coat you’re going to have to get it of right? yes that where you use the 220 grit, this will get that color coat of no problem, although do be warned try not to push down to hard with the sand paper otherwise you will get big scratches which are really hard to get out. Also if you want you can spend abit more time but with the 400 grit this way you will lessen the chance of getting big scratches, anyway once you have completely got rid of the color coat you’re going to need to get the scratches out. Start by washing your project and drying it again (refer to step 1) STEP 3: SANDING UP THE SCALES Right, so you have washed and dried now the next bit, you need to get your 800 grit sand paper out and start sanding. Remember not to put to much pressure otherwise you could ruin it and make that dreaded scratch, so use it wisely and start to sand, once you have done this repeat the wash and dry step. Once that is done, you can carry on moving up the grit scales, use your 1500 grit to get the 800 grit scratches out (you can use 1200 grit if you want as well this is optional I find) anyway once you have done the 1500 grit you have to repeat the wash and dry step, then if you have 2000 grit you can get it ultra smooth although I’ve found this does not make much difference on the finished project.
After sanding with 1500 grit
STEP 4: PRIMER BABY! Next up is you primer yes its the fun part now so you’ve sanded, washed and dried a number of times now to get rid of that horrid coat of color, now you want to get you primer and shake it like Mary hell, then break it out and spray. Try to remember that you need to try and make sure you do even strokes, try to go left to right or down and up, depends which feels more comfortable for you. Once you have done that let it dry completely and then give it a light sanding with 1500 grit sand paper. once that is done repeat the wash and dry step, repeat that process 3 times so you have 3 coats of primer on your project (yes sand the last primer coat very lightly with 1500 grit sandpaper
Now leave that to dry completely for a minimum of 48 hours. STEP 5: THE COLOR COAT So now you have your primer on its time to get the almighty color coat on. Start with thin coats of color as thinner is better, and also will reduce your chance of drips or bubbles. Once your first coat of color has dried sand it lightly with 1500 grit, this will get rid of any dirt or dust that has made its way into the drying coat of color. Once that is done wash and dry it again. Leave to cure for at least 48 hours
after sanding with 1500 grit lightly
This is for all first timers!
Do not give up hope when you have your first color coat on, it is true it will look a complete mess when you sand it but that will soon disappear carry on and all hope will not be lost!
Anyway back to the project, repeat the color coat another 4 times at least (leaving it to cure at least 48 hours between) and make sure you cover the whole area being sprayed completely and evenly this way you wont get dimples or drips, also remember not to go crazy with the color coats you don’t want to ruin your project and start again do you? No, so make sure you do it in order and all will be ok,
1.Color coat, sand 1500grit, wash and dry, repeat this 5 times at least (some can get away with 3 but there just lucky better to be safe than sorry right?) remember to make sure you leave 48 hours for your project to cure before moving onto the next step. STEP 6: CLEAR COAT Ok on the last color coat sand very lightly as you will be spraying your clear coat on now. With the clear coat you just spray the same way you would as if it was a color coat, just this time you can’t see it The clear coat is here to protect your project and also gives it a better shine, anyway just to recap this is what you should do with the clear coat, 1st you spray the clear coat on with nice even strokes, remembering not to over do it with the clear coat, THIN layers always give a better finish. After your first coat of clear, sand it very lightly with 1500 grit then repeat the wash and dry process. Repeat that process at least 3 times, you can do it 5 times although I have not tried that yet so do not know the outcome. On the last coat of clear you will sand it slightly different, use the highest grit sand paper you can get hold of. You will need to put hardly any pressure on at all as you will not want your finish to have scratches here and there so remember ultra light sanding is what you are doing on this coat!
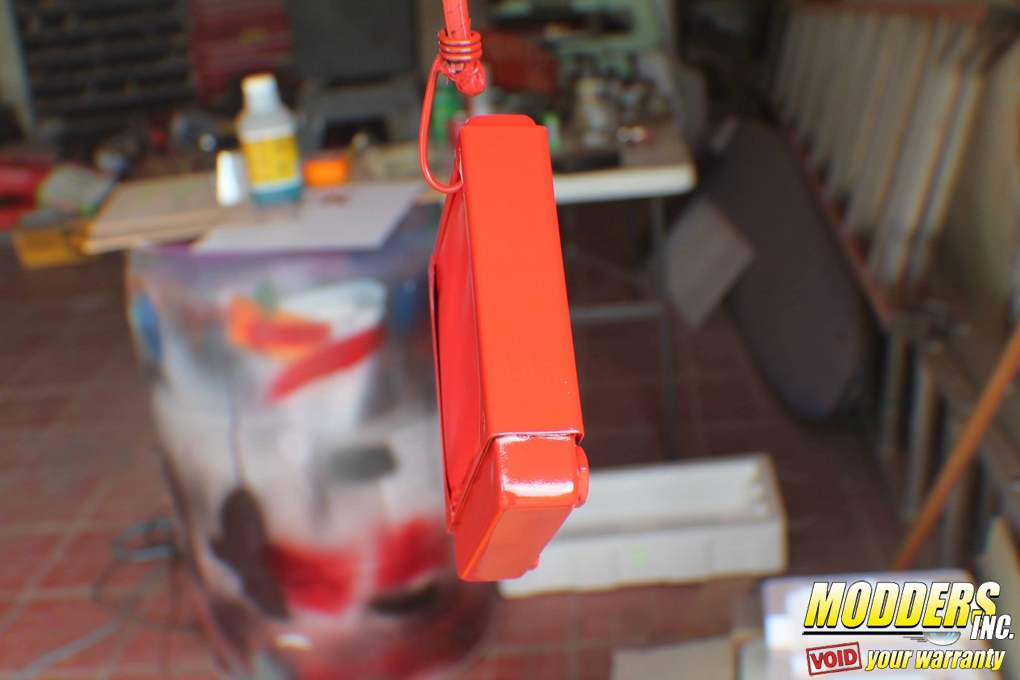
Here it is with clear coat on…
STEP 7: RUBBING COMPOUND So you have sanded it, sprayed it and all the rest of that stuff. Now I bet your project is looking pretty good right? Well how about a reflection so you can see yourself? Yes that’s right, now comes the buffing. With me I didn’t use a buffing tool I did it all by hand which it does take longer to do, but it does give just as good a look as what a buffing tool can. So get your rubbing compound (a fine one!) out and also one of your lint free cloths, try not to put to much rubbing compound on otherwise you could ruin your whole project and have to start again, anyhow try to use circular motion when applying the rubbing compound this way you will get most of the faint scratches out. Do not worry to much about the very faint scratches you can see, we will be getting rid of those soon. So you’ve used your rubbing compound and got rid of that horrid orange peel right? Once again wash and dry your project completely, then move onto the next step. STEP 8: T-CUT AND BUFFING Now that you have applied your rubbing compound and made it look very matte you need to buff it up a bit. This is where your T-Cut comes into play. Apply the T-Cut as the directions tell you, leave it to haze then rub it of with one of your lint free cloths. This is what will get rid of those faint hazed scratches along with the next step. Once that is done wash and dry it again then move on.
After applying T-Cut
Now you need to move onto applying the turtle wax, this is where it starts to look good. Apply your turtle wax the same way you did with the T-Cut leave it to dry to a haze and then rub it off with one of your lint free cloths. Once this is done you should have a very nice shine but you want it to look even better, right? Then follow the last step. STEP 9: POLISH IT! Now I have not come across anyone else who has done this but I thought I would try it out and well guess what it gives the best effect I have ever seen….so get your polish, any will do but I find Mr Sheen (an English product) seems to work brilliant for this. Get your duster and start to polish your work, once you have finished polishing stand and drool at your beautiful work. You’ve done well to get this far and it was all worth it don’t you think?
There’s that shine baby yea!
Now you can buff some more and also polish it some more, this will give you a better effect on the shine, but can also mean you might cut through your nice paint job, so be careful all! Once again id like to thank em3bilko for helping me out on how to spray, this guide wouldn’t be here if it was not for him! Laters all and I hope this guide has helped! Editor’s note:
We would like to thank our forum member razer121 for making this How To guide for us to use and to share with you! If you have a guide that you would like to submit please send a Private Message to Americanfreak in the forums.
Disclaimer
This guide is for informative purposes only! We (Modders-Inc.) will not be held responsible for any damages caused to or resulting from anything that you have decide to do to your case or hardware. We (Modders-Inc.) will not be held responsible for injury to your person or others as a result of you or others attempting any of the things that are shown on this site. You are responsible for your own actions, whether your actions are based on information gathered from Modder-Inc or its affiliates. Always use the proper tools for a job. Always wear the necessary Safety Equipment.


