Sound Blaster Vanguard K08 RGB Mechanical Keyboard Review
A Closer Look at the Vanguard K08
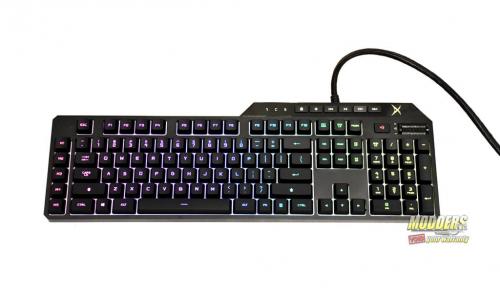
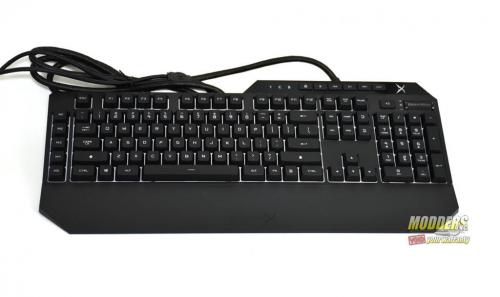
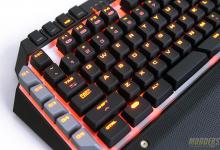
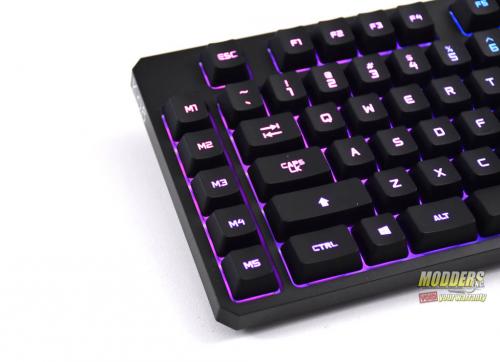
At first glance, the Vanguard K08 looks like a cross between the Razer Black Widow Chroma and the Logitech G910. Where some keyboards force you to choose between features such as dedicated media keys or a USB pass through, the Vanguard has it all. Starting from left to right, the Vanguard has five Macro keys. These are fully programmable through the Sound Blaster Connect software. The Vanguard features 109, fully programmable keys with low profile keycaps. To test this, I remapped all 109 keys and giving it to my daughter to write a paper for school. Without telling her of course. The keys can be remapped through the Sound Blaster Connect software.
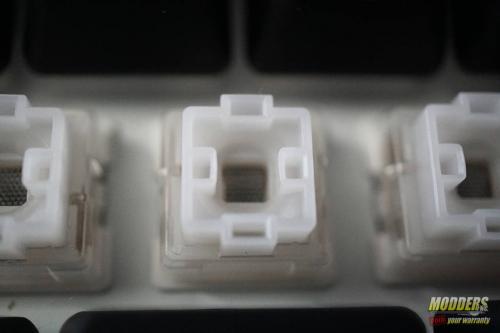
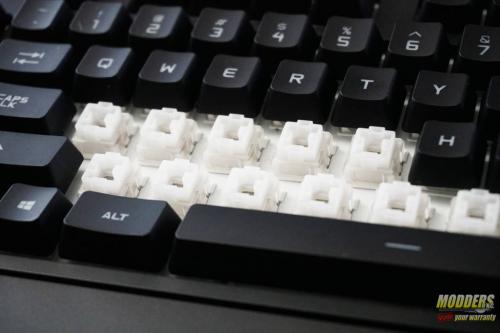
The Sound Blaster Vanguard K08 comes packed with features. The Vanguard has 109 custom Omron mechanical switches, with a life expectancy of 70 million actuations. The actuation force of the keys is 45 grams, with an actuation distance of 1.5mm and a total travel distance of 3.5mm. The Vanguard features 26-Key Rollover, with anti-ghosting technology. Some may ask, why not full N-Key Rollover? But seriously, unless you’re punching the keyboard with both fists, how often with you press more than 26 keys at once?
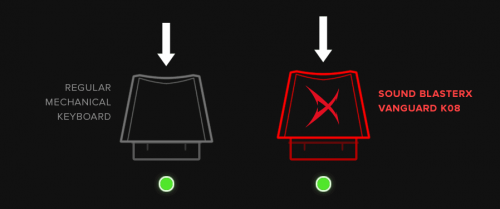
Creative worked with Omron to co-design their own switches for the Vanguard. The call these the PRES Switches. PRES stands for Perceive-React-Execute Switches. They were developed with high action gaming in mind. These keys were designed for 25% faster response and 12.5% faster actions per minute. In short, this means you only have to depress the keys by 3/4 of the usual distance before a command is recognized.
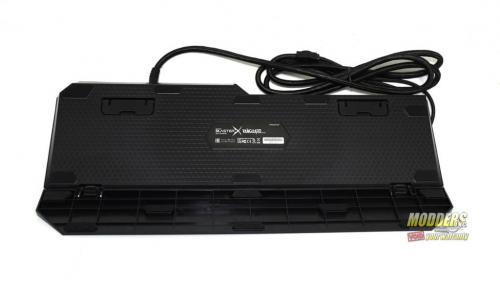
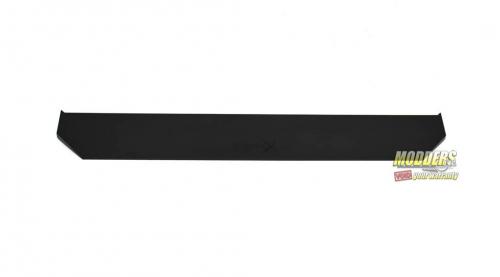
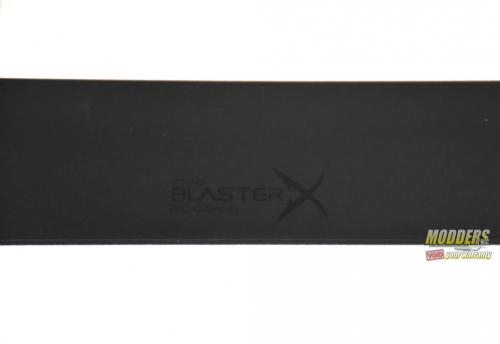
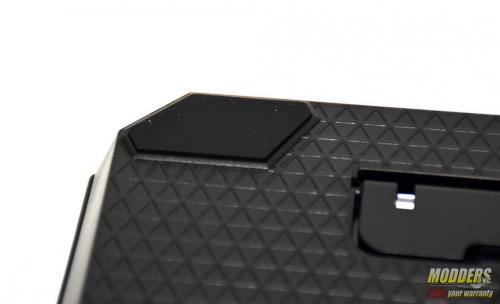
The Vanguard comes with a plastic wrist rest, with the Sound BlasterX logo inscribed in the canter of the wrist rest. The wrist rest doesn’t click into place. Rather, it more rests into place. I think this is a great but overlooked feature. How many times have you had the tabs a wrist rest break trying to snap them in place? That won’t happen with the Vanguard K08. The Vanguard also has two adjustable feet, to raise up the back of the keyboard.
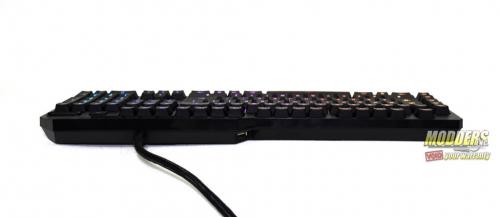
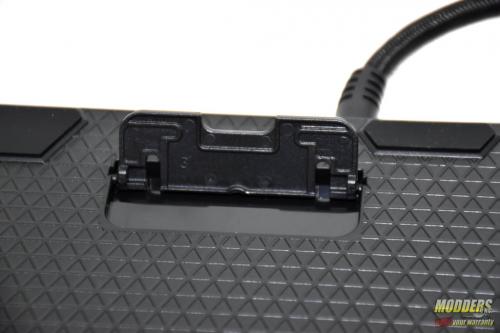
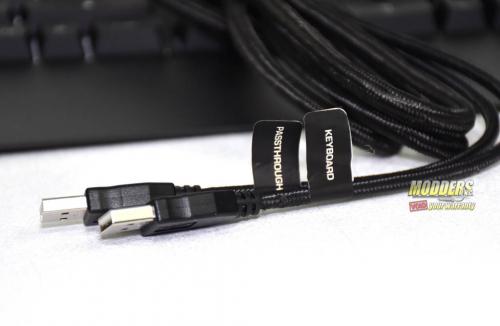
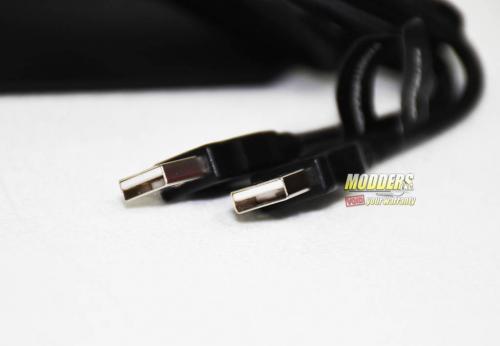
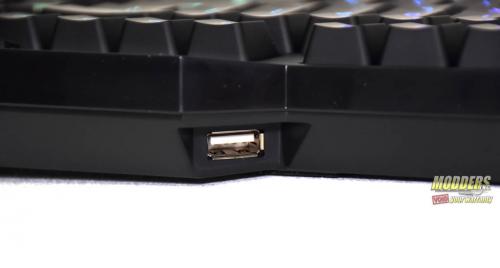
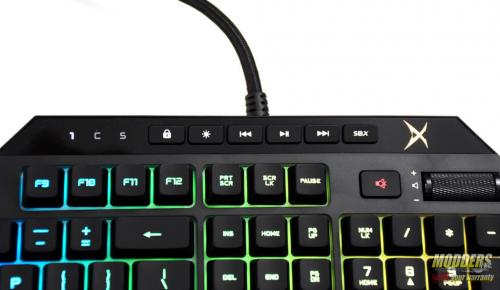
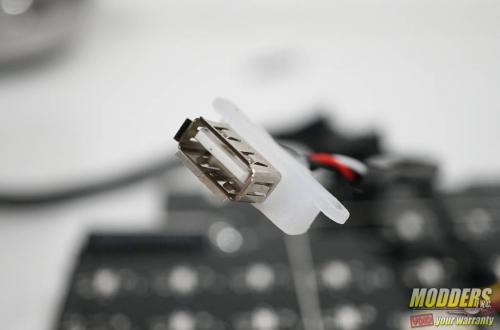
The Vanguard has a thick, braided cable. It feels very durable. My cat did attack the cable at one point. Through all her efforts, she couldn’t chew through it. The end of the cable has two USB connectors, one to power the keyboard and the other, a USB passthrough. The USB passthrough is only a USB 2.0 port, but still very useful. The USB passthrough is located near the back side of the media keys. I love the fact that they have the two USB connectors labeled. This was great when I went to shoot photos of the Vanguard, only having to plug in one cable.
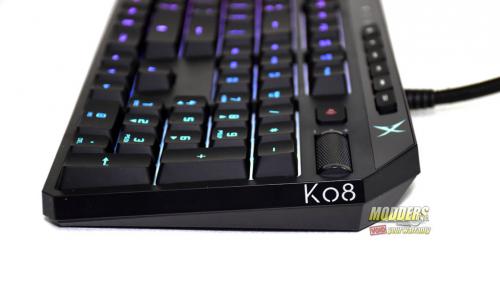
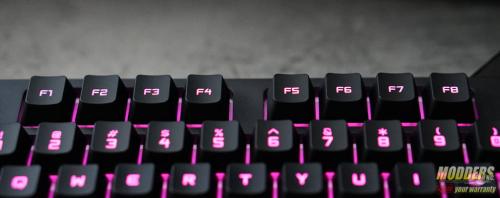
Across the top, and to the right are the dedicated media keys. There is also a key to adjust the brightness of the RGB lighting, and a key with a lock on it. The lock key enables gaming mode and disables the windows key. Just below the media keys, and above the number pad, there is a mute button and a volume rocker. This is one of my personal favorite features of the Vanguard. It’s a small one, but I use it constantly. To the left, there are five M keys for recording Macros. These are some of the most useful keys on the Vanguard. They can be programmed using the Sound Blaster Connect software. There is a row for the F keys, escape, print screen, scroll lock and pause keys. The rest of the keyboard is the standard QWERTY layout, with a number pad.
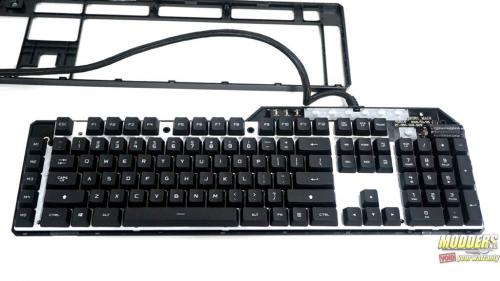
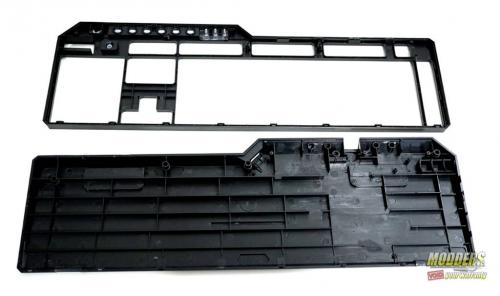
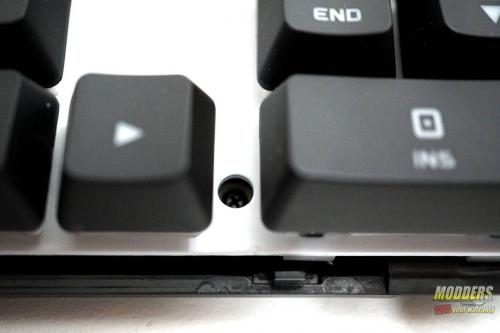
To disassemble the Vanguard, you first must remove several of the rubber feet on the underside of the keyboard. There may be some of the double-sided tape left over that you might have to poke a hole in. Once the rubber feet are removed, only along the top, there are four screws to remove next. Once these four screws are removed, the top of the keyboard will pop off easily, with minimum force required.
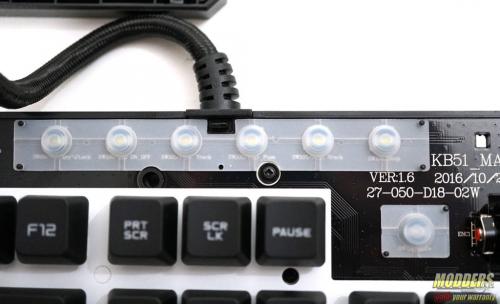
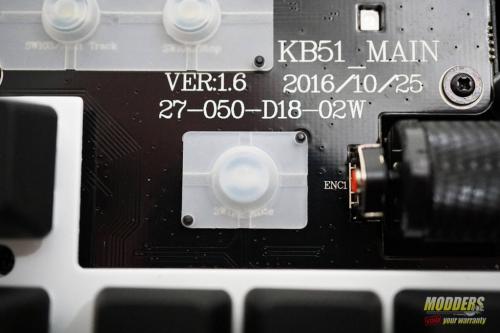
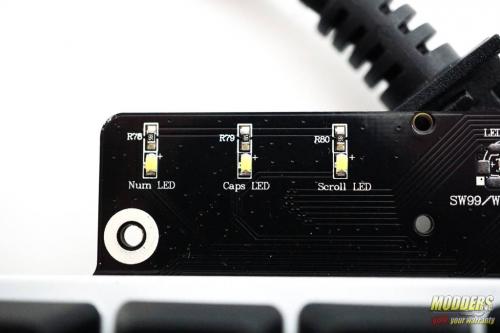
Once the top plate is removed, there are rubber covers that go ever the mute and media keys. This helps to protect the PCB from damage from the actual button on the keyboard. There are LEDs for caps lock, number lock, and scroll lock.
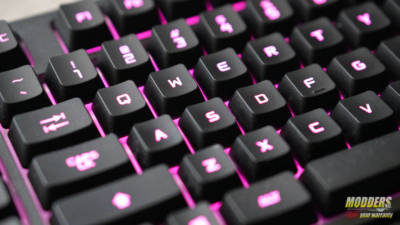
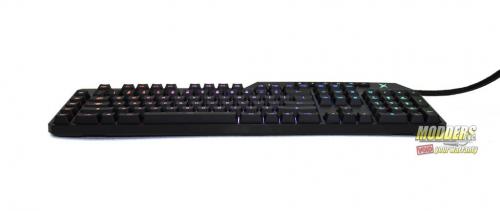
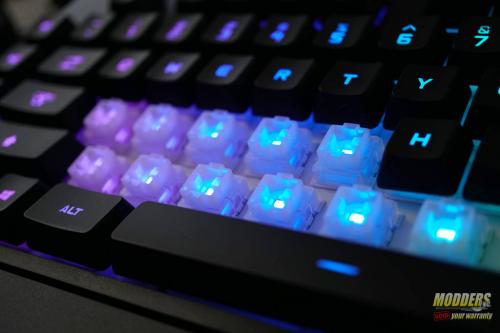
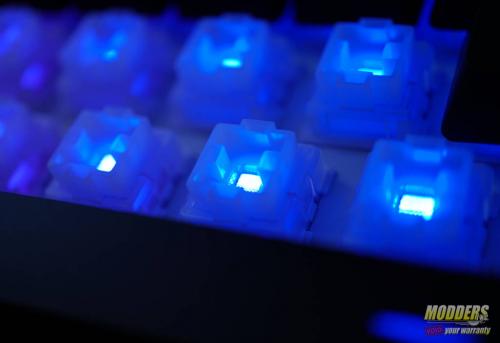
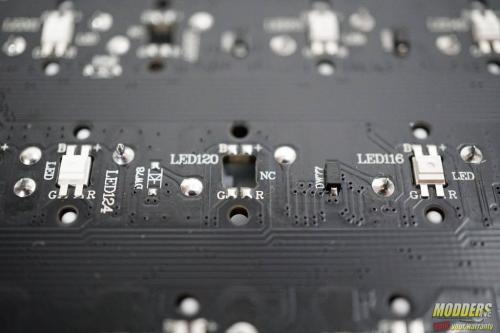
There are a series of smaller screws that attach the PCB to the bottom portion of the housing. These screws are placed in between various keys throughout the top part of the PCB. With the keyboard illuminated, it looks as if the lights are underneath the keys. However, each individual key is backlit. The white, reflective sheet under the keys reflects the light from each key, giving the illusion they light come from under the keys. The Vanguard looks great when illuminated.
We’ve all been there. When we’re typing and a key on our favorite keyboard just stops working. One cause of this on mechanical keyboards are failed contacts. On most mechanical keyboards, each key is soldered in place. Over time, a faulty solder point can break, making the key useless. This will be less of an issue, if at all, on the Vanguard. This is due to their cross-point technology for fail-safe contacts. This means that each key has two contact points soldered to the PCB. Each key is guaranteed to work if one of those contact points stays intact. This makes the Vanguard 100% more reliable than your average keyboard.
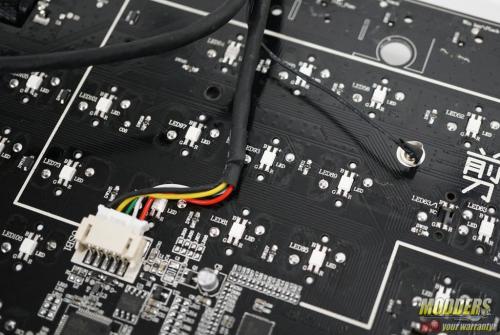
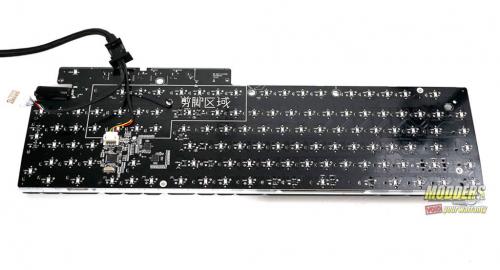
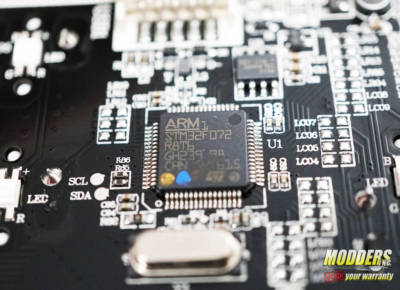
Once the PCB is removed from the housing, you can see where the cable connects to the back of the PCB. It’s also grounded, and the USB passthrough is screwed to the bottom of the housing. The Vanguard K08 uses the ARMSTM32F072R8T6 microprocessor. This processor has a 32-bit memory interface running at 48 MHz. The total program memory is 64 KB and the RAM is 16 KB.



Good review Paul.
I have a Logitech G410 Atlas Spectrum keyboard with Romer-G keys on it.
It’s pretty damn nice too.