New Silverstone Sugo 14 SFF Case Review
Full System Build
For the test build in the Silverstone Sugo 14, the following test system was used.
| Processor | Intel i7 6700K |
| Motherboard | Asus Z170i Pro Gaming |
| Cooler | Asetek 120mm OEM AIO |
| Graphics Card | Asrock RX5500 Phantom Gaming |
| Power Supply | Silverstone ST75F-PT with Silverstone short cable kit |
| Storage | Hitachi 1TB Hard Drive |
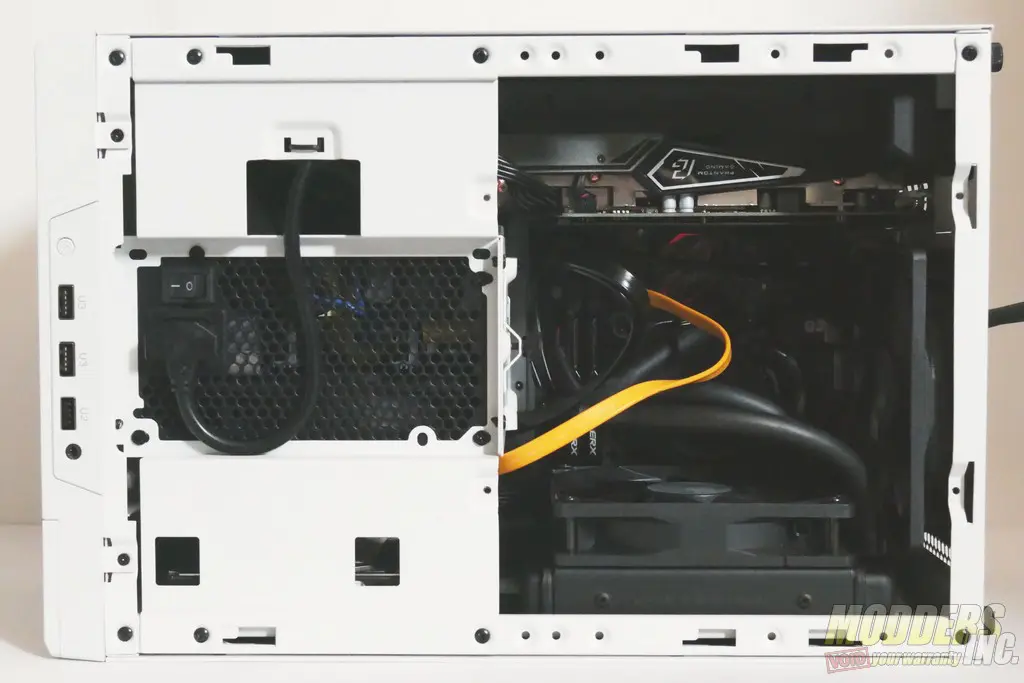
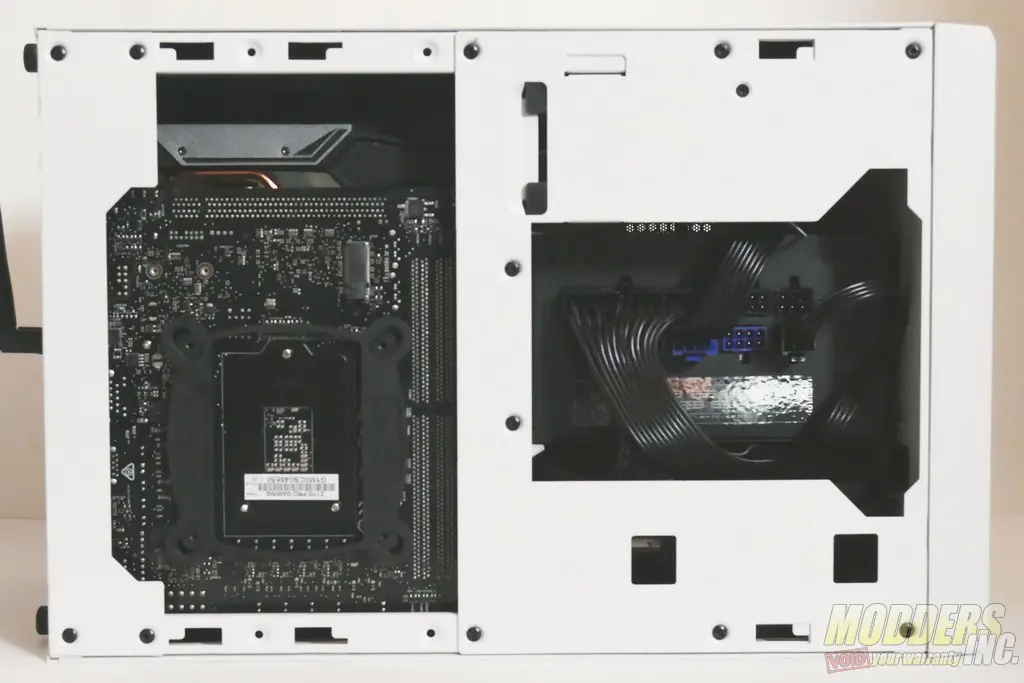
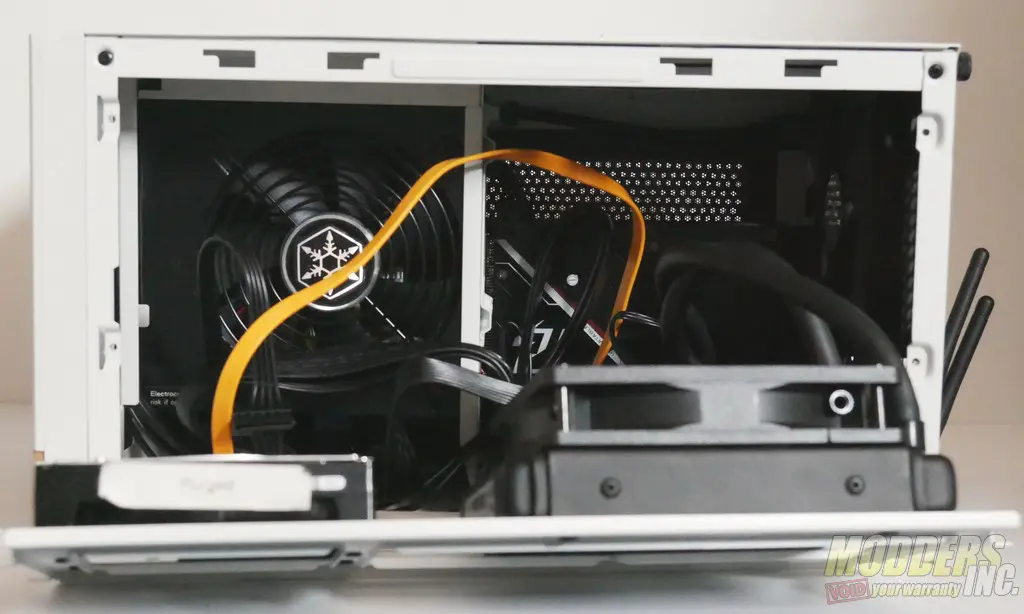
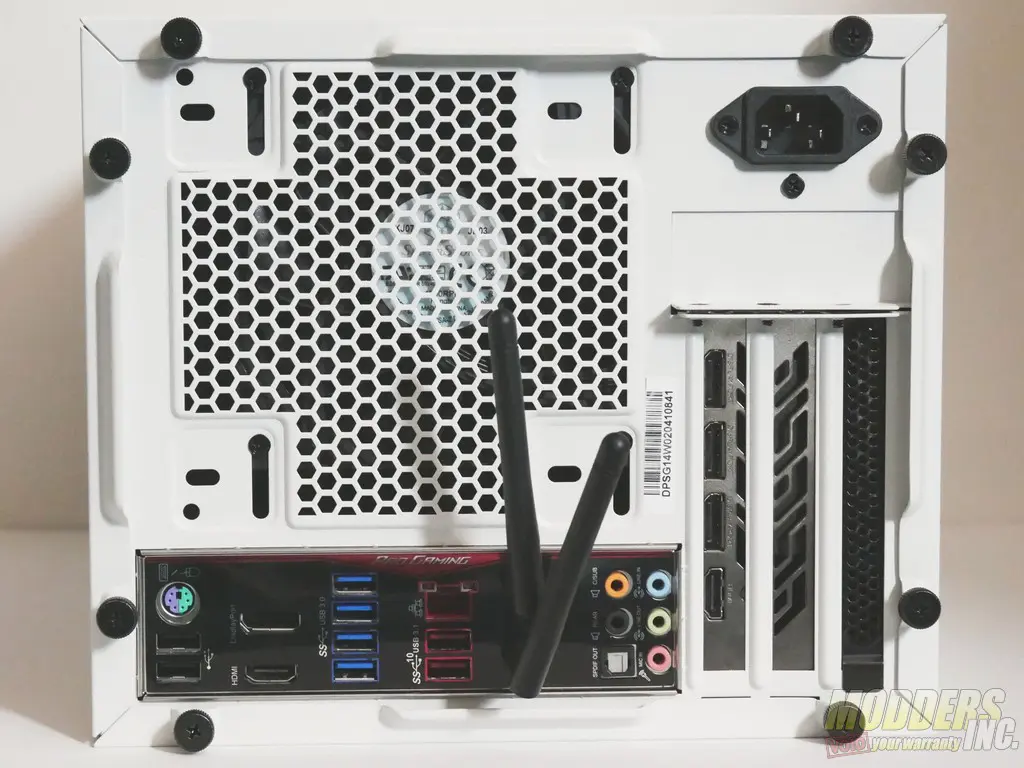
Building in the Sugo 14 is very easy. The layout of the case is very intuitive, and every part of the case can be accessed easily by removing one or two panels. Access to the motherboard area from the top and bottom is excellent, and installing the power supply is as simple as sliding it into place and screwing it down. The power cable extension is long enough to easily reach the socket on most power supplies.
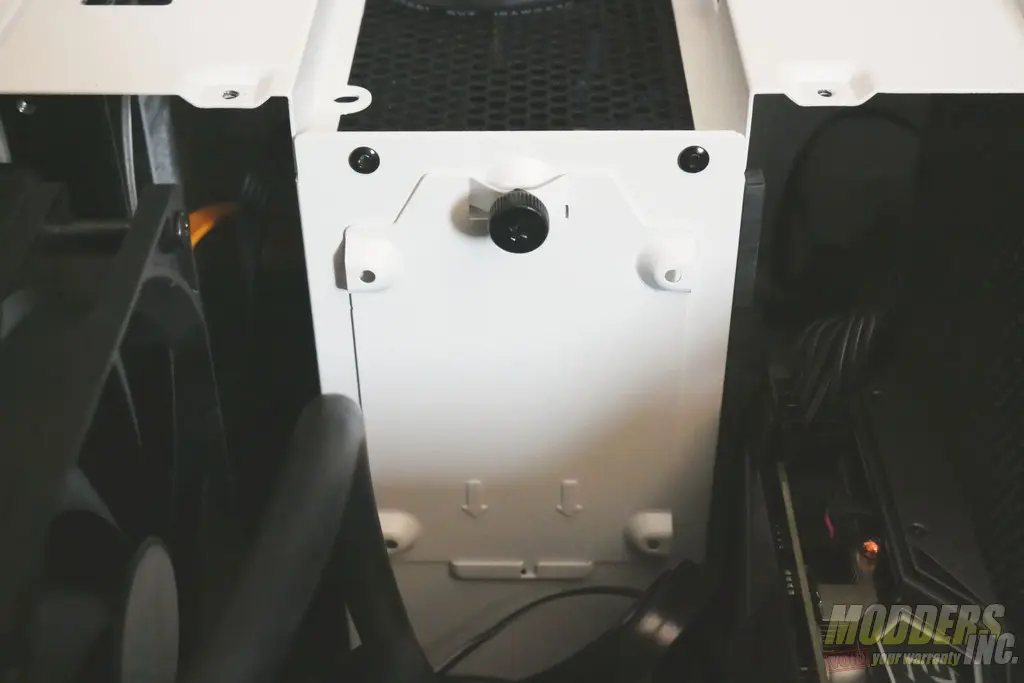
Inside the main motherboard area is a conveniently placed 2.5″ drive bay. It features raised mounting points, which helps in accommodating a wider variety of SATA power cables. The tray’s captured thumb screw makes removing and reinstalling it very easy.
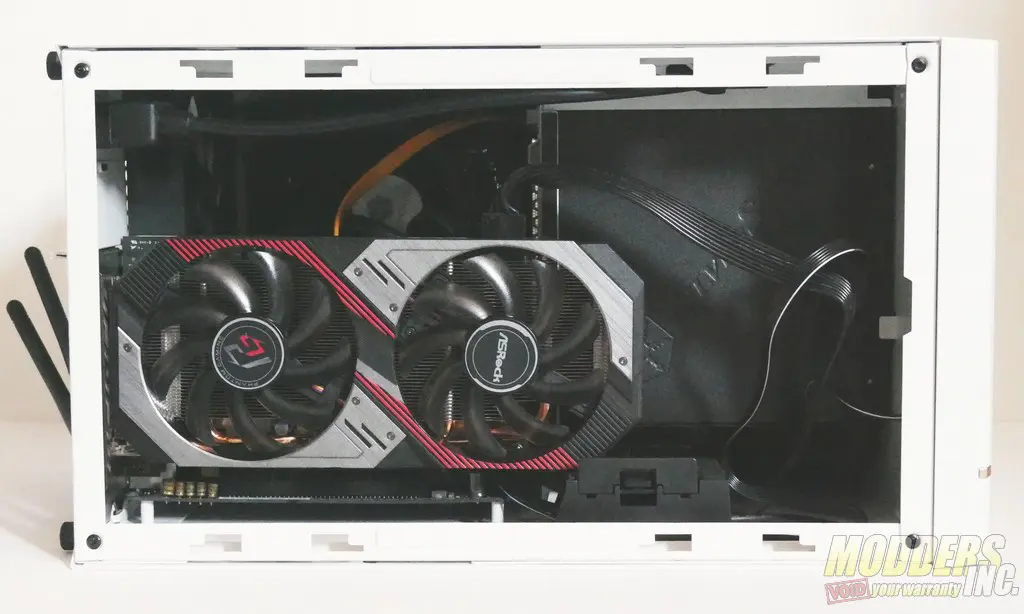
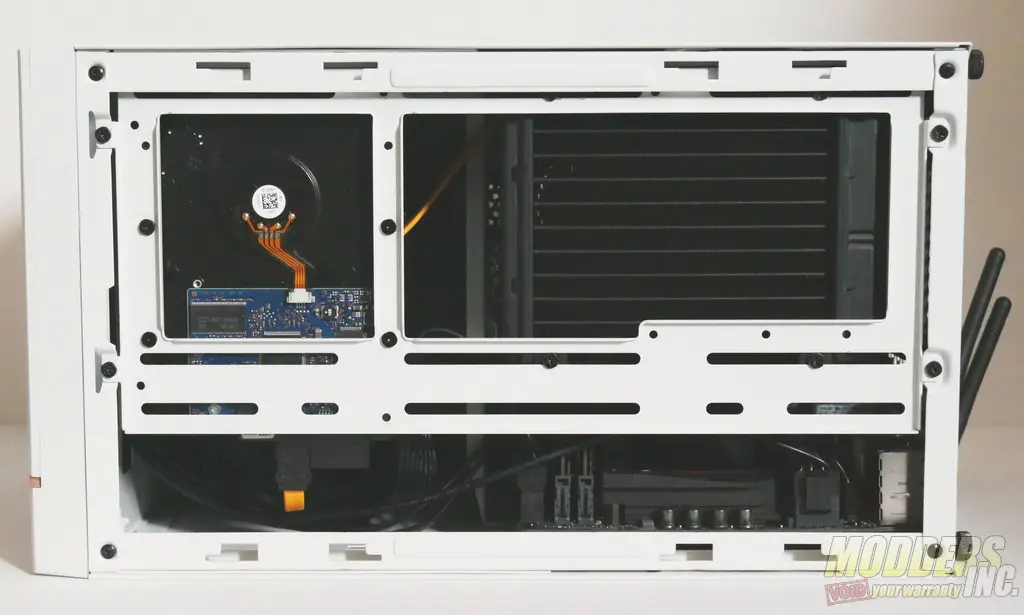
The right side of the case is almost entirely taken up by the large multipurpose bracket that can hold a variety of drives or radiators. For this build, the 5.25″ drive bay was removed to make space for a 3.5″ drive, and the second half of the bracket was used for a 120mm radiator. Installing parts to the bracket is relatively easy, though radiators need to be installed with the bracket outside of the case because the top edge of the case obscures some of the radiator screws when the bracket is installed. It is also worth noting that the power supply will need to pull air through this side of the case if you are using a very large graphics card. If you have both a large card and a 240mm radiator, it may be advisable to turn the front fan of the radiator into the case so that it feeds air to the power supply.
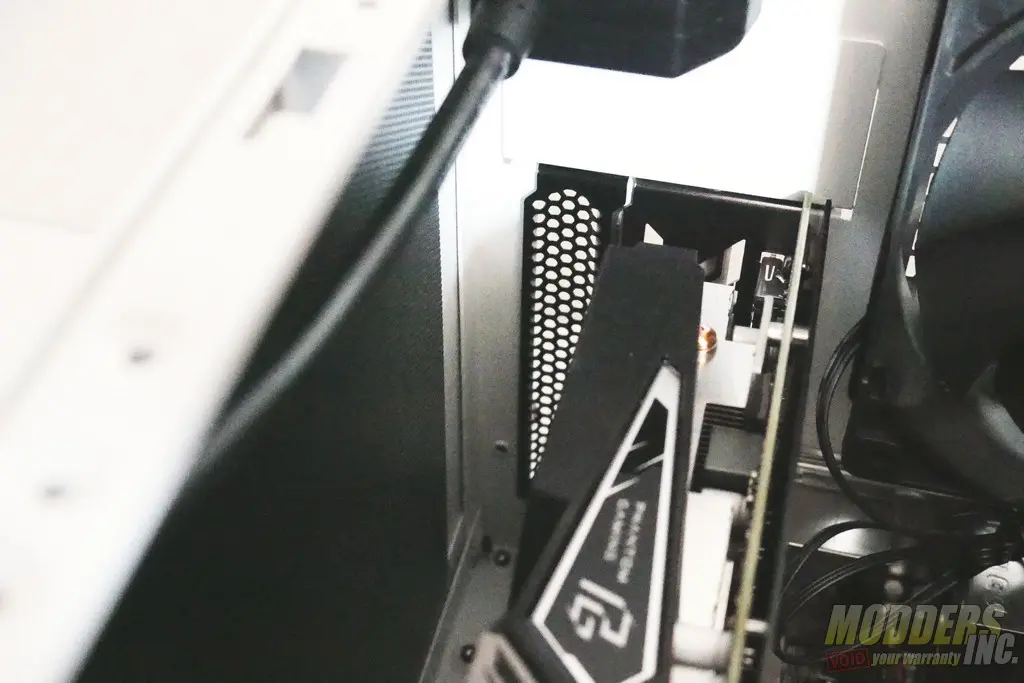
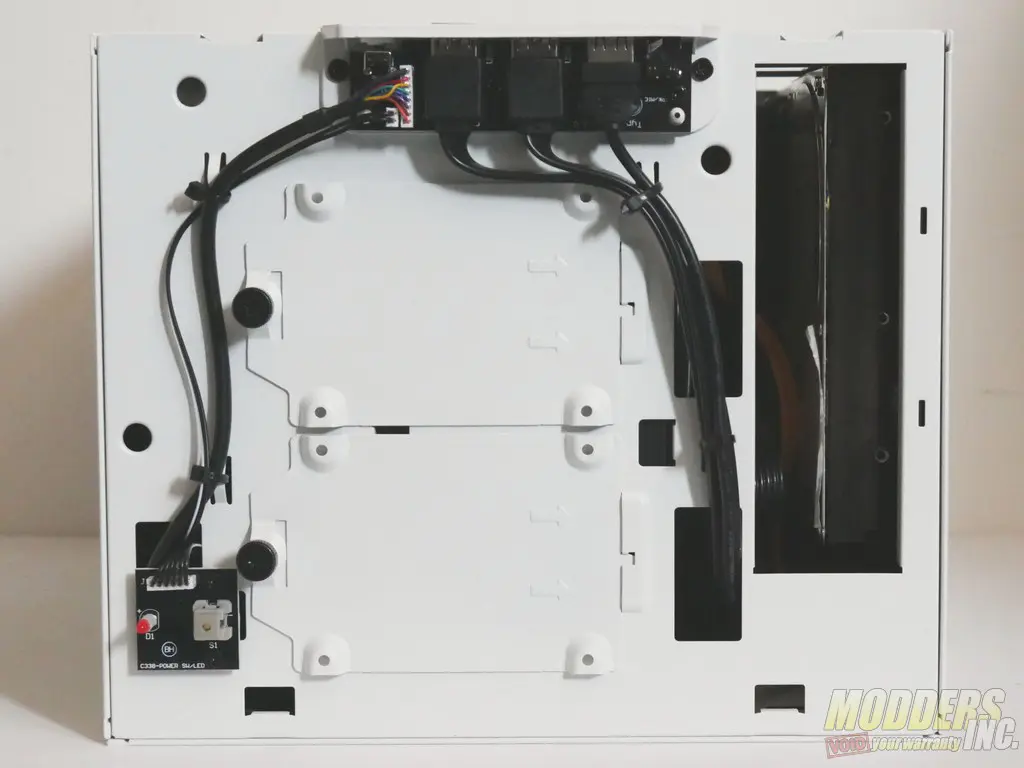
The front and back of the case are fairly straightforward as well. Removing two screws at the top of the case allows for the removal of the front panel to access two of the case’s 2.5″ drive bays.
In total, building in the Sugo 14 is quite easy, and the end result is a very clean looking system. You may have noticed that cable management was hardly mentioned at all, however. This is because the Sugo 14 has just enough cable management to keep your cables out of the way, but as it comes exclusively with opaque panels perfect cable management is not a high priority.
