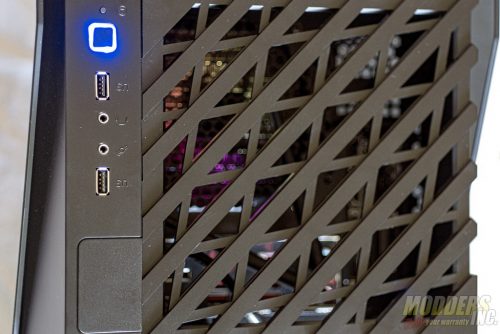
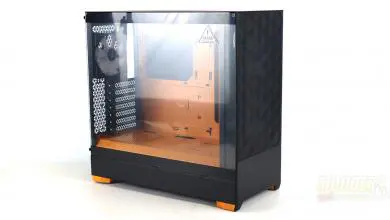
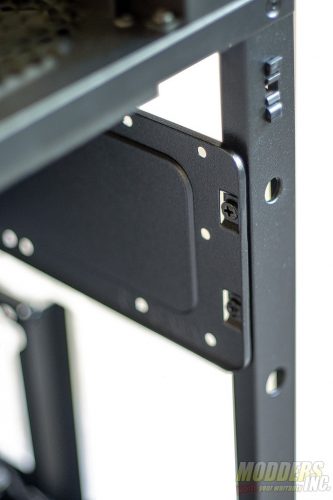
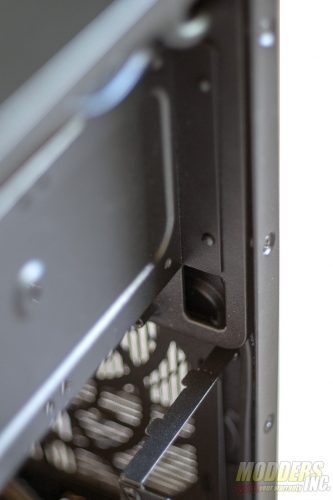
Once you have opened up your Lucid LD03, there are a few things that you need to do before installing your parts. The first item to take care of is the power supply bracket. Because of its proximity to the motherboard tray, you actually cannot install your motherboard without removing the power supply bracket first. You may also want to remove the bottom fan temporarily to make it easier to install the power supply. The other thing you should do is decide where you need your front I/O cables. While you can leave them where they are for most builds, some motherboards may benefit from having one or more cables routed through a different cutout. To do this, remove the storage tray by undoing the two screws that hold it to the front right pillar of the case, then unfasten the motherboard tray by undoing the two screws on each side and re-situate the relevant cable(s).
 |
 |
Now, on to the build. To test the LD03, I used the following parts:
| CPU | Ryzen 3 1200 |
| Motherboard | MSI B450i Gaming Plus AC |
| Cooler | Silverstone Permafrost PF120 AIO (Provided by Silverstone) |
| GPU | GTX 1070 Founders Edition (blower style cooler) |
| Power Supply | Corsair SF450 |
| Storage | XPG SX6000 M.2 NVMe SSD |
While the Lucid LD03 supports an additional two drives, I decided not to add any SATA drives to give the system a cleaner look. The storage tray is best used with good looking drives and sleeved SATA cables because they take up the majority of the right window when installed. RGB SSDs are a good fit for the Lucid LD03, but be aware that some models have been known to overheat from having too many uncooled LEDs in the casing.
As long as you install your hardware in the correct order, building in the LD03 is pretty straight forward. The rear I/O shield pops into place easily and the motherboard slides into place. In my case, I ended up installing the motherboard onto its tray and then installing the tray in the case, but unless you need to reroute the front I/O cables this is just extra work. If you need to remove the motherboard tray, you will need to remove the storage tray first. Finish up the motherboard by plugging in the front I/O cables. Next, install the power supply on its bracket and screw the bracket back into the case. You may need to remove the bottom fan to do this because of the tight clearances involved. Once the power supply is in you can install any new fans or radiators. For my system, I installed Silverstone’s PF120 AIO at the top of the system. I noticed when installing the radiator that installing a radiator with two fans in a push-pull configuration is not possible with most coolers because of clearance issues with the CPU block. It may be possible to fit a push-pull radiator using a 1u waterblock like EK’s Annihilator series. The bottom fan mount has much better clearance and can easily accommodate a push-pull setup or thick radiator. I recommend wiring up your power supply and installing your storage drives (if applicable) now. Installing new cables becomes very difficult once the graphics card is installed. The graphics card is the last part to go in because of its size.
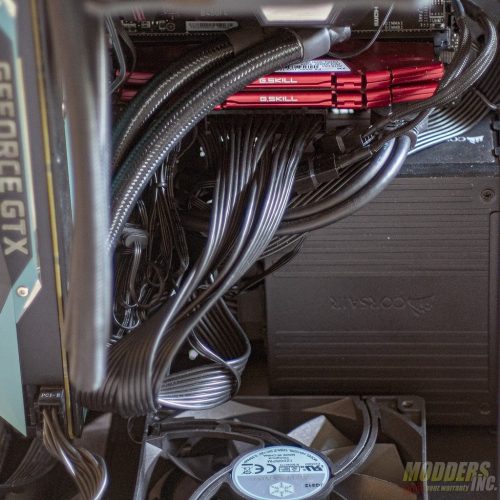
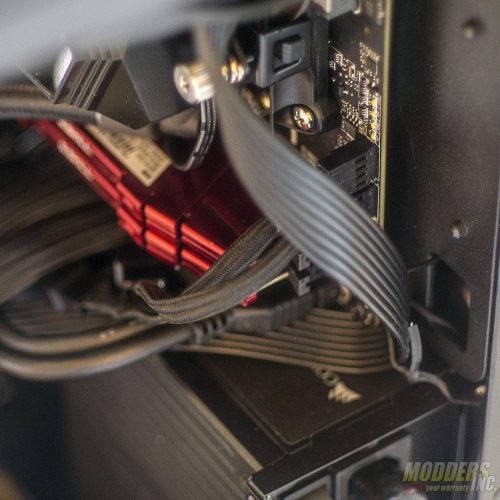
Cable management in the LD03 is probably the case’s weakest point.
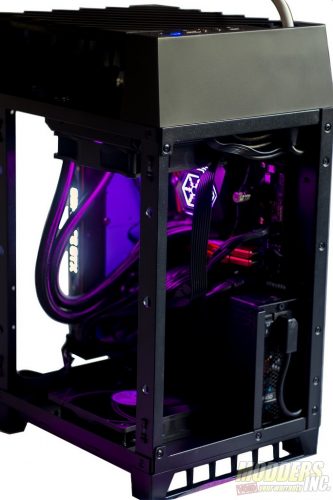
There are no tie-down loops anywhere in the chassis, and there is little space to stash extra cable length, especially if you are using an SFX-L power supply. A modular SFX PSU and custom cables are recommended. Your highest priorities when managing cables in the LD03 should be hiding fan cables, RGB cables, and any strangely colored cables. Large black cables will mostly blend into the tint of the glass panels. My biggest issues were the cables from the PF120 and the 8 pin EPS cable. The small cables from the cooler made an unattractive mess, but I managed to tuck them behind my 24 pin and hide them from view. The eight-pin ended up being a bigger nuisance. It wanted to float right in the middle of the right-side panel, blocking the lights on my cooler when viewed from the side. While this won’t be an issue for anyone planning to install storage drives in the LD03, I wasn’t using the storage tray, so this loose cable was a big deal. I ended up just tying it down to the corner of the motherboard tray using the small cutout located there. I definitely would have preferred at least one tie-down point on this side of the tray to keep my 8 pin EPS cable from eclipsing the lights on my cooler.
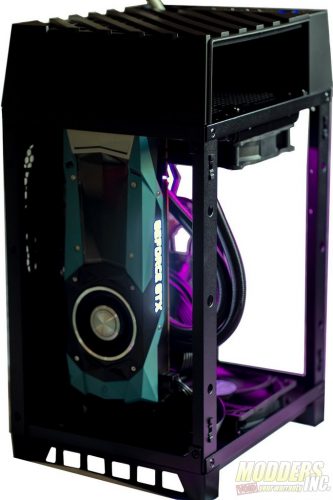
With the cables tied down, my build was complete. Here is the result:
 |
 |
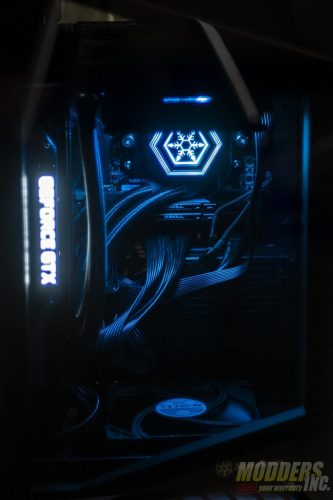
Here is the system lit up and behind glass:
 |
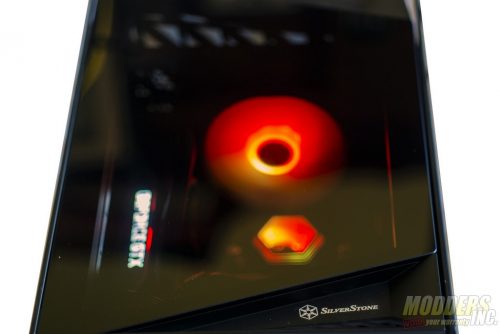 |
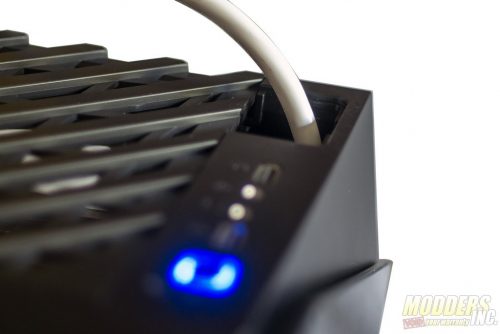
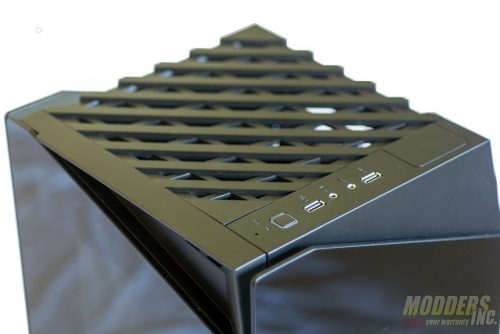
And here is the top I/O and fan lit up:
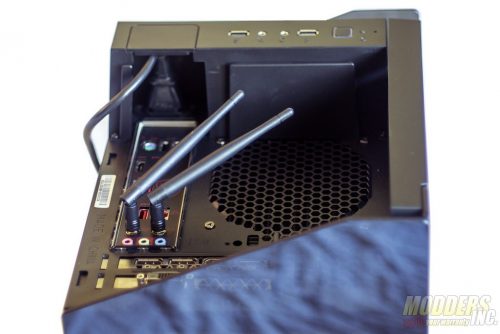
Before we move on to the conclusion, there is one last thing to mention about building in the LD03. Because of the rotated layout, plugging in cables is a bit more involved than on your average case. You will need to remove the top of the case to access the rear ports, and everything that you plug into those ports will need to fit under the top cover to close it. This includes fixed WiFi antennae, so you will need to be mindful of this when getting a motherboard. While most short antennae will fit horizontally, extra-long ones may not.
The power cable has its own special door which is supposed to make it easier to plug the cable in but also allows thicker and less flexible cables to exit directly out the top of the case.
