SilverStone Kublai KL05-W Case Review
Hardware installation
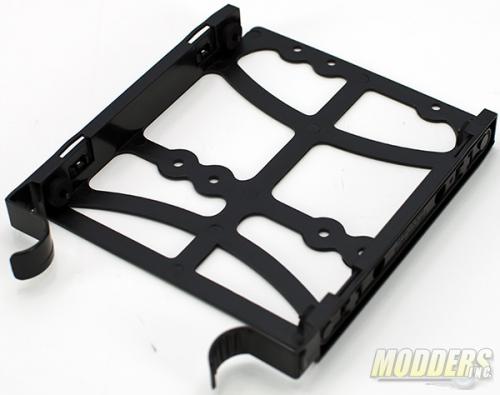
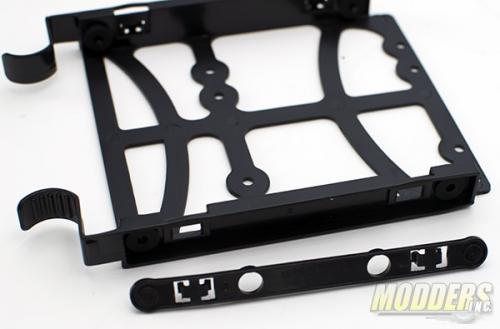
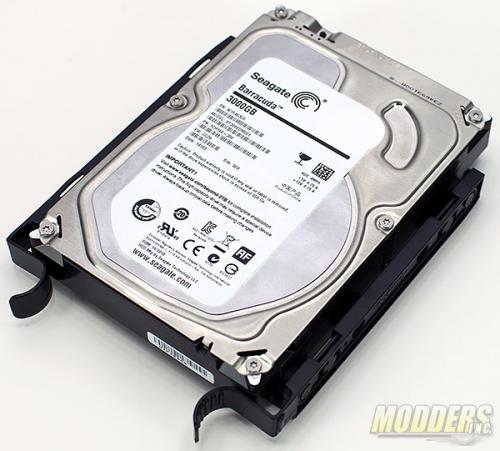
Mounting the 3.5″ drives in the trays requires the removal of the keepers on the sides OR there is enough flex in the drive trays that you may be able to bend the sides out enough to hit the holes on the side of the drive. The keepers pop out of their mounts and once the drive is lined up pop back in. 2.5″ drives will need to be secured from the bottom with screws.
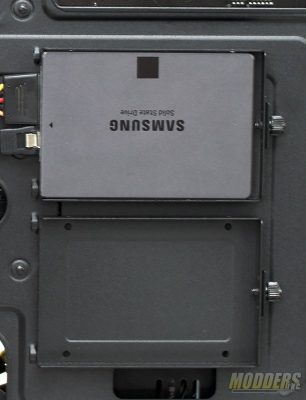
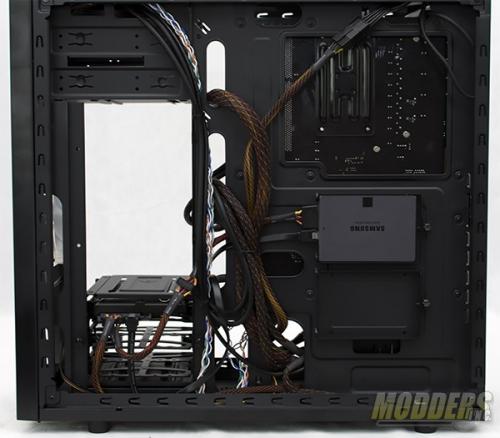
The two 2.5″ drive installation on the back of the motherboard tray require the mounts to be removed via the thumb screw at the rear of the mounting tray. The drives are secured using four screws installed from the bottom of the drive tray.
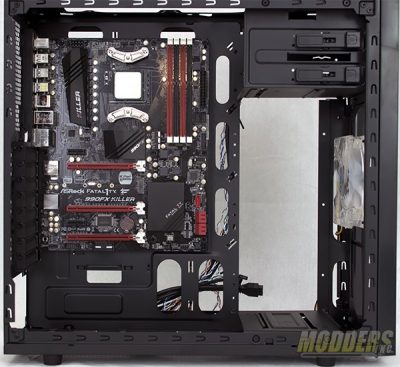
The first step in installing the motherboard is to install the motherboard stand-offs in the correct locations. Depending on the size of the motherboard the stand-offs may have to be installed in different locations. Silverstone has marked the locations for each size of motherboard. The Kublai can support up to an ATX motherboard that measures 12 x 11 inches.
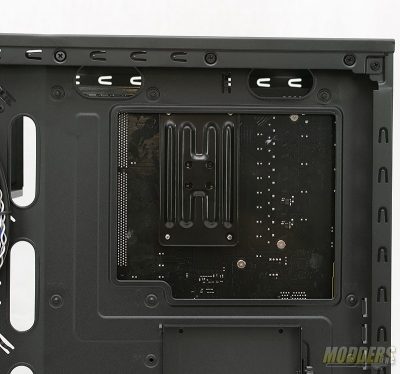
While the cutout to access the back plate is large, I still ran into a little interference with the AMD backplate. In this case however, it is not a big deal as very rarely do I have to remove the stock AMD backplate to install coolers.
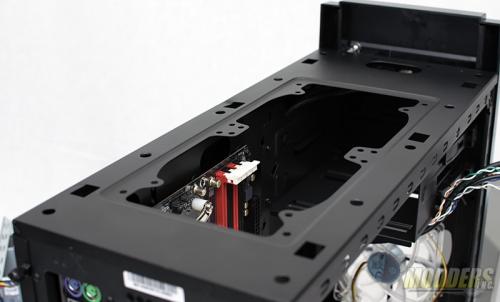
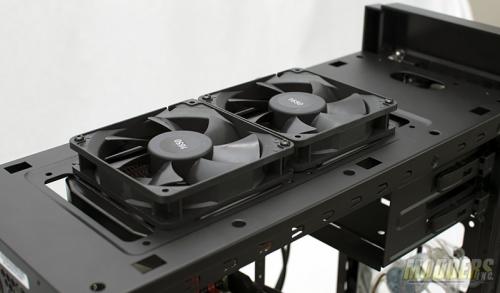
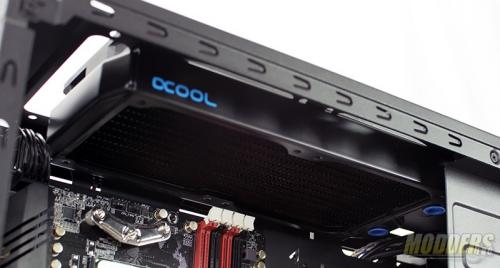
Installing a radiator on the top gives the user a few options. You can choose to have the radiator on the inside of the case and the fans on the outside. Again, depending on the overall height of the radiators and fans, the whole assembly can be installed on the outside of the case. Tubes can be run though the front oval shaped hole at the front of the case.
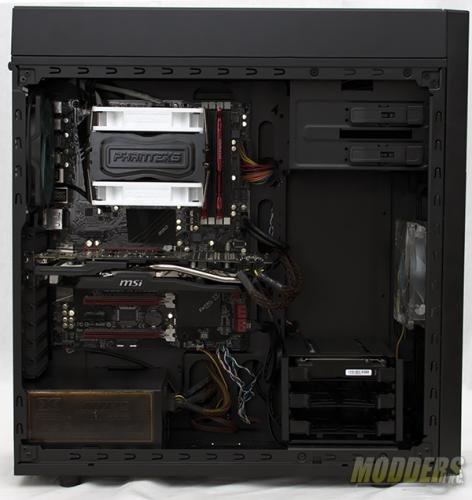
Cable management in the SilverStone Kublai is pretty easy. I gave myself a few minutes to tie and tuck cables behind the tray. I was able to get most of the wires secured using only the zip ties included in the kit. I did run into a few issues with cable lengths of my chosen hardware but this has nothing to do with the case. For the build, I actually chose to go with an air cooler. The maximum air cooler height is 165mm (6.5″).
