SilverStone Fortress FT01 Case
Installation |
| Here we go into the part that most people either love or hate and a lot of this is based off of how the case is designed. A smart designer listens to end users and also is an end user themselves. I know we have all, at one point, have started an install of our hardware and found that certain items just don’t fit or is in the wrong location and those famous words pop out “What the heck where they thinking about?”. I think SilverStone might have done that a few times themselves as they seemed to have tried to remove that statement from my vocabulary.
Lets start off with the installation of the hard drives. As we have seen you can put in a total of seven hard drives in to the FT01, I am not who does this any more, but if you do them you got the space. A plastic bracket is used as mounting hardware into the hard drive cage assembly. The front of the assembly acts as a locking device to secire the drive in to the cage. 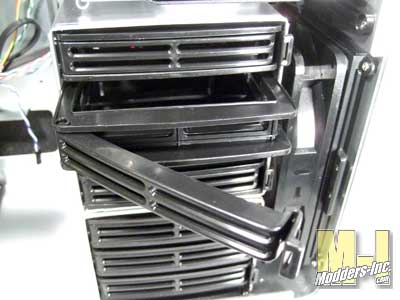 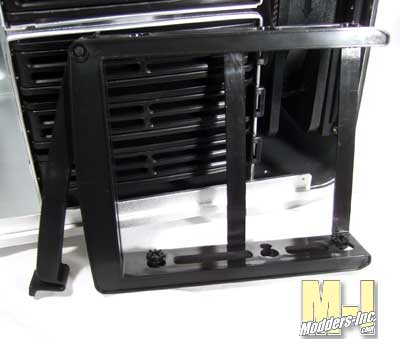 A total of four screws mount the drive in to the plastic cage. Another rubber grommet is used to reduce any vibration from drive to the case. It also acts as a mini cushion to protect the drive from rough handle during any moves. 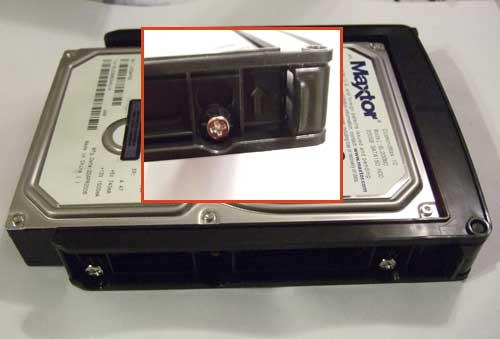
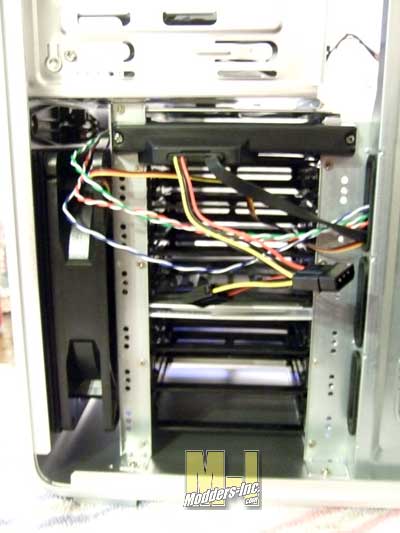
Included with the SilverStone FT01 is a bracket that enables you to have one drive to be a hot-swap drive. SliverStones CP05 (bracket) is designed to enable users to easily hot-swap any 3.5” SATA hard drives in compatible hard drive cages(CFP52B、KL series and FT series cases) . High quality connectors and cables are used to ensure reliable and secure operation.
 I stated earlier about the ease on installing your CD/DVD drives in to the case and now I will go into more detail on this. On the left side of the drive bays each one has a large button that snaps and lock into place. What this action does is push a pin through a hole and into the drive where a screw would normally be placed. 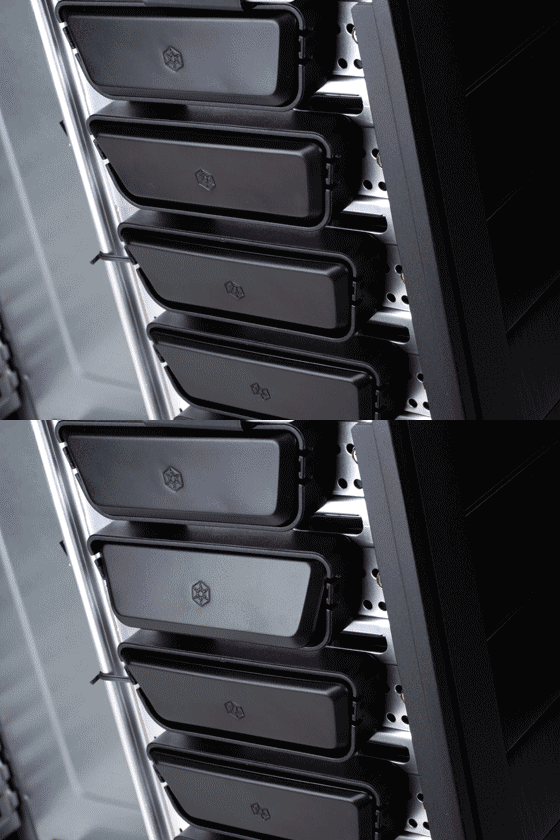 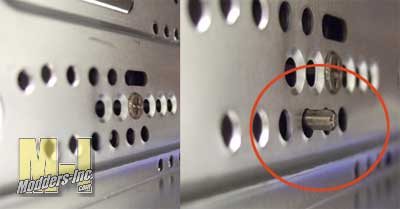 Here is a pretty cool option that most manufactures have not been using and that is a way to remove one of the hard drive bays completely out of the case to allow for you graphic cards to have ample room. A typical size card(s) should have no issues with the stock locations of the hard drive bays, but if you happen to have some of those monster size workstation animation cards you are still OK. All you need to do is to take off the right side panel, remove a few small screws, slide out the bay and you are all done. Even with that hard drive cage out you still have space for three more. 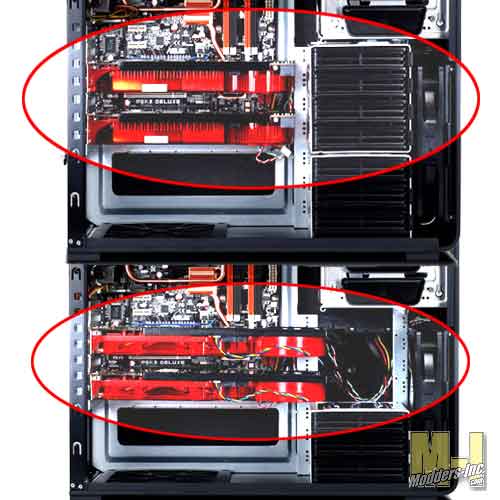 Top Standard cards / Bottom Over sized cards
The power supply is located in the new and popular spot at the bottom of the case. I think that this is one of those things that should have been many years ago. To me it just seems that putting that weight at the bottom makes the case more stable. Looking at the image below we can that there is plenty of room for any size power supply to fit. And again the removal of a hard drive cage is an option if needed. Under the power supply you have the filter and cage that we looked at earlier. This did make the install of the unit a bit tight as there was a small tab that it has to go under just below the mother board and the filter frame raised the power supply up just ever so slightly. The good thing is that it made for very snug fit onto the filter. 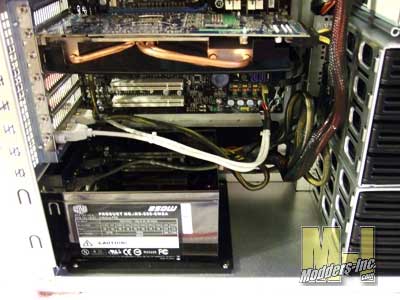
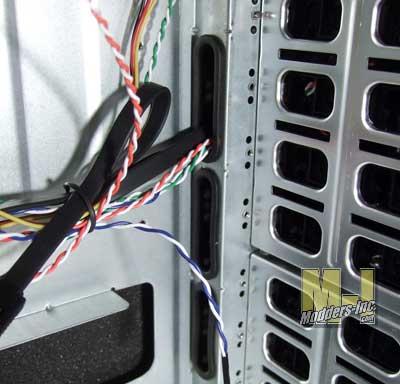
Shown earlier in the review we have three holes that give us a pathway to route and hides wires and cables. The ends of the molex’s are a tight fit to pass through but it can be done and once done it make for a very clean installation of your hardware. This is a really great feature that SilverStone has done for us modders. It helps so much on creating that sleek look we want.
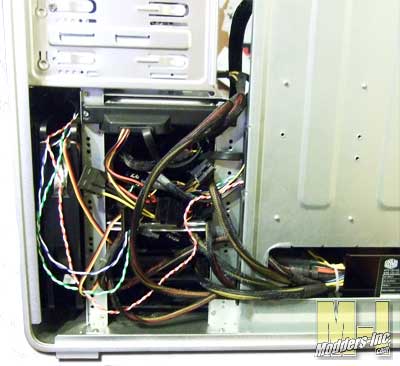
Jumping over to the other side of the Fortress FT01 and we will take a look at where all the wires can go.
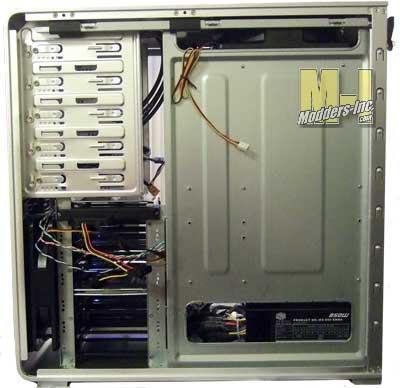 Before routing wires After routing wires
|
|||||||||||||||||
