Silverstone Argon AR06 CPU Cooler Review: Prioritizing Silence
Installation of the Argon AR06
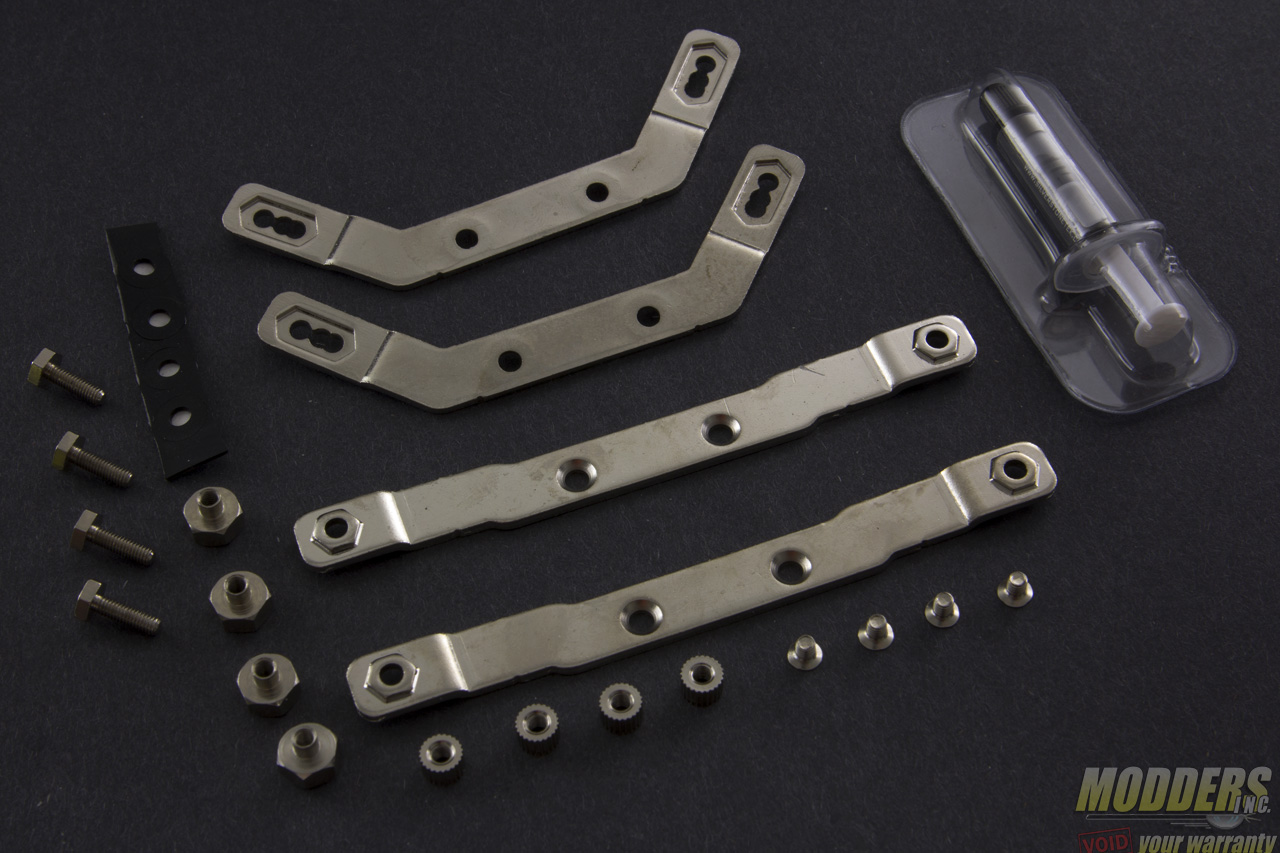
Both Intel and AMD installation share all components and installation steps with the exception of the type of mounting bracket used. The long, single hex option end is the AMD mounting bracket while the Intel bracket has three variable mounting holes for holding the hex bolt. This variable mounting hole makes the Silverstone Argon AR06 compatible with older LGA1366 and LGA775 motherboards as well physically, but Silverstone only officially supports LGA115x sockets due to the TDP limitation of the Argon AR06 heatsink design.
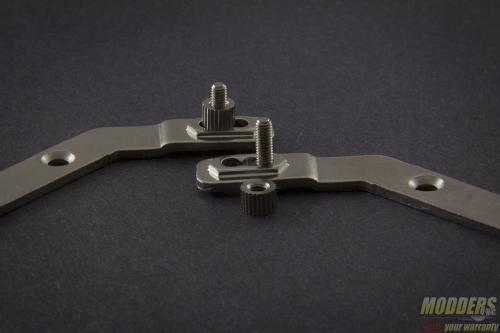
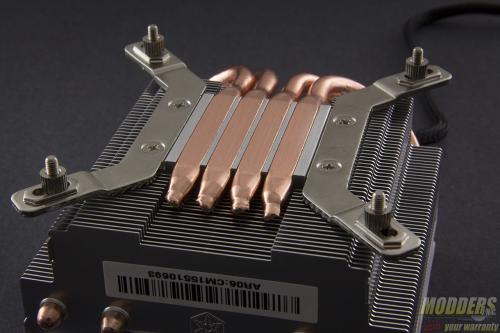
First step is to push through the hex screws through the proper holes on the bracket. For LGA115x motherboards, this is the center part of the tip. The hex side has to match the sunken hex crevice of the bracket tip so that it is held in place. These hex screws are secured onto the bracket with rounded nuts which can be secured with just a thumb. The next step is to then screw these assembled brackets in place on the base of the heatsink using the counter-sunk base screws.
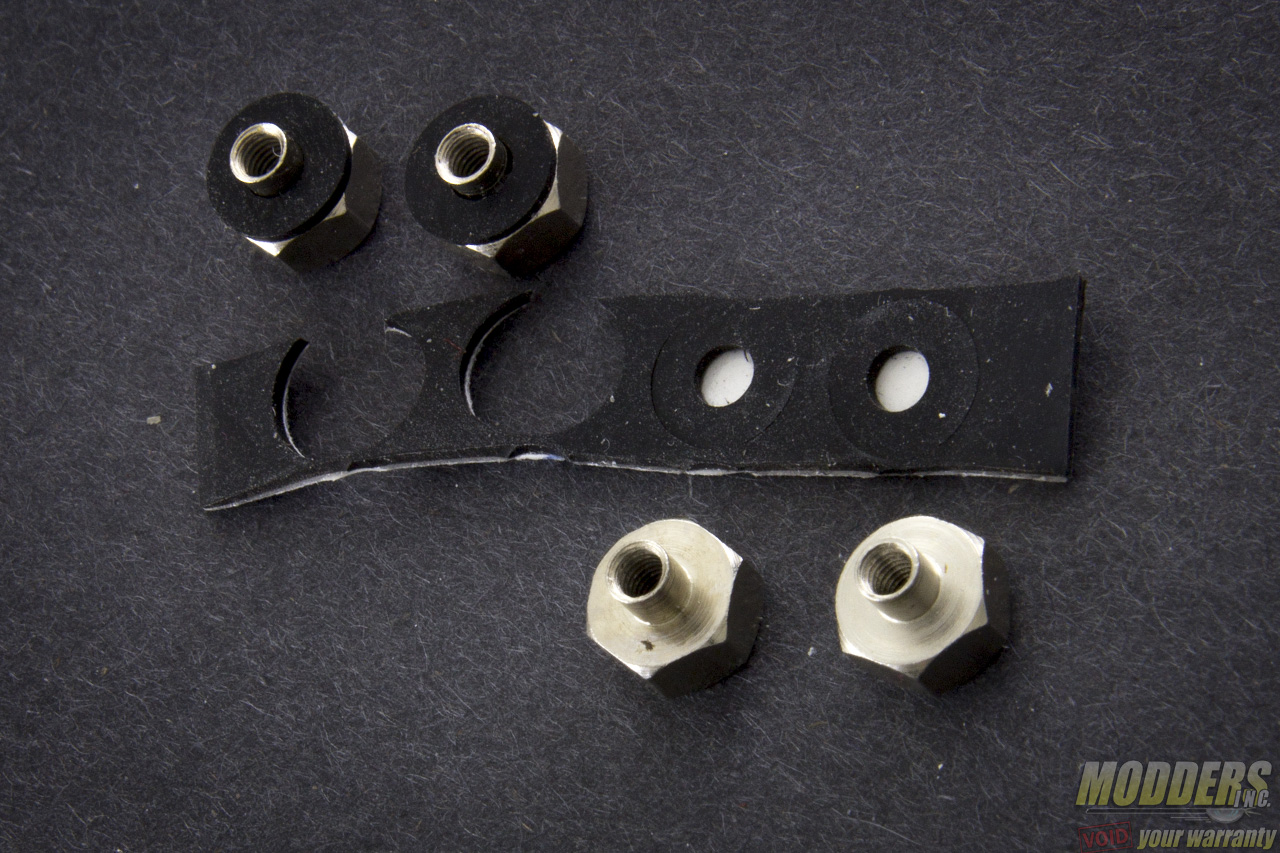
The mount is locked at the rear but first the rubber spacers must be attached to the hex nuts so that the motherboard does not get scratched when secured. These rubber spacers have an adhesive on one side which can either be used to attach to the motherboard or to the hex nuts. The hex nuts are more preferable so that it can be reused later on.
Apply thermal compound on the AR06 heatsink contact surface (do not forget to remove the plastic cover) then place the motherboard facing down on top of the heatsink with the heatsink facing upward. Lineup the hex screws to the mounting holes of the motherboard and secure each corner with the insulated hex nuts in a criss-cross fashion until fully secured.
The fan is already pre-installed so the last step simply involves plugging the fan into a motherboard header and then powering on.
…but wait, how come the metal rounded nuts on the other side are not insulated to the motherboard?
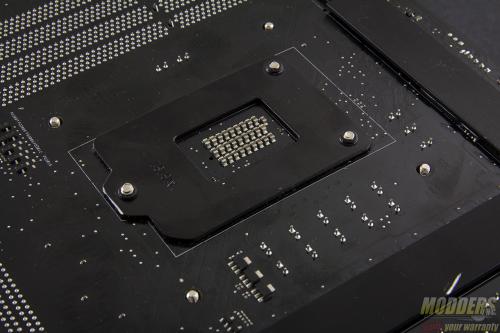
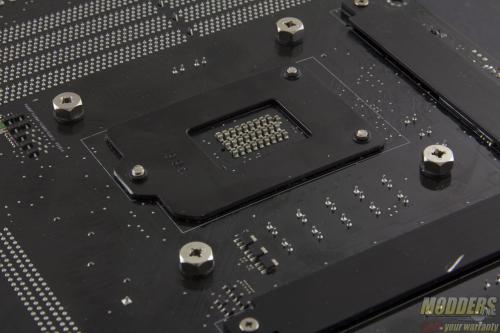
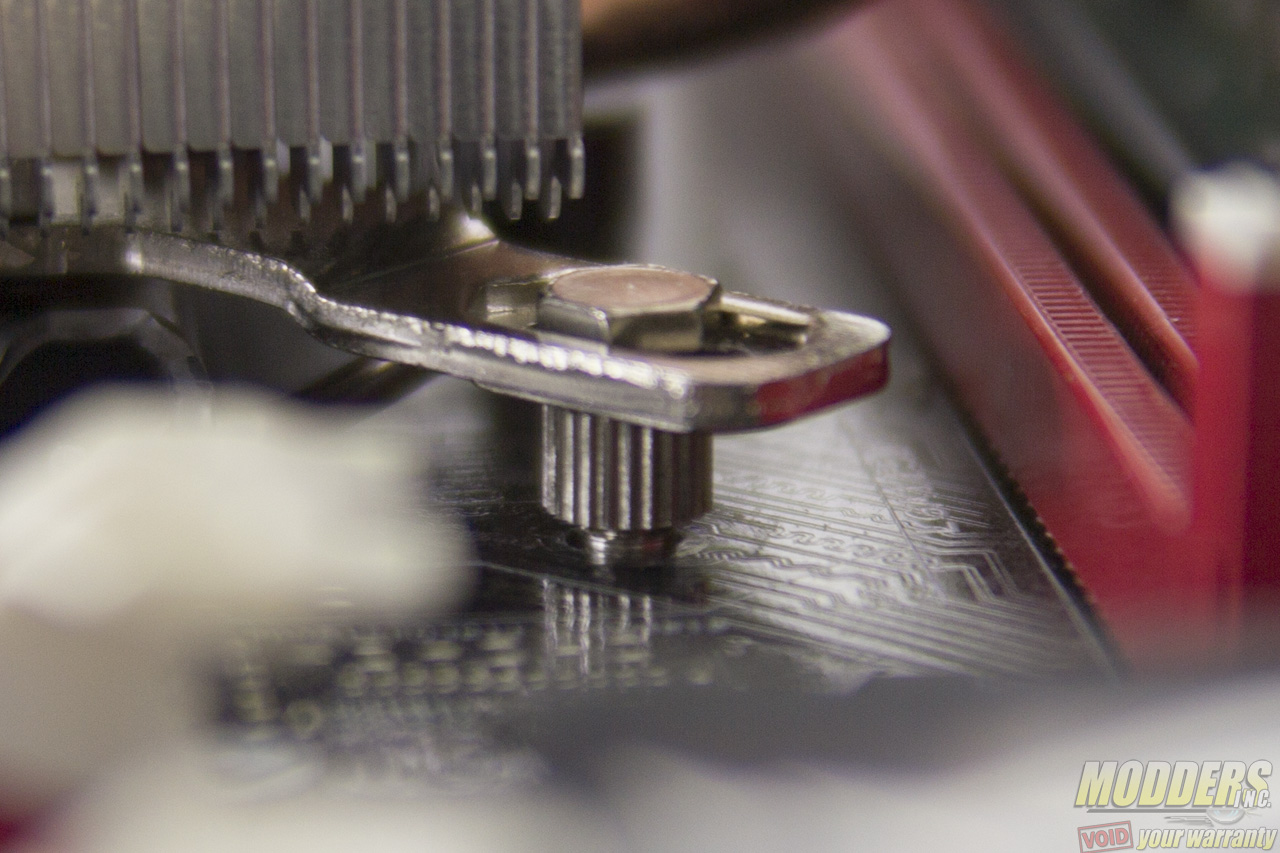
Because it will not make contact with the motherboard surface at all. When secured properly, these rounded nuts will appear “floating” when the hex nuts at the rear are fully locked in place (see photo below)
Clearance Compatibility
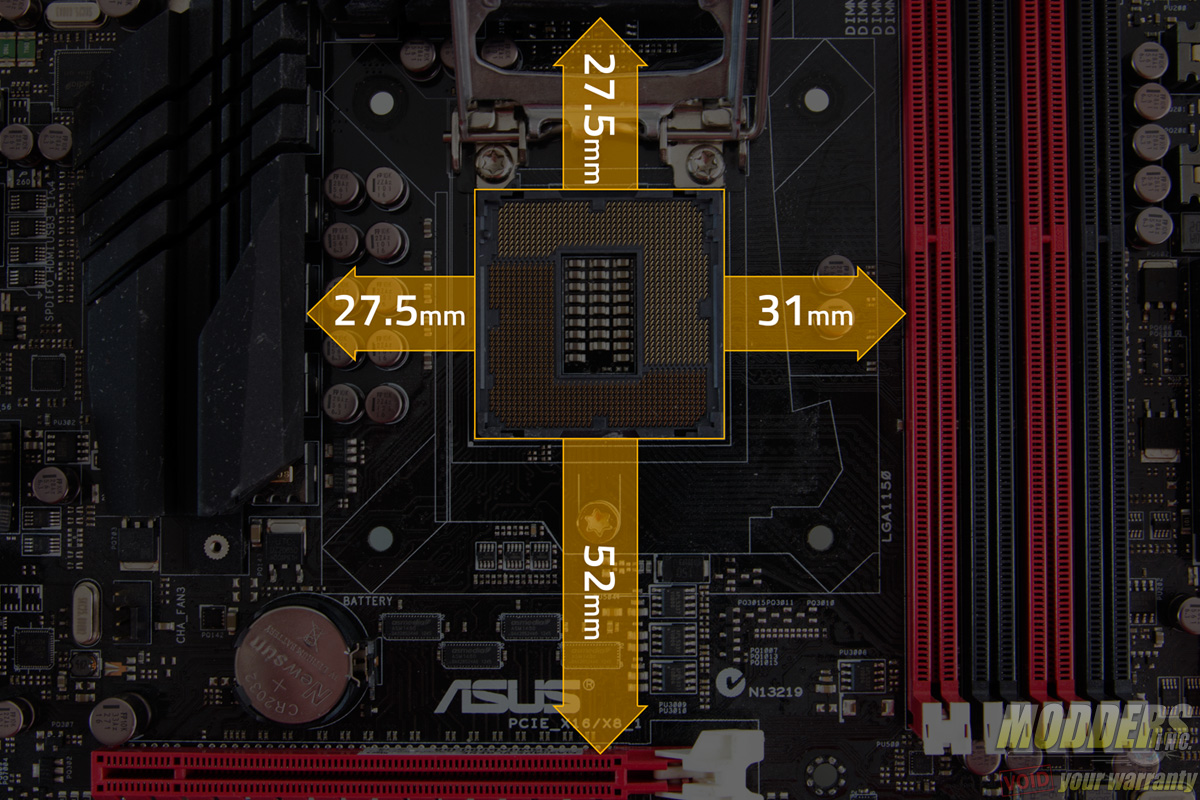
The test motherboard is an ASUS Maximus VI Gene micro-ATX motherboard and measuring from the edge of the socket (the gray plastic part), there is a 31mm gap between the CPU socket and the first DIMM slot as well as a 52mm clearance between the CPU socket and the topmost PCI-E x16 slot where the graphics card is installed:
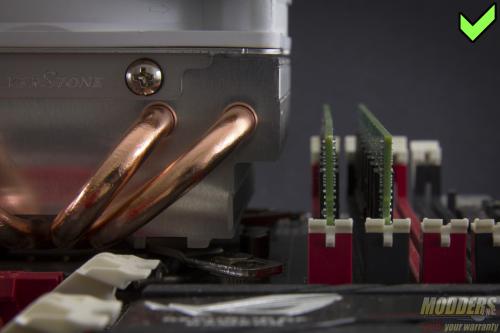
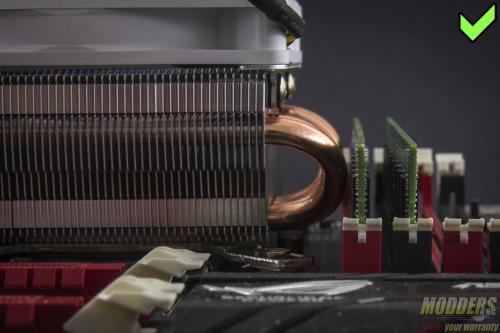
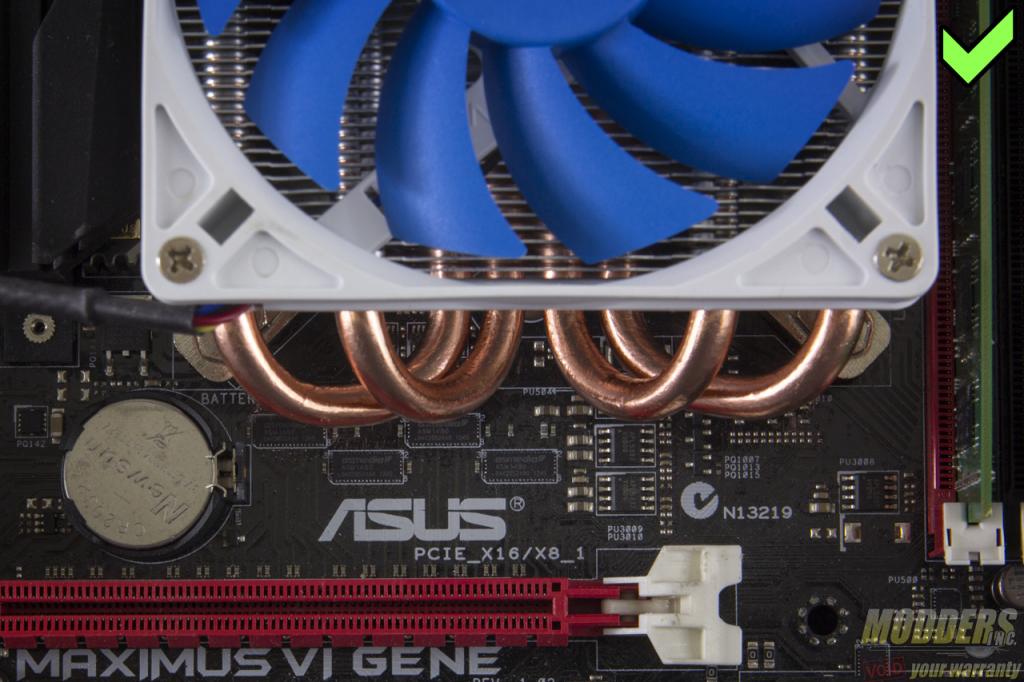
Because of the heatpipe curve, the Silverstone AR06 is limited to two options when installed on a motherboard with a VRM heatsink at the top or bottom such as this motherboard: with the heatpipe curve facing south or the heatpipe curve facing the DIMM slots. Both allow for full RAM compatibility, although the heatpipe curve facing the DIMM slot will be touching the RAM module heatspreader if the kit has one. On bare modules such as the one pictured below, there is still a tiny gap separating the contact on this specific motherboard.
PCI-E clearance is not an issue as well with 20.25mm of space left before reaching the topmost PCI-E x16 slot with the heatpipe curve facing downward.
Since there is no backplate, the Silverstone AR06 has no clearance issues to worry about in the rear, even on mini-ITX motherboards.
