Sapphire Tri-X Radeon R9 Fury Review
Under the Hood of the Sapphire Tri-X Radeon R9 Fury
A word of caution- if you choose do remove your heatsink from your card, be extremely careful. The HBM modules height is different than the actual GPU die and failure to properly reinstall the heatsink can cause failure. Sapphire advises against removing it.
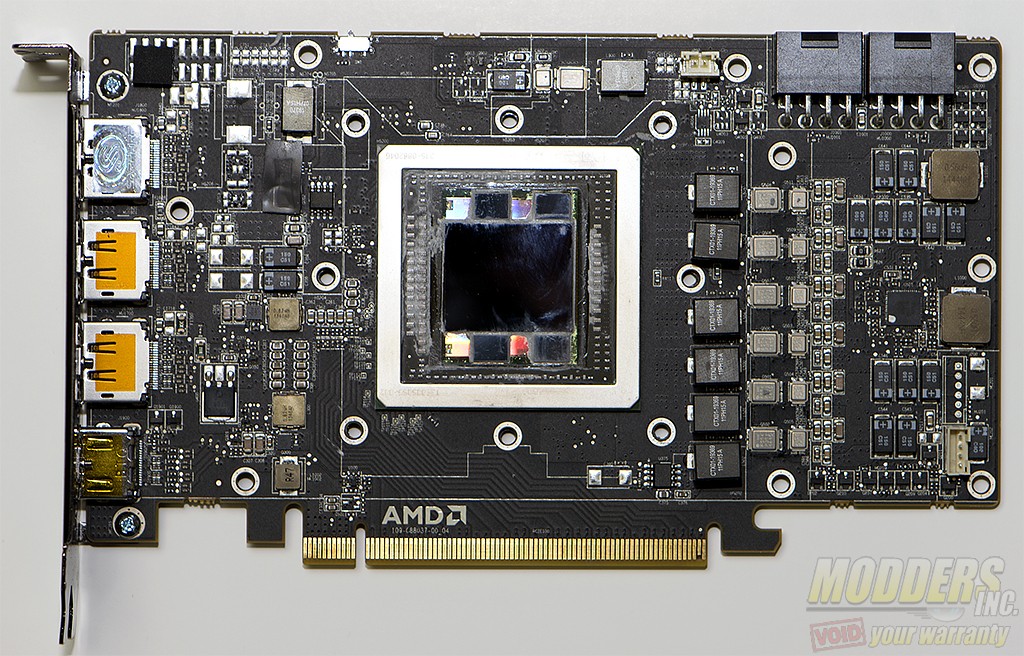
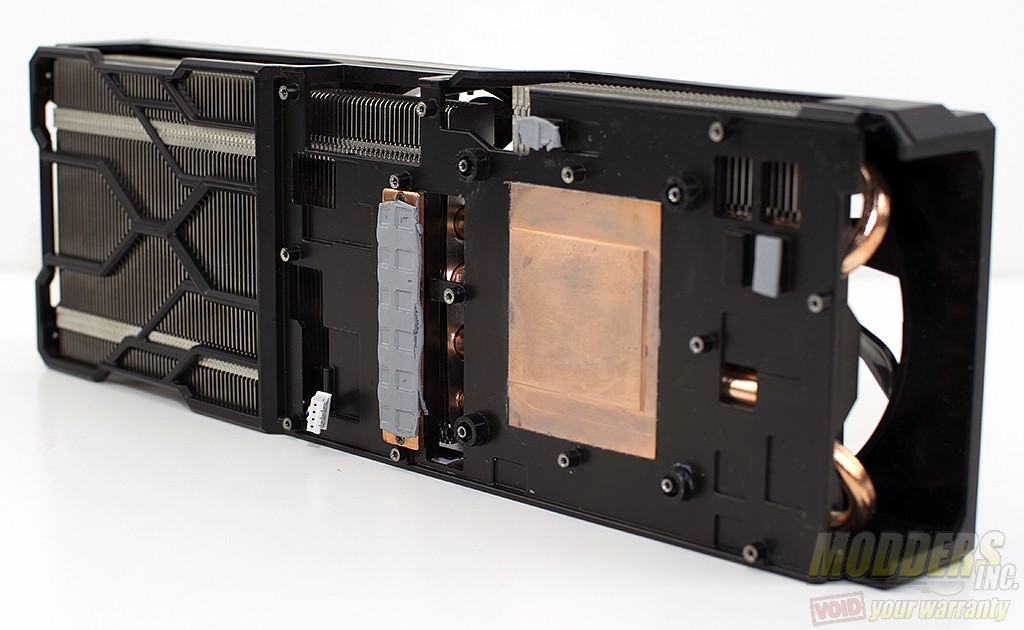
There are nine screws that hold on the back plate. Instead of four screws to secure the cooler to the GPU die, Sapphire uses six. At first, I wasn’t sure that I wasn’t missing a screw as there was a bit of resistance in popping the cooler off the die. The thermal paste included on the card is extremely thick and is designed to remain so under heat loads for longevity. There are also very brittle thermal pads for the VRMs on the board. Taking the cooler off actually destroyed one of them. I was able to replace it (as seen below) with other thermal tape that I had on hand.
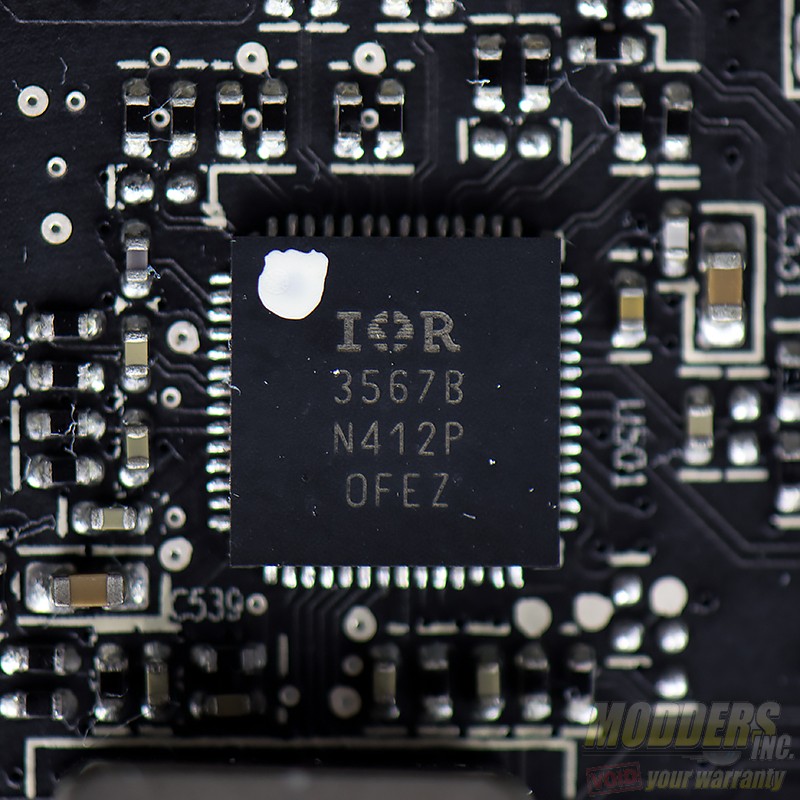
An International Rectifier IR3567B dual-output 6+2 phase PWM controller is used with the first rail for the main GPU power and the second rail for the HBM memory.
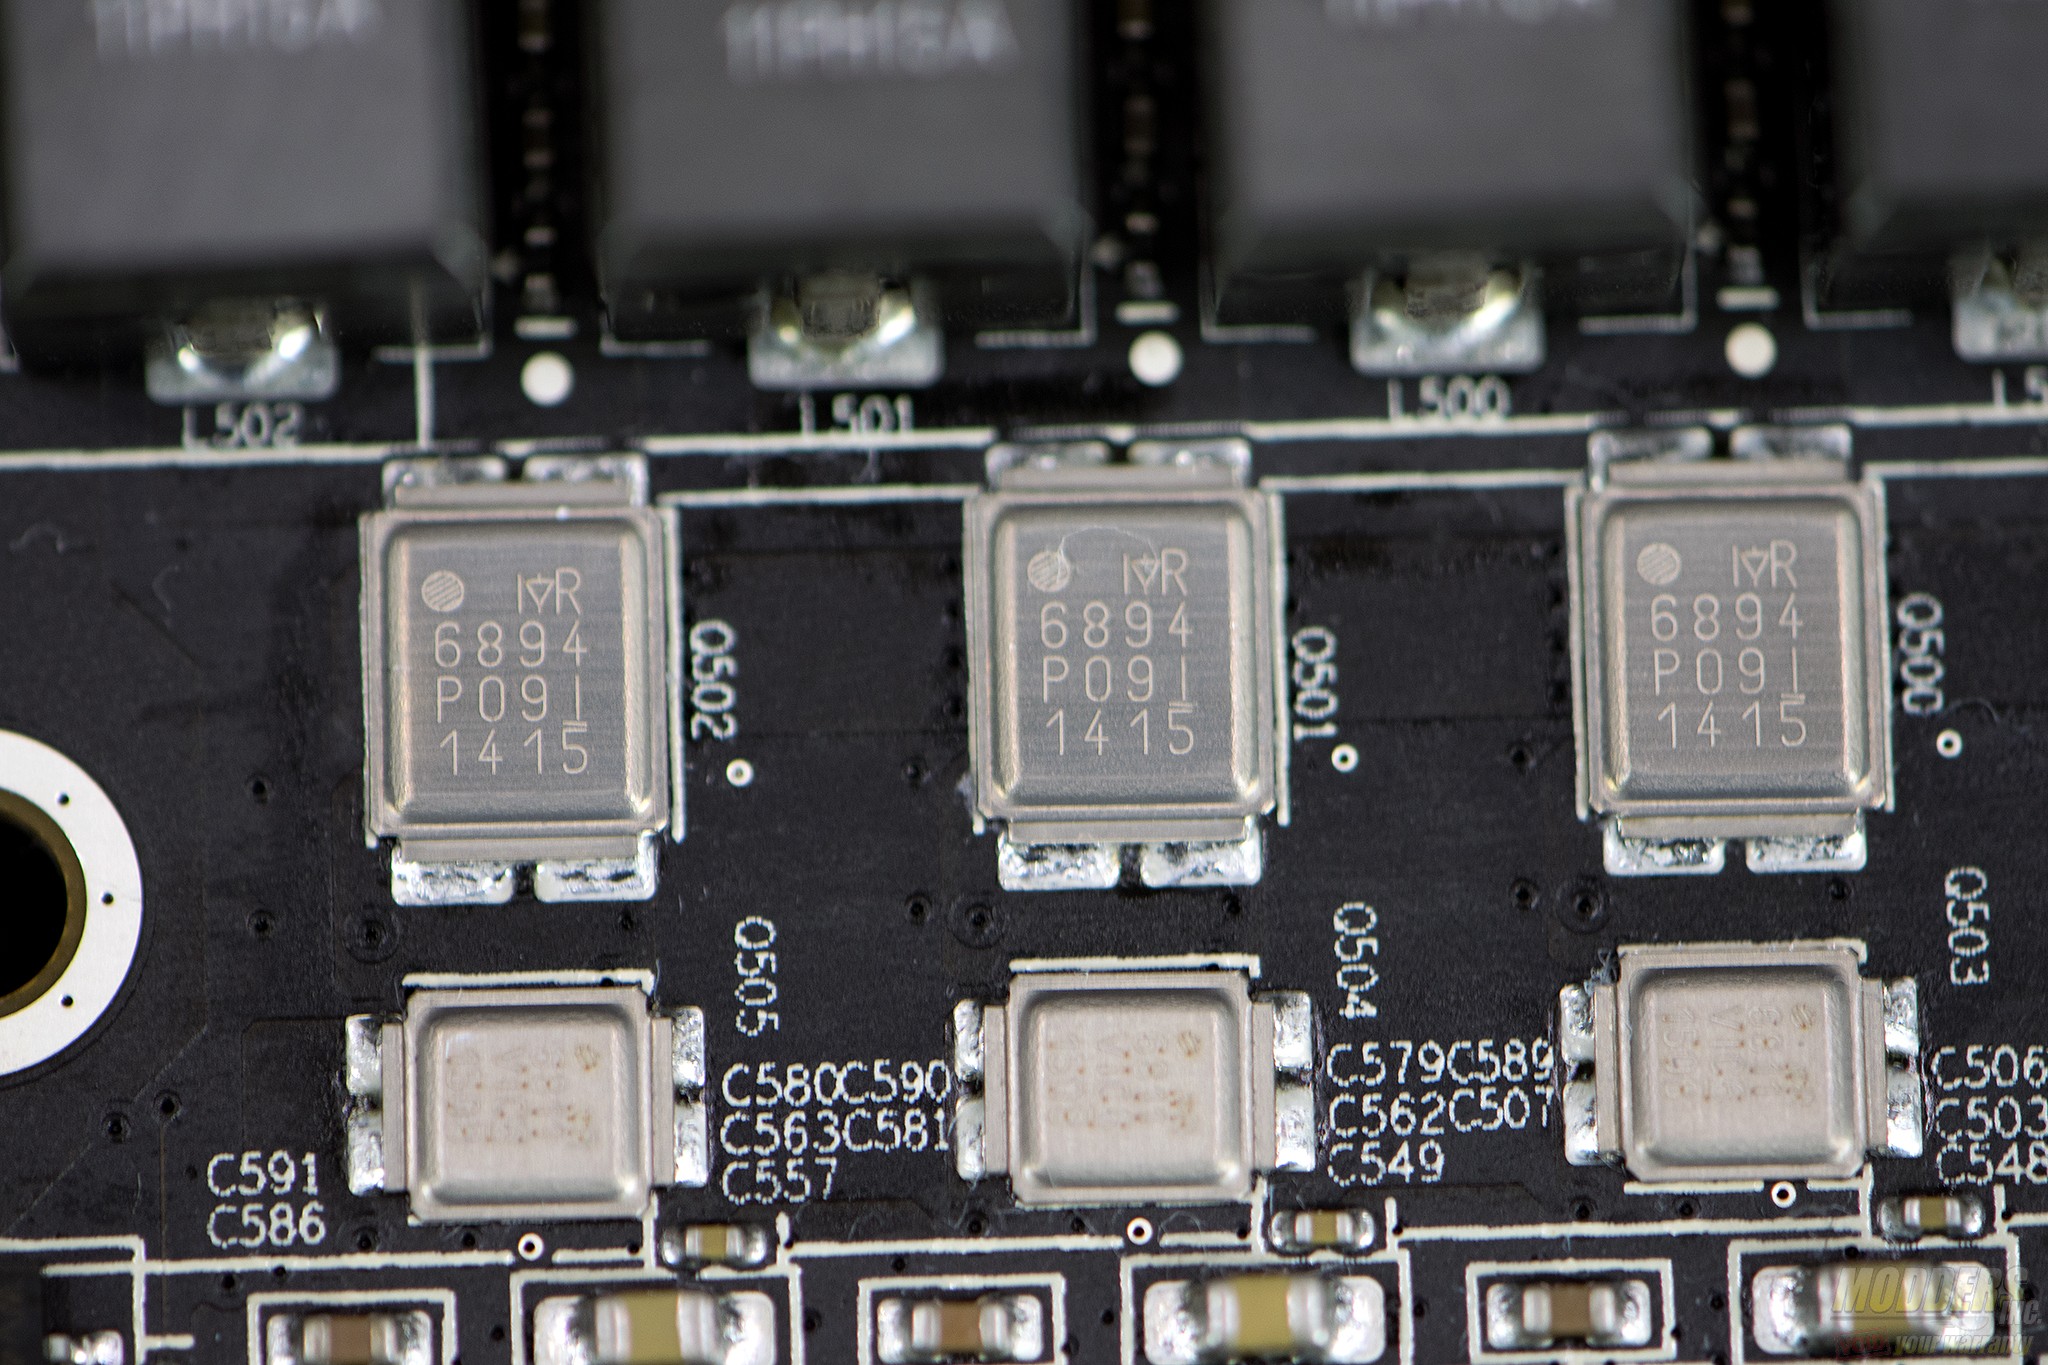
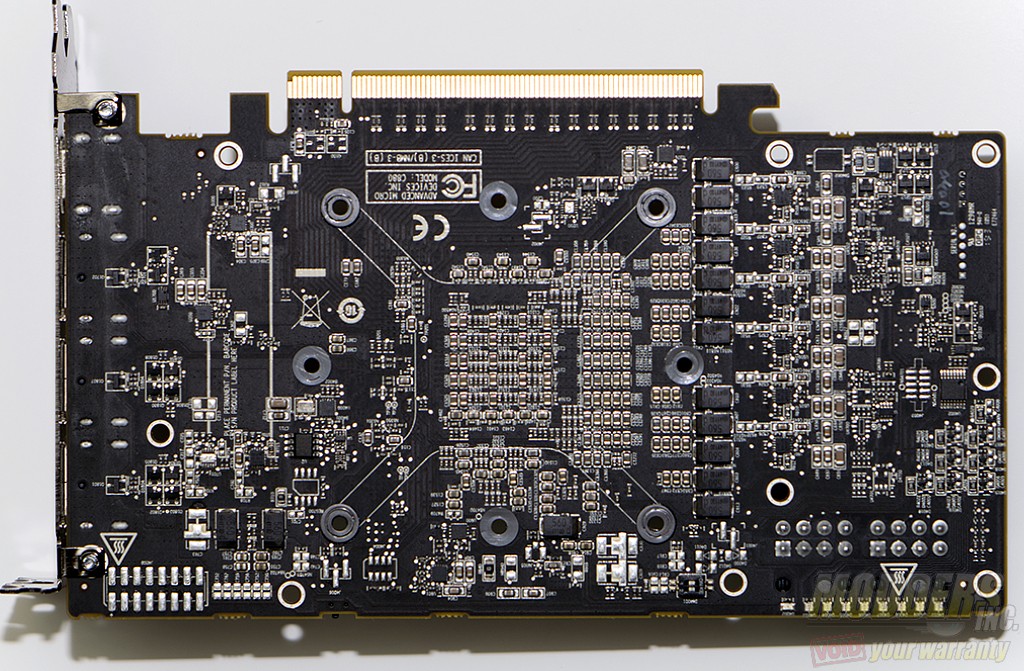
One International Rectifier IR6894 and one IR6811 DirectFET is used per phase, driven by a CHL8510 on the backside PCB where the output capacitors are as well.
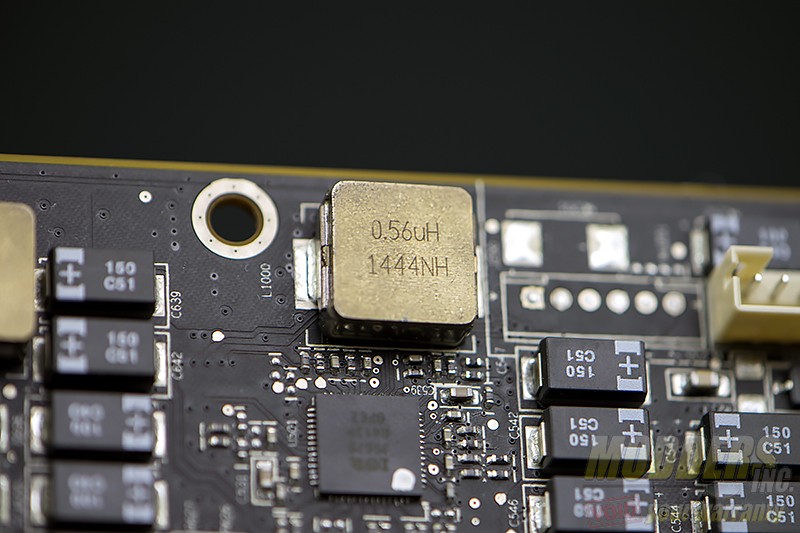
High-current Coiltronics inductors and tantalum capacitors (6720uF total for the GPU core) make up the output filter. STMicro 25P20VP serial flash memory close to the GPU on the topside contains the BIOS.”
With the heatsink removed from the PCB, you can see the thermal tape for the VRMs. It is extremely fragile. The six screws around the GPU die allow for an even and tight mating of the GPU/HMB dies and the cold plate of the cooler.
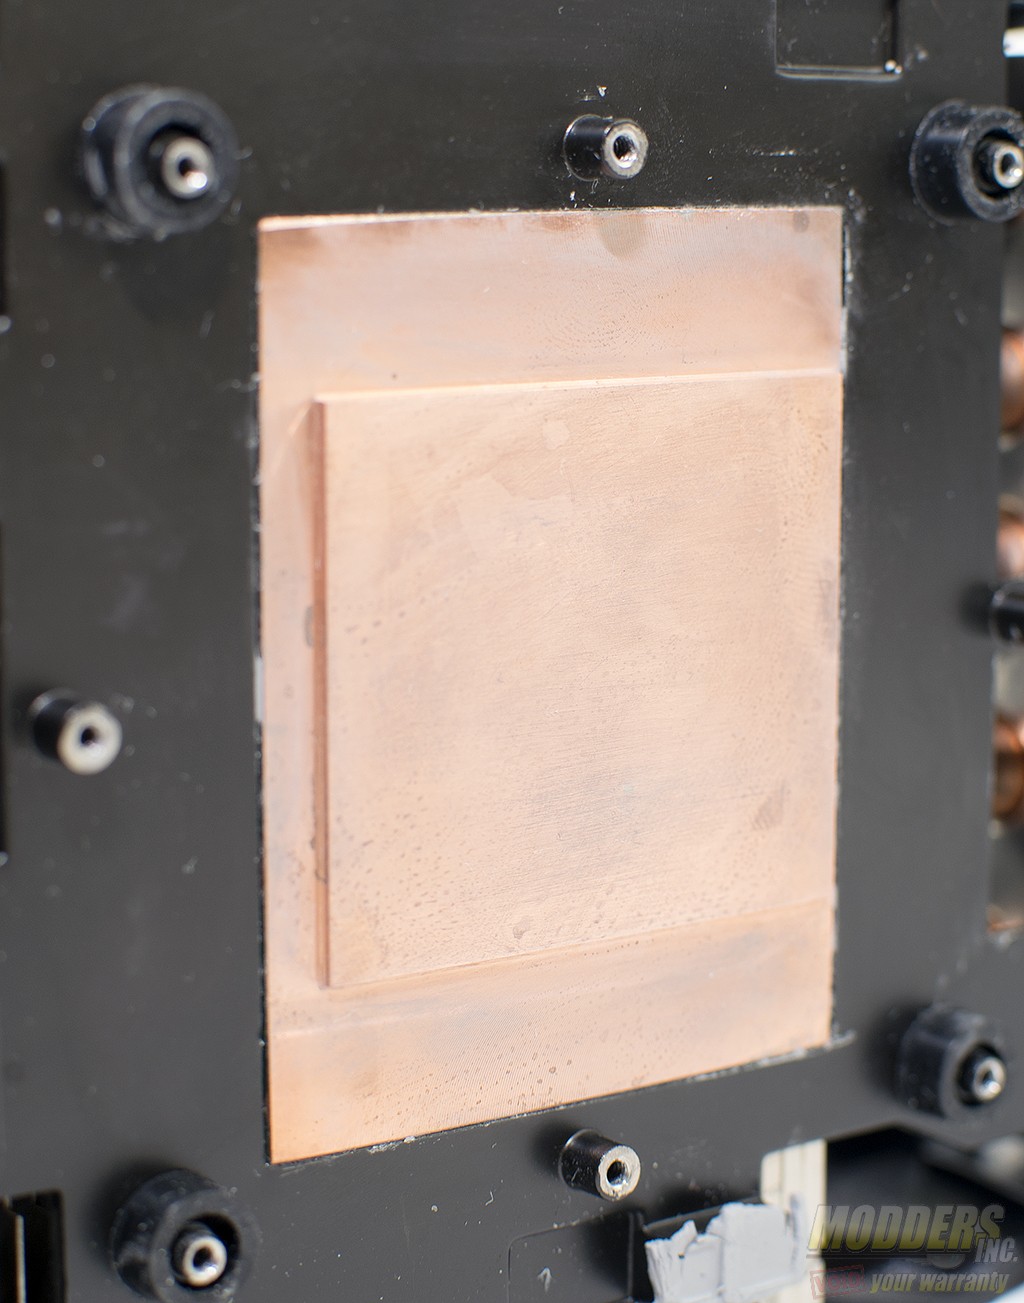
The copper plate that sits on top of the GPU die and HBM is not very smooth. As I was cleaning the plate for photographs, small micro ridges could be felt. The rubber around the four corner screw mounts ensure the heatsink is tightened properly and minimized the risk in damaging the die. As it’s tightened the rubber ring squishes down similar to a spring.
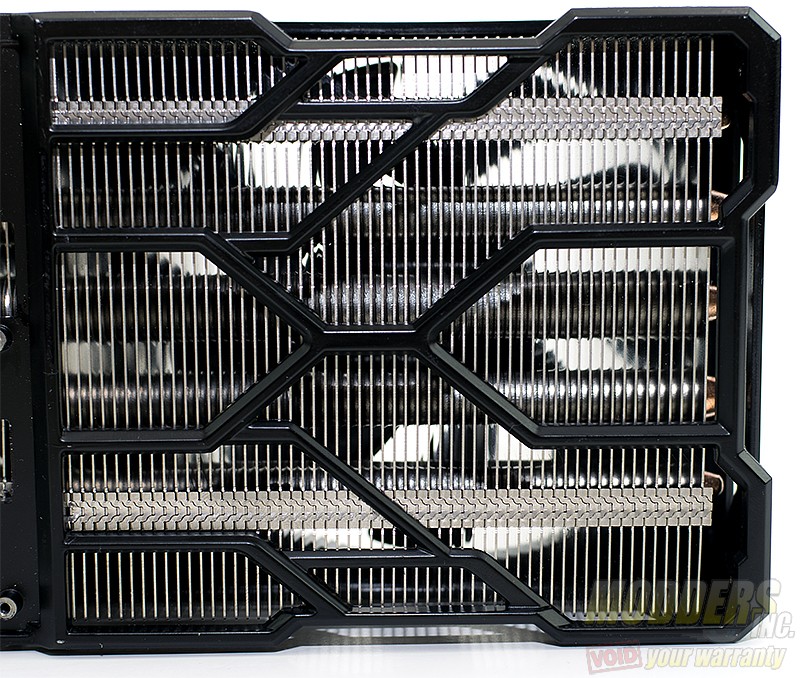
As I mentioned earlier, the last fan on the card goes past the PCB. This allows the fan to blow air through the heatsink unimpeded so to speak. Hot air is exhausted into the case rather than blown onto the PCB.
