Sapphire Pure 785G Motherboard
Installation |
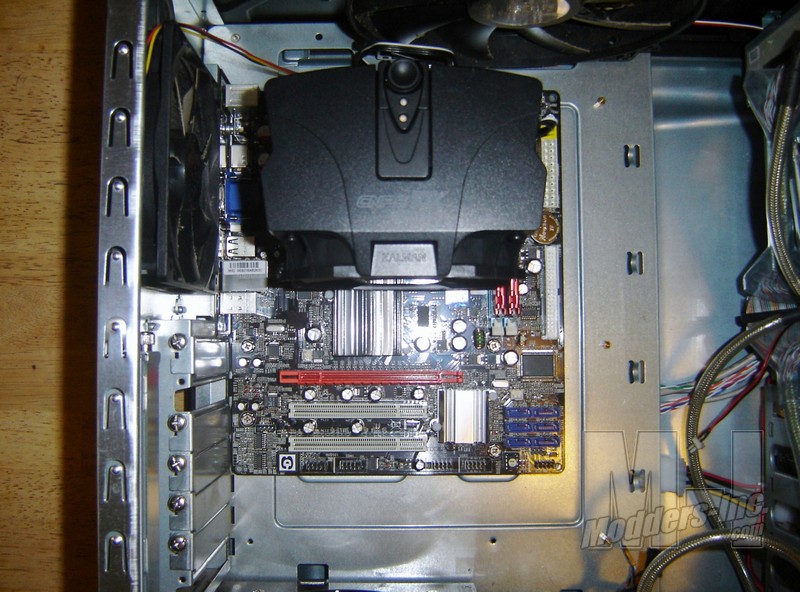
I’m going to install the Sapphire Pure 785G board into my HAF-922 case and pair it up with an AM3 Athlon II x4 620 with two sticks of G.Skill 2GB DDR3 RAM. For now I’m not going to install any PCI-Express graphics because I want to evaluate how the integrated graphics run. I will get into the comparisons later in the Observations section so keep reading to see that information.
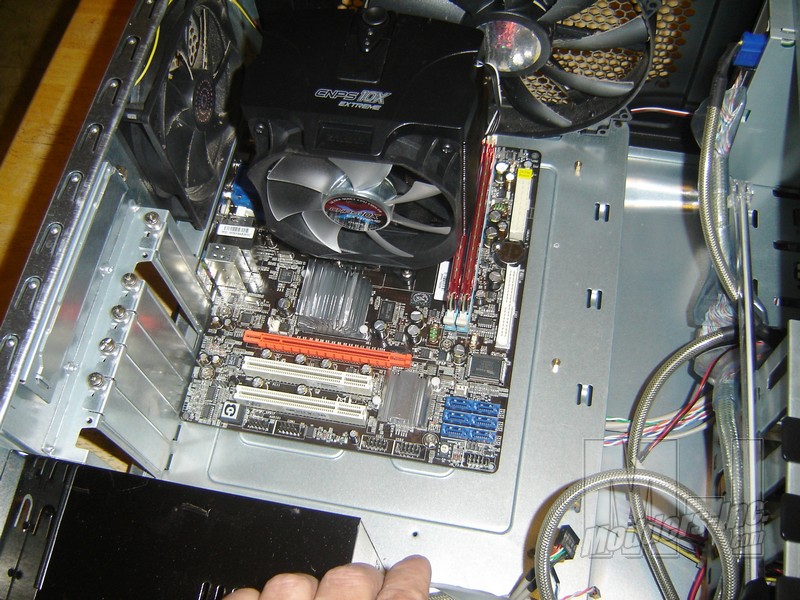
To Cool the Athlon II 620 I used Zalman CNPS 10X. This cooler is around the standard size as most after market coolers that are out there and I think it represents fairly the amount of space that one will take up. As you can see because of the brackets on the CPU socket the cooler can only work one way. Normally I prefer to have it facing the rear exhaust instead of blowing up but this shouldn’t effect the cooling at all.
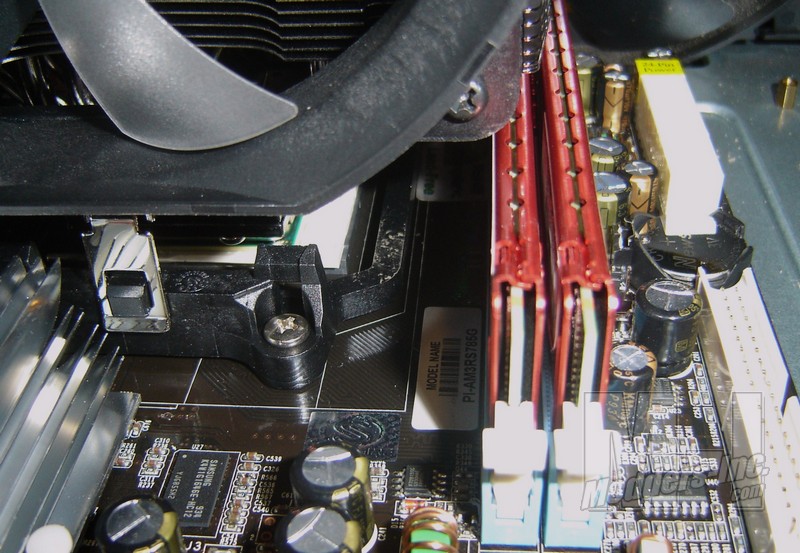
As I mentioned earlier I was worried that the memory would interfere with a large cooler when installed and I was correct. If you look at the picture below you will see that the first slot is basically underneath the Zalman Heat sink. Had there been any type of cooling fins or heat spreaderssticking up on the RAM I wouldn’t have been able to install them. So make sure if you buy this board that you use standard RAM or you make sure your cooler won’t interfere with the memory slot. 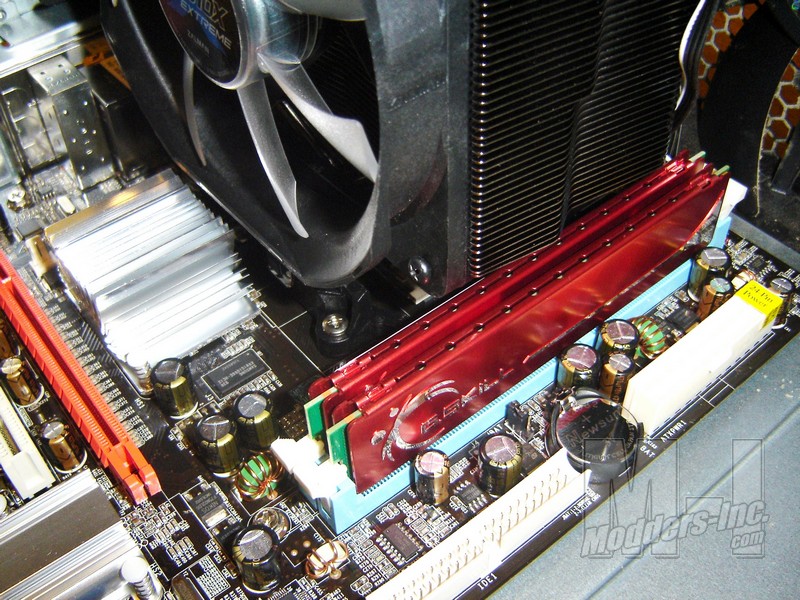
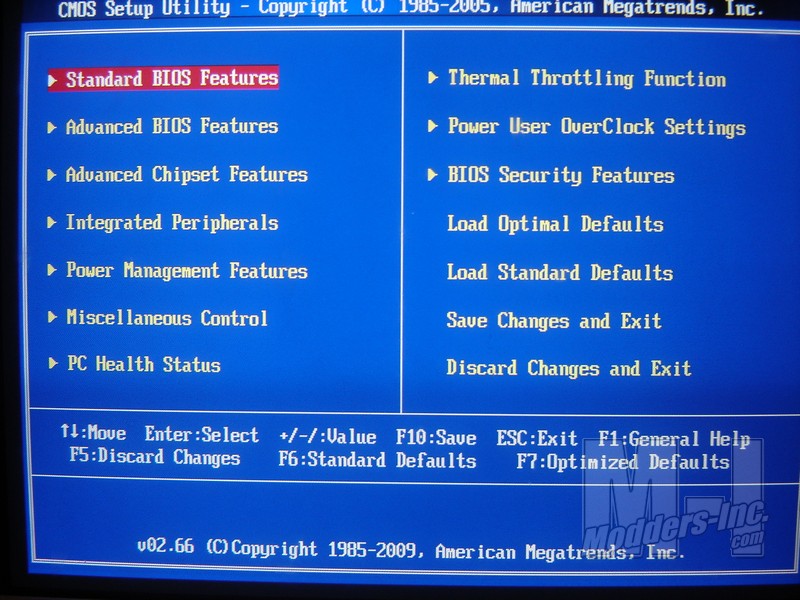
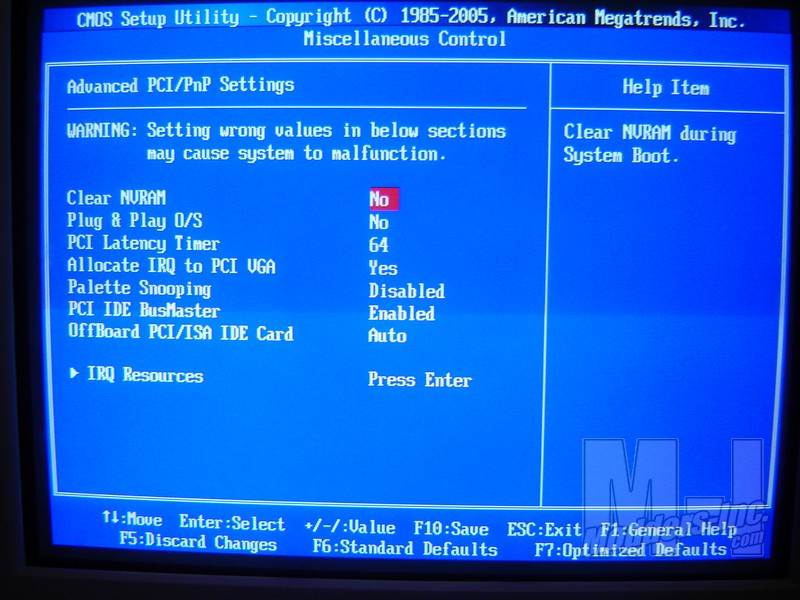
Before I talk about installation of the Windows 7 OS lets take a quick look at the BIOS that is on the board. The BIOS used is an American Megatrends, Inc. version 2.66 and is pretty standard fare. The first pic here shows the main screen and the options that are available to you through that screen. Most of these you will never mess with unless you are a serious BIOS tweaker so I’ll just look at the ones I feel are important.
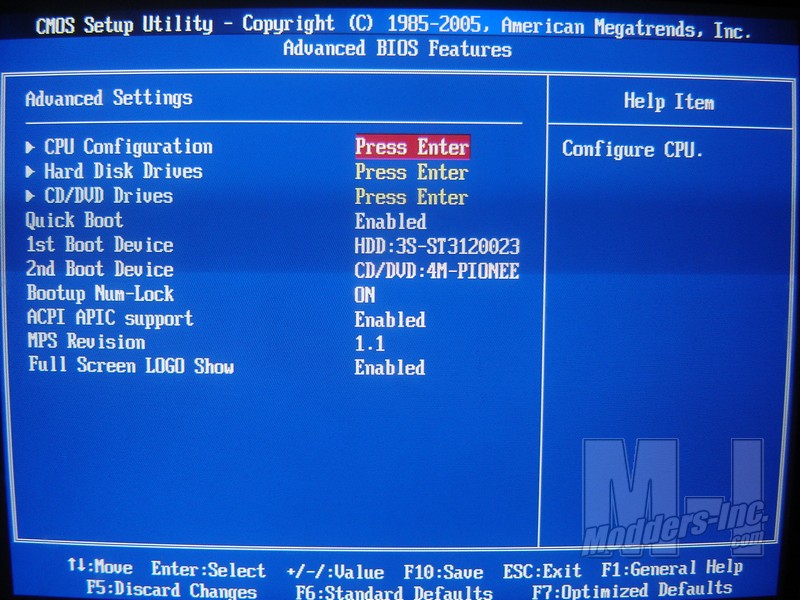
The second panel here on the above right is the Advanced settings options. Here you have the CPU configuration, Hard Disk drives, CD/DVD devises and what not. Really this tab sounds fancier than it really is and the most you are going to do here is enable quick boot and select your boot device. If you have several hard drives you may select your main drive but other than than not a lot of tweaking to do here.
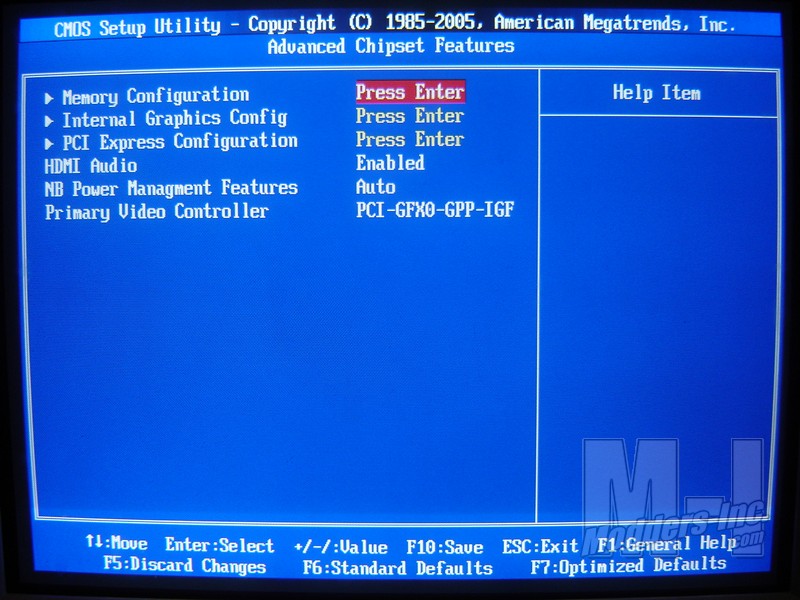
The next panel to the above left is the Advanced Chipset tab. Here you can do a little tweaking to the memory but unless you know what your doing it’s best to leave that alone. The Internal Graphics Config lets you turn on/off the on board GPU as well as override the GFX engine clock. The next tab is the Miscellaneous Control tab. There is really nothing to note in this tab but many of you are going to be like me and wonder what exactly is in “Misc”.
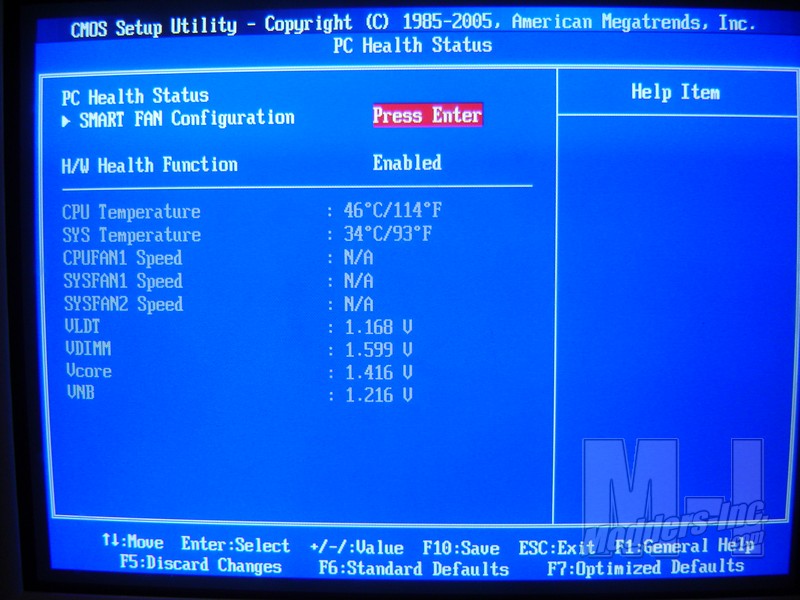
These last two panes are really the most important panels when it comes to “tweaking” and Overclocking. The first is the PC health Status tab. It basically does just that, it gives you an overall look at the temperatures, fan speeds and voltage going through your board. When you make a change in the system with overclocking you will the the effects here first. The smart fan config is also in this panel and really has very little options for the CPU fan. Essentially there are two auto and two Manual modes for you to set so you can have your fan speed step up or stay constant depending on which you choose. The Zalman I am installing has a variable speed built in but regardless this is one of those things I prefer to adjust in windows so I set it manually to the highest fan speed.
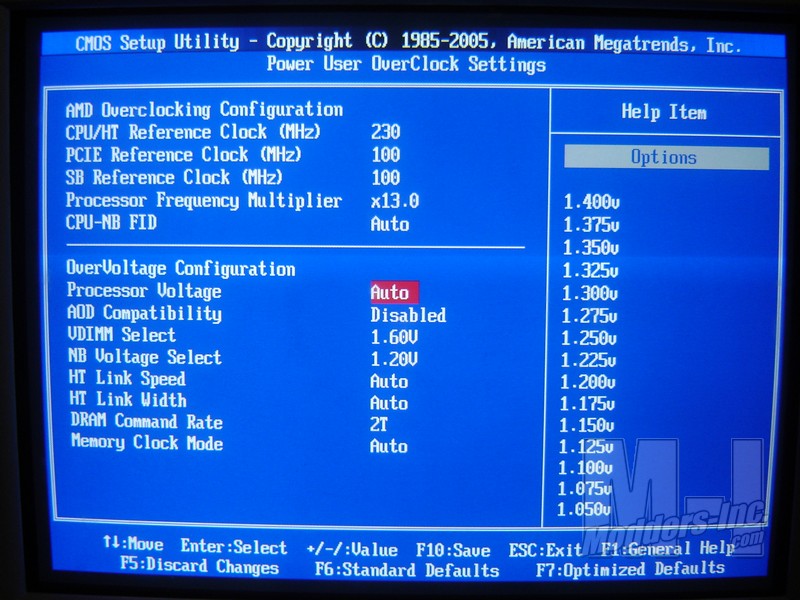
Lastly we have the Power User Overclock settings tab. I guess it’s nice they actually included this tab but the options available are about as sparse as they come. You can of course manually set your clock speeds on the CPU/HT among others but where the OC feature really fails is the voltage settings. You aren’t allowed to “fine tune” the voltage by manually inputting the settings. You have to choose it from a list or pick the “auto” setting. Also although it says Overvolt Configuration it will not let you go past certain “safe” parameters on voltage. Most people who are going to Overclock know they are pushing the machine and are aware of the dangers.
Although limiting the user is to whats safe may be a good idea it isn’t really in the spirit of Overclocking. For example I know that the AM3 chip isn’t supposed to go over 1.4v but I also know that sometimes if you want your stock Athlon II 620 to hit 3.0 Ghz you might have to go to 1.42v. Sure this may shorten the life of your chip, hell it may even fry it but if I want to do it then let me. To me this seems to be the expectation when I see “Pure” written on the packaging. Maybe that’s just me. Moving on.. |
