Rosewill RISE Full-tower Case Review
A Closer Look at the Rosewill RISE
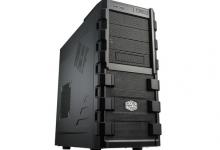
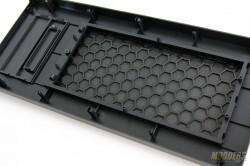
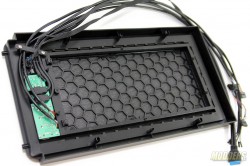
The Rosewill Rise is of steel construction with a slightly textured charcoal gray finish on a conservative boxy body. The front I/O is located at the top front with four USB 2.0 ports, a pair of USB 3.0 ports, microphone, and hedphone ports with a reset button and power LED right beside them which also double as power and HDD activity indicator. Both top and front have removable dust filters which are similarly sized (thus interchangeable) and is secured via push lock latches. Since they are easy to remove, Rosewill provides an option to secure these filters during transport via thumbscrews which have to be removed or secured from the inside (by removing the front and/or top bezel). The front also provides two external 5.25 drive bays, one of which is convertible to an external 3.5” drive.
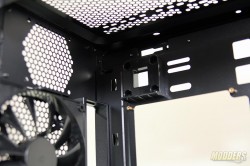
The front bezel has to be removed (by pulling out from the bottom) in order to remove the drive bay covers for the external drives. Up to three 120mm fans can be mounted at the front with slightly adjustable position mounting holes. A 25mm fan can be installed outside the chassis sandwiched with the front bezel but the space is very tight and the fan is right against the fan filter. Holes at the front provide room to route the cables for these fans.
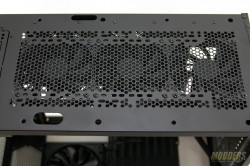
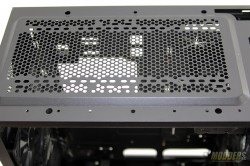
The top bezel on the other hand has a tighter space with only 15mm of clearance from the chassis top to the top bezel so a fan cannot be mounted on top here. This is due to the fact that the roof is elevated from the chassis body to provide more internal clearance unlike the front mounting area which is flush from the rest of the body. Here at the top, up to two 140mm fans can be installed or two 120mm fans with similarly semi-adjustable fan hole mounting able to support either 15mm or 20mm spacing.
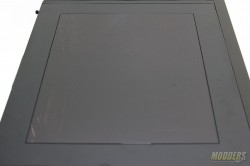
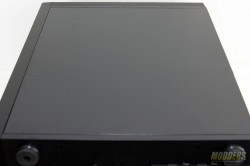
The side-panels are secured by thumbscrews with the right side panel being design-free while the left-side panel having a large (covering almost 80% of the panel) smoked acrylic side-window.
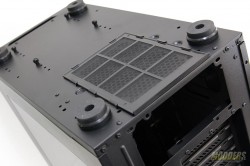
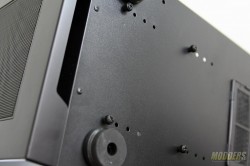
Four heavily rubber soled feet elevate the Rise 1.5cm off a surface at the bottom and the bottom power supply mounting area also has a removable dust filter with an actual plastic frame instead of just being a simple slip-on film-type used on mainstream cases. Four thumbscrews in the front area with four mounting positions each are for moving or removing the drive cage inside for clearance adjustment.
In the rear, the default top area has an option for mounting an 80mm fan on the removable plate with two grometted watercooling holes beside it but this top area can also be used as a power supply mounting option. There are eight expansion slots with reusable covers held in place by thumbscrews. An additional vertically mounted expansion slot is available on the side for securing other peripherals such as fan controllers.
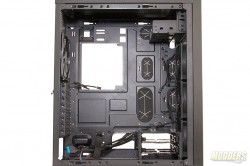
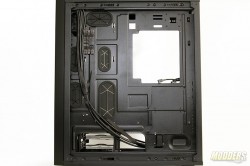
Since the interior does not have the usual hard drive rack found on standard cases, internal real estate is much more spacious for mounting other components such as larger EATX motherboards and thick water-cooling radiators. Five of the cable routing holes have rubber grommets; although the largest one is a bit loose compared to the other four so users can apply some heat on this before using or mounting components just to tighten it in place a bit. Extra cable routing holes at the bottom do not have full grommets but have plastic u-channels to prevent cable damage. Not that the edges will be a problem as there are no sharp edges have been dulled inside.
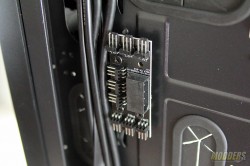
The back plate mounting hole is quite large, almost the full size of a mini-ITX mainboard so compatibility is maximized for most motherboard designs. Behind the motherboard tray is a built-in fan hub powered by a 4-pin MOLEX connector and can run up to nine fans.
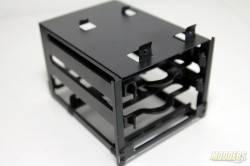
The bottom power supply mounting has additional Velcro strap support for keeping the power supply in place. In front of it is the adjustable drive cage. This drive cage understandably can interfere with modular power cabling when positioned closest to the PSU for accommodating front radiator mounting. Users can of course, just completely remove the drive cage to free up this bottom front area space.
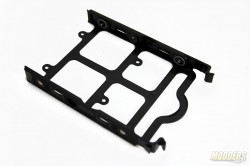
Inside the drive cage, are two drive caddies that support tool-free 3.5” drive mounting and 2.5” drive mounting secured with screws at the bottom. When mounting drives on these, position the SATA connector facing the right side panel, away from the caddy handle.
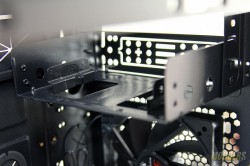
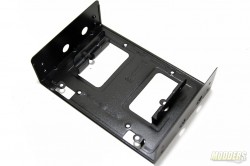
Additional drive mounting is available on the second 5.25” external drive bay which can be removed completely as well to provide clearance. This is mounted using four screws (two screws on each side).
Two more 2.5 drive or SSD mounting options are available behind the motherboard tray. Obviously, only straight angle cables can be used here due to the limited space.


