Roccat Skeltr Keyboard Review
A Closer Look at the Roccat Skeltr Keyboard
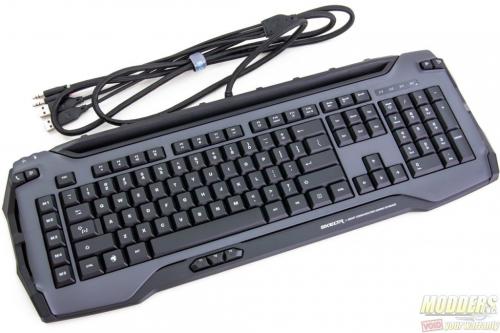
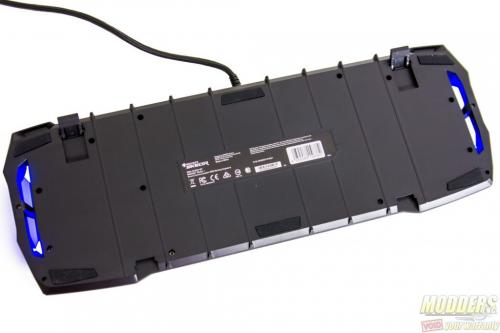
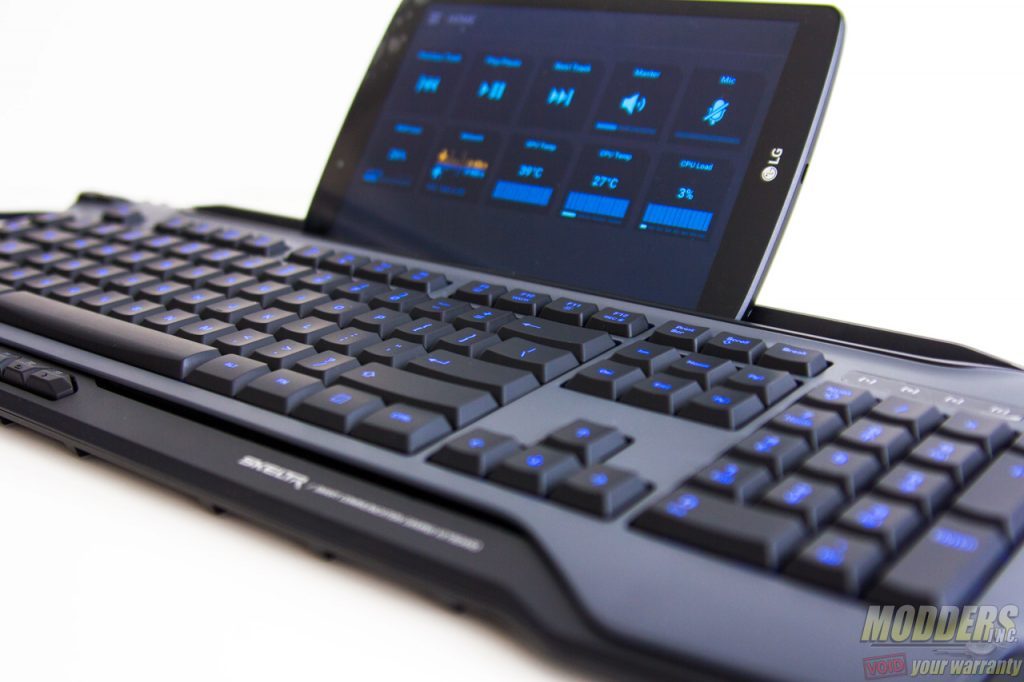
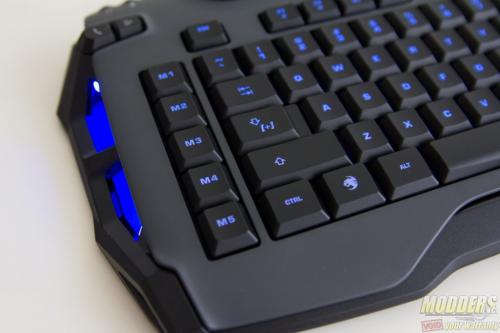
Measuring 52.5 x 8 x 3.5 cm, the Roccat Skeltr is slightly larger than most gaming keyboards. This is due to the extra set of five dedicated macro keys on the left side and extra room on top designed to hold tablets and smartphones. There is the usual flappable feet that raises the back up to 4.75cm from 3.5cm.
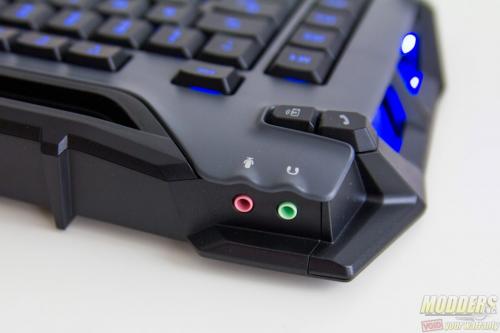
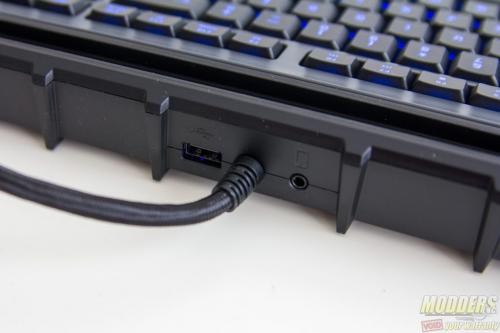
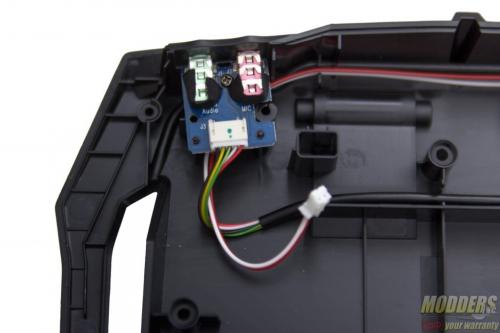
Roccat calls the Skeltr a “Smart Communication gaming keyboard” and it has plenty of other features catering to that specifically. At the upper left hand are pass-through ports for audio so users can plug-in their 3.5mm jack headsets through it. In the middle, is a USB charging port and a 3.5mm jack audio pass-through for the mobile device. On each corner of the Skeltr are special mobile communication function keys which are used to answer the phone or tablet when it is paired with the Skeltr. The left side has the voice link buttons while the right side has the text/shared keyboard link and the Bluetooth pairing option.
There is a rubberized groove running along almost the entire length of the top edge where users have 10mm of space to hold their phones or tablets in.
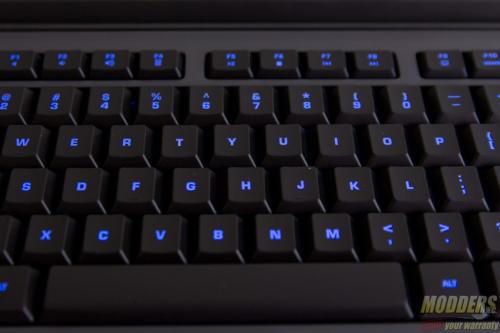
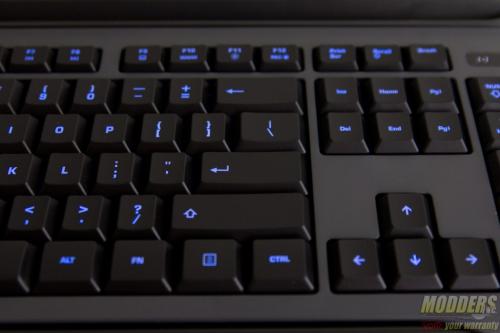
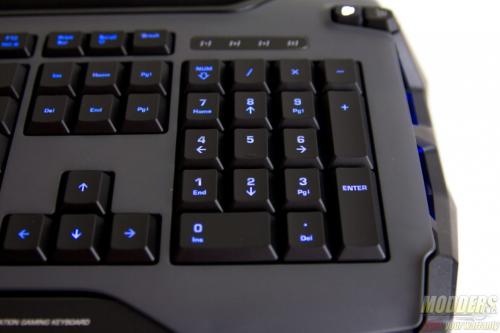
Aside from the extra bank of macro keys, the Skeltr’s US layout deviates from the typical 104-key ANSI by having three extra thumb keys at the bottom and having shorter function row keys. The alignment is otherwise standard with the ESC key lined up with the rest of the key banks with the tilde key below it, unlike some gaming keyboards which align the ESC key with the macro bank. The thumb keys are independently remappable although by default the left and right are used for profile toggling and the middle is used for launching the Roccat Swarm Software. The keys used are typical of membrane gaming keyboards with a soft-touch UV coating and having a transparent stem. Extra LED lighting is available on the sides that can be independently set from the key set. The keycap legends are all centered and the secondaries are stacked with the primaries. The only lighting that cannot be changed are the indicator lock keys and corner feature keys which have a white LED.
Secondary functions are accessed via the FN key located where the right side Windows key typically is. By default, here are the FN functions available:
- FN+F1 = Mute Audio
- FN+F2 = Lower Audio Volume
- FN+F3 = Increase Audio Volume
- FN+F4 = Launch Windows Calculator
- FN+F5 = Pause/Playback
- FN+F6 = Stop
- FN+F7 = Previous/Back
- FN+F8 = Next/Forward
- FN+F9 = My Computer/This PC
- FN+F10 = Launch Browser
- FN+F11 = LED Brightness/Toggle
- FN+F12 = Macro Record
There are also secondary functions accessed via the Roccat [+] EasyShift feature, which is actually mapped to the Caps Lock button by default. Users would have to install the software and remap it to Caps Lock if they want it to permanently capitalize when toggled. Only the macro bank of keys, the function row of keys and the thumb keys have the secondary EasyShift function capability. All other keys can be remapped otherwise via software with the exception of the dedicated mobile device keys in the top left and right corners.
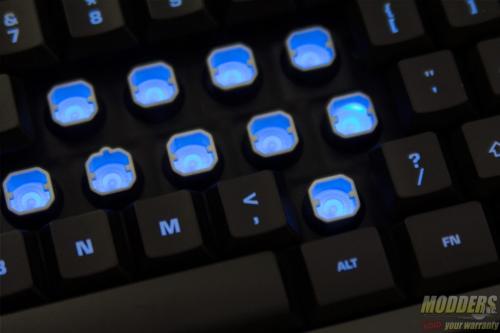
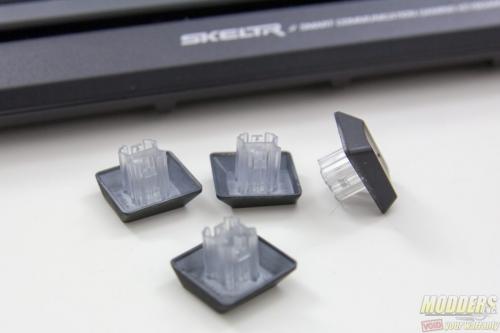
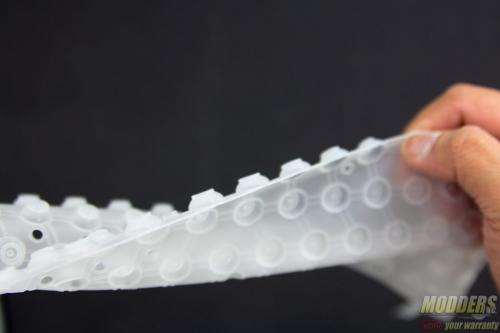
The keycaps and the stem are a single piece, typical of a membrane keyboard. The stems are clear however to allow for the light from inside the keyboard to shine through.
Disassembly and Modding Options
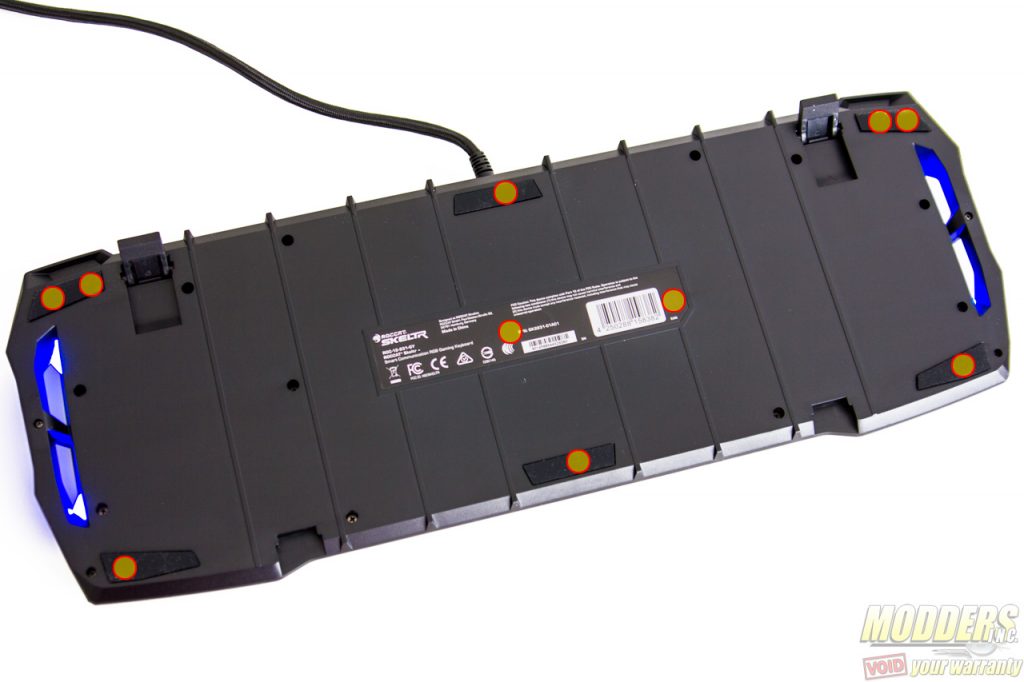
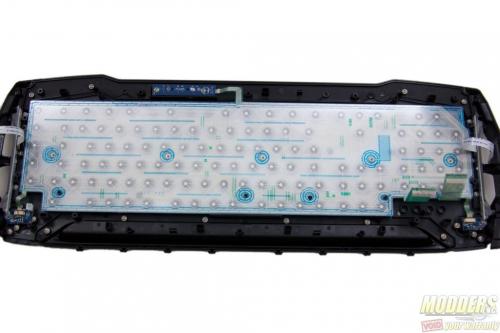
In addition to the screws visible from the back, additional screws underneath the rubber pads and the center labels must be removed as well. Needless to say, this will void the warranty as it damages the serial number label. After removing the screws, the top and the bottom are latched together so it needs to be pried open (a thin flathead screw driver would do such as one from a precision tool kit). To pry it open, I suggest placing the flat edge on a small opening at the bottom, then pull the bottom by leveraging the flat tool while it pushes the top part. Continue doing this while going around the keyboard and the top should be separated with the bottom after. The keycaps do not need to be removed for removing the enclosure. All screws are accessed at the back.
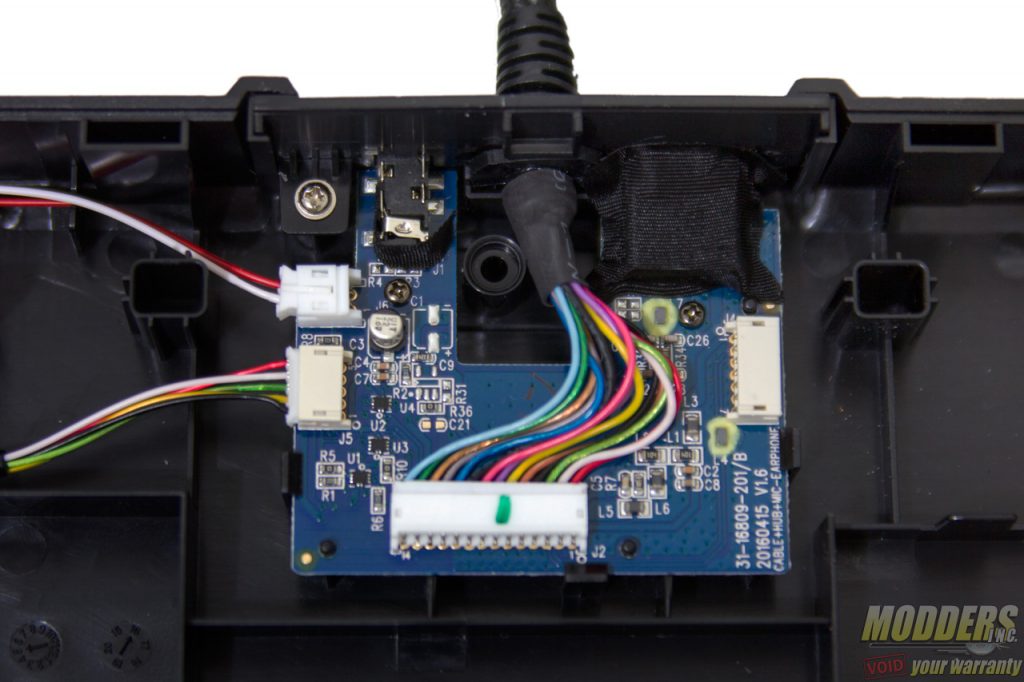
The USB connector for the keyboard function and the USB charging port with the smartphone audio pass-through are attached to the same PCB.
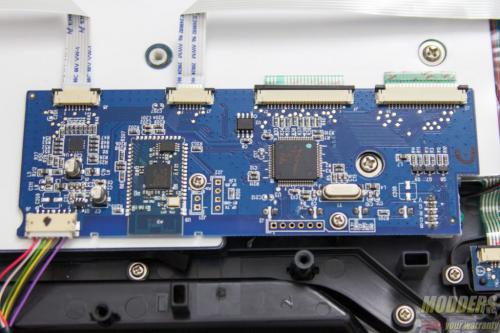
Each of the buttons on the corners also have their own small PCB’s. These buttons use tactile square switches The actual main PCB is on the right side above where the numpad block is. In here there is an NXP LPC1752FBD ARM Cortex-M3 microcontroller that operates up to 100MHz and handles most of the advanced functions onboard. A Broadcom Bluetooth V3 BCM20730 for the Bluetooth pairing functionality is soldered onto this main board as well.
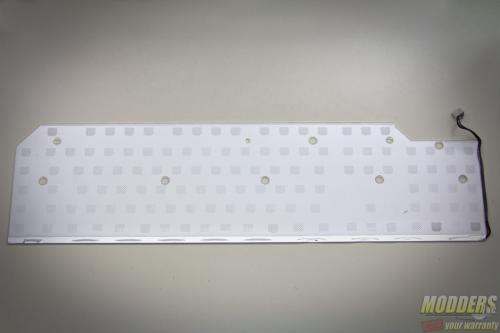
There are 10 individual RGB LEDs lined up at the bottom connected tot he main PCB controller. These LEDs are then diffused through the white-backed transparent diffusion plate which serves as a backboard for the membrane film but also distribute the lights from the bottom row throughout the entire area of the keyboard.
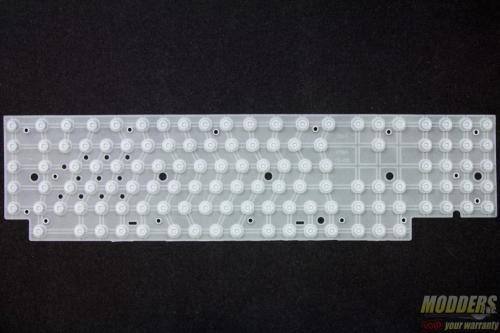
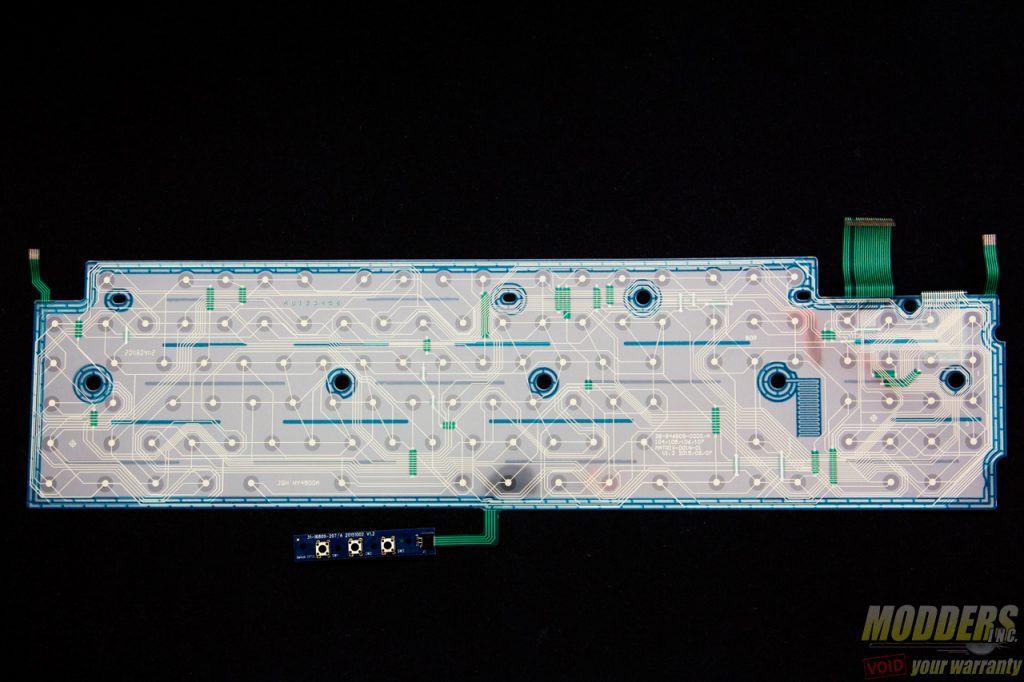
Disappointingly, the membrane film is not any thicker than typical membrane keyboards. I would have hoped Roccat used a thicker, more durable one here considering the price. For the particularly hardcore at gaming, this will only provide as much longevity as any membrane keyboard.
On more of a good news, the keyboard matrix is indeed mapped to provide some extra input functions simultaneously compared to a typical membrane, non-gaming keyboard. It does not look as comprehensive as it could be nor does it look like it accounts for the left hand cluster specifically but it has some redundancies mapped for certain combos. Jump to the last page of this review to see how it did on this test.
