Roccat Kone EMP Gaming Mouse Review
A Closer Look at The Roccat Kone EMP
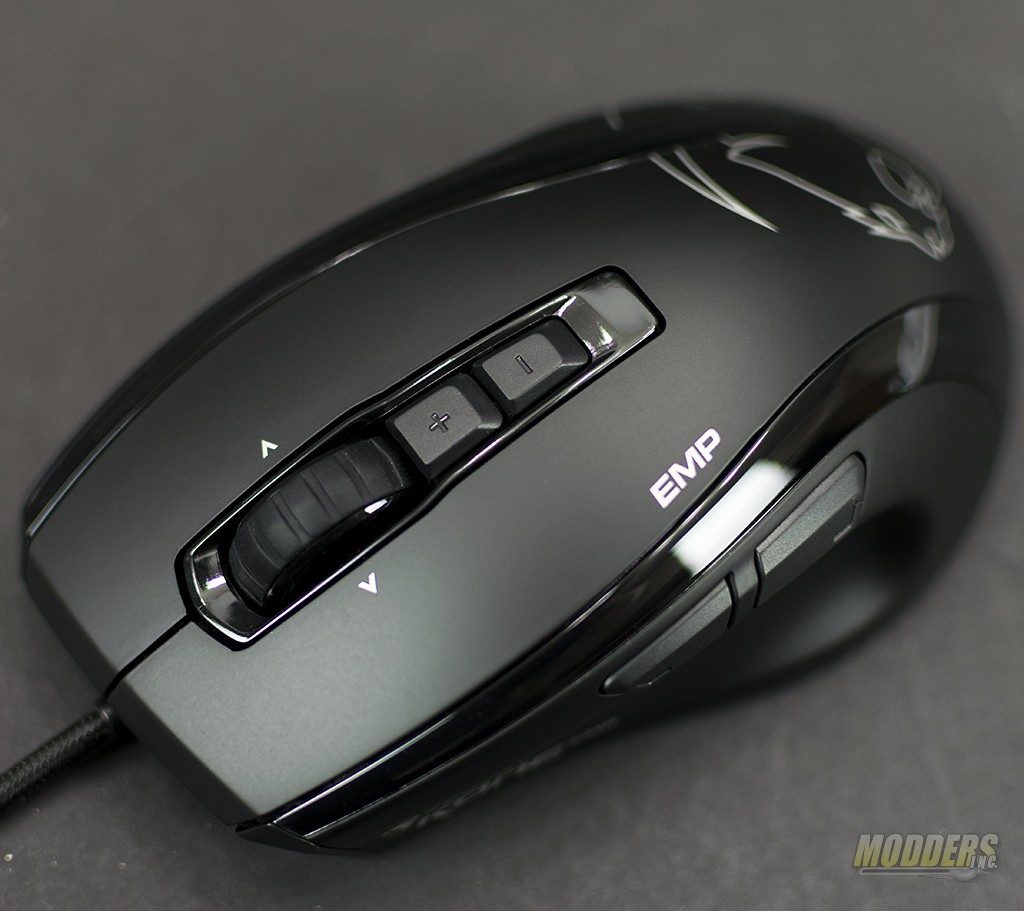
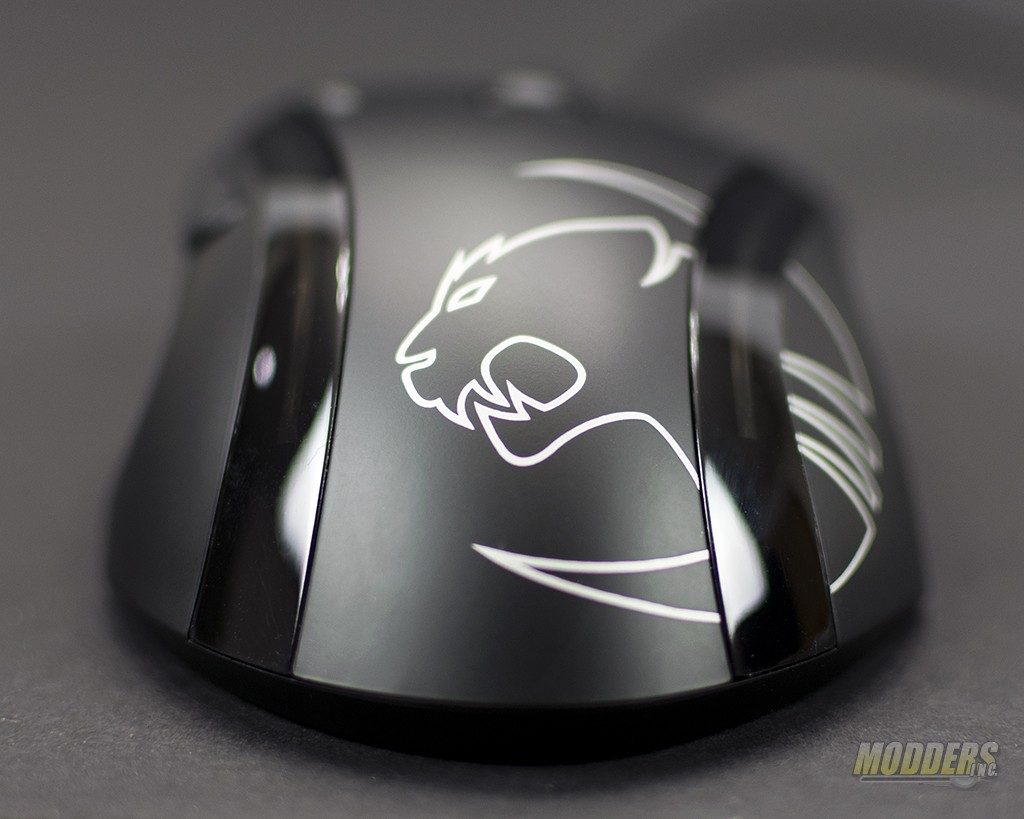
The Kone EMP features a long sloping curve from the front of the mouse buttons to the back. The “hump” on the mouse felt as if it was just slightly taller than other mice I’ve used (Cooler Master Sentinel Storm III, Logitech G900, & G502). The finish on the Kone EMP is very smooth and for the most part resists finger prints, at least for a while. A few days during use, I noticed shiny spots on the mouse where my fingers rest however, a quick cleaning with an alcohol wipe restored the luster.
Along with the standard left and right mouse buttons, the Kone EMP features two buttons that allow the user to change DPI settings on the fly. The scroll wheel not only scrolls back and forth, but can also scroll side to side. The scroll wheel is tight but not so much so that extra force must be exerted in order to rotate it backwards or forwards. The detents in the scroll wheel give enough tactile feed back to know you’ve hit them without being overly aggressive.
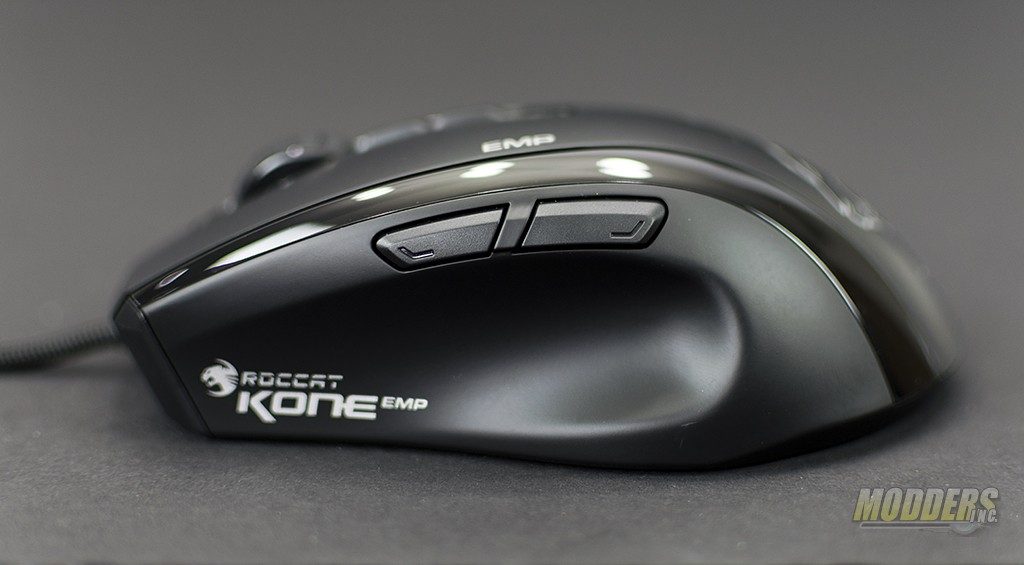
The left side of the mouse features a slight indention at the back which creates a shelf in which your thumb will rest. Slightly above the thumb rest are two programmable buttons. The right side of the mouse doesn’t feature any buttons. I, for one am glad. It’s really the lack of features one the right that make this mouse appeal to me. I feel that too many times manufactures try to cram as many buttons on the mouse as possible which, in my case leads to an errant button press on the right side of the mouse at the wrong time.
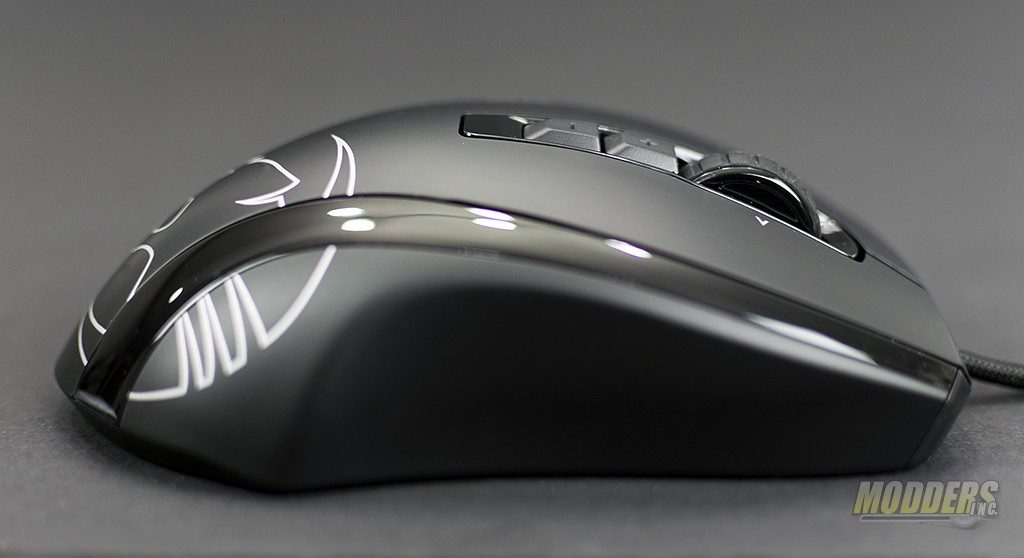
The Kone EMP has a slight cant or lean from left to right (high to low). This tends to aid in comfort and puts your wrist and forearm in a more natural state.
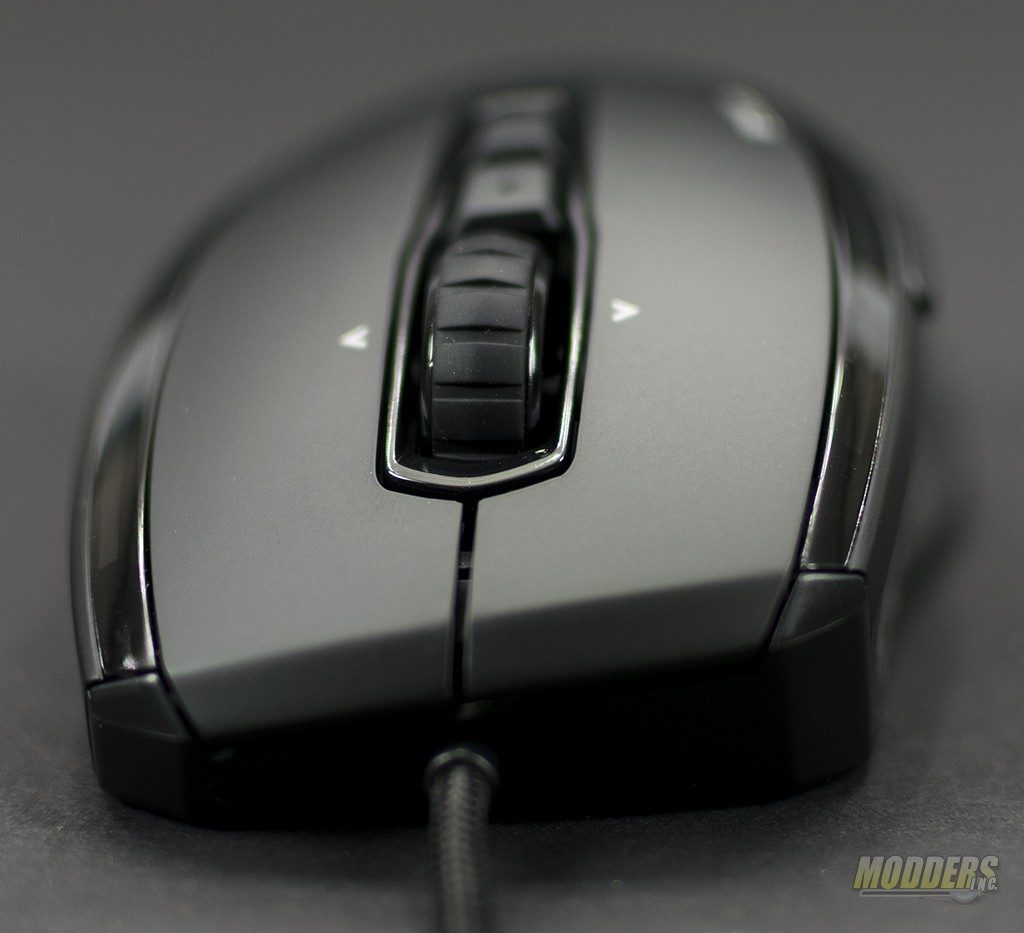
The back of the Kone EMP continues the slight left to right slope. The shape of the mouse felt most comfortable for me when I used the Claw or Palm grip style as long as the meaty part of my palm stayed in contact with the body of the mouse. For me, the Fingertip grip style was the most uncomfortable and I found myself unconsciously switching back to mainly the Claw style.
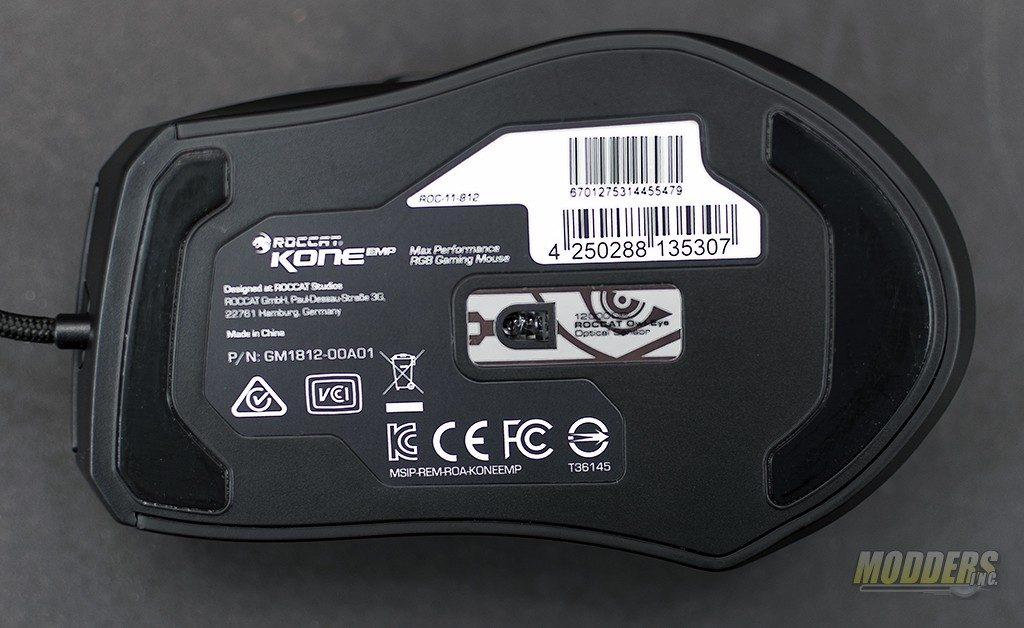
Underneath the Kone EMP, you’ll see the Kone EMP glides along on a couple of large slick feet. During use on cloth and aluminum mouse pads, I didn’t notice any issue come up where the mouse didn’t move at my command. The OWL-Eye sensor is located underneath as well and is capable of reaching 12,000 DPI.
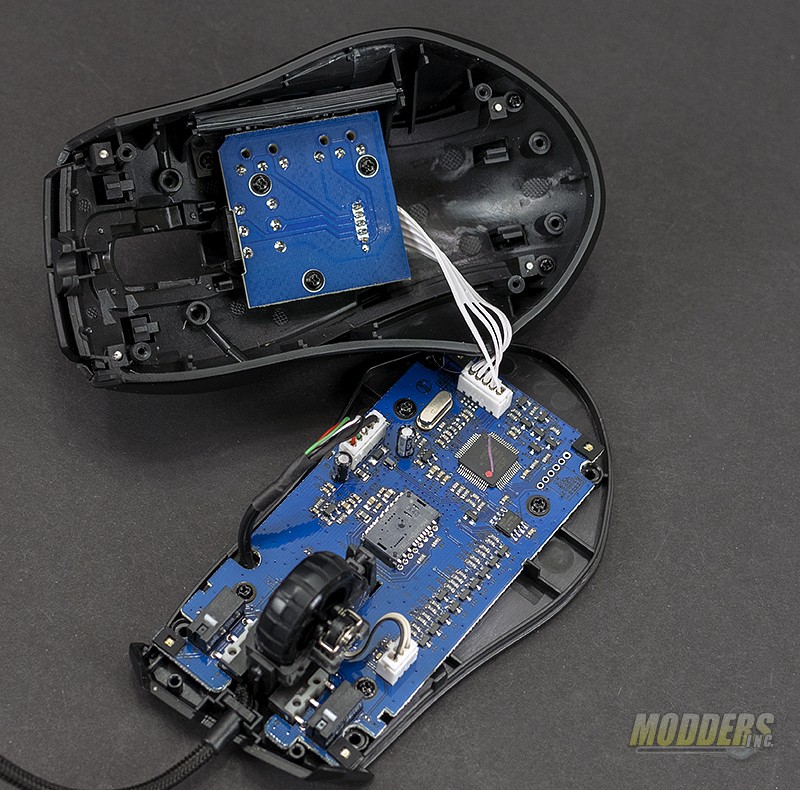
Taking apart the Kone EMP was extremely easy. The first step is to remove the mouse feet. Under the feet there are four Phillps screws that need to be removed.
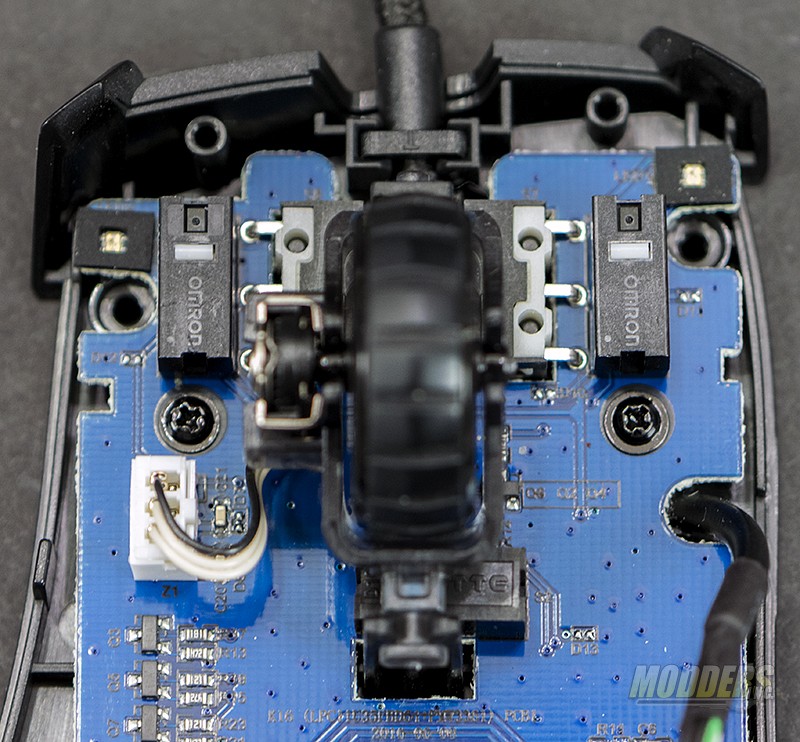
After the screws are removed, the upper and lower shells of the Kone EMP separate rather easily. Care is needed when pulling the two shells apart as there is a cable that connects to a daughter card on the top shell. In the center of the lower PCB is Roccat’s OWL-Eye sensor. The sensor used is a custom implementation of PixArt’s PWM 3361DM sensor and is capable of 12,000 DPI.
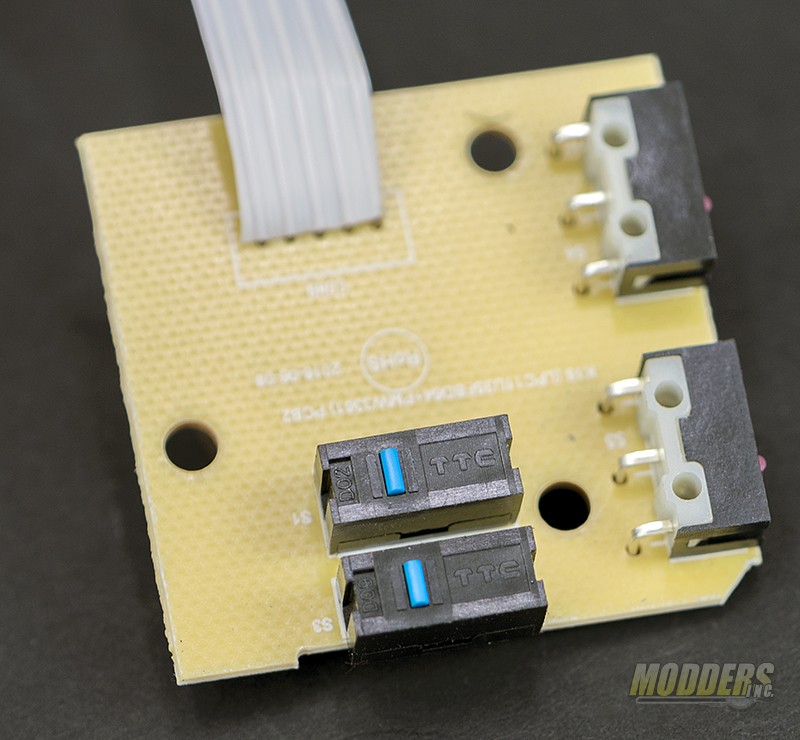
The daughter card contains four switches. Two switches are used for the side mouse buttons and two are used for the buttons located to the rear of the scroll wheel. The switches on the daughter card are switches made by TTC (Trantek Electronics Co.) and much like keyboard switches, they come in different colors to denote the activation pressure. TTC also provides the mechanical wheel encoder.
Most of the switches on board the Kone are TTC however, the two switches used for the left and right mouse buttons are OMRON D2FC-F-7N which offers a life span of 5 million clicks.
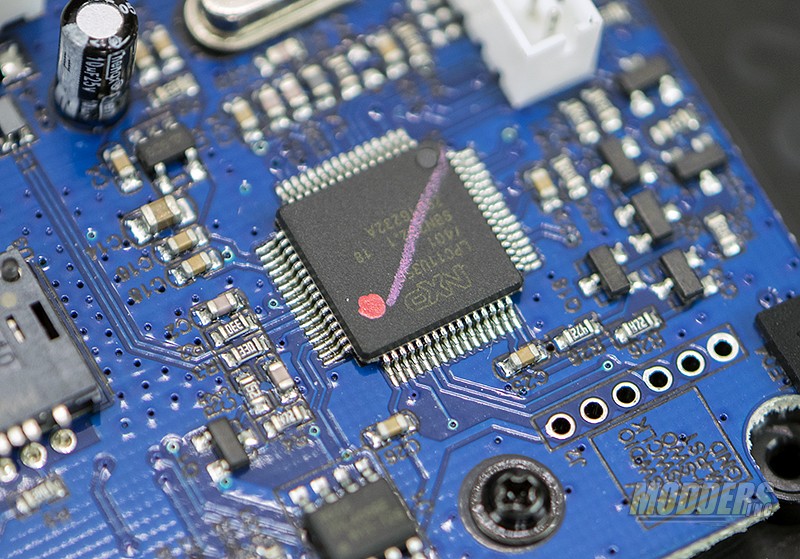
The MCU on board the Kone EMP is NXP’s LCP11U3x 32-bit ARM Cortex-M0 micro controller. The LCP11U3x is responsible for controlling things such as the LED lighting and profile handling.
