A Closer Look at the Cooler Master MasterKeys Lite L Keyboard
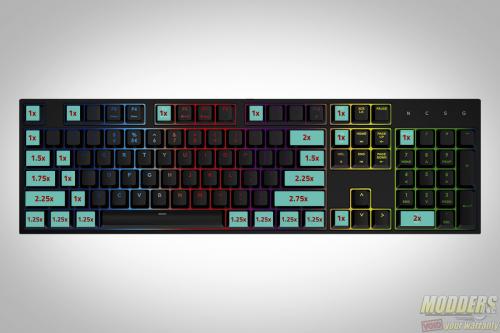
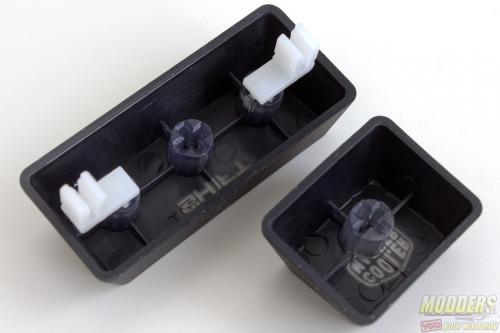
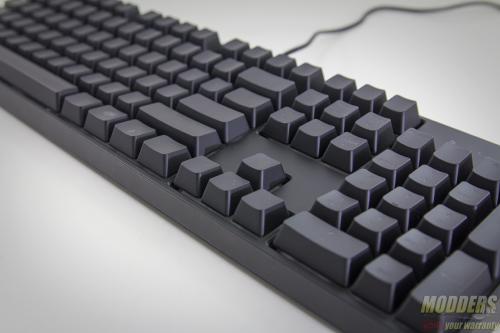
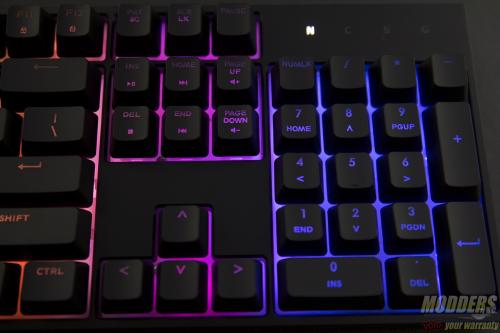
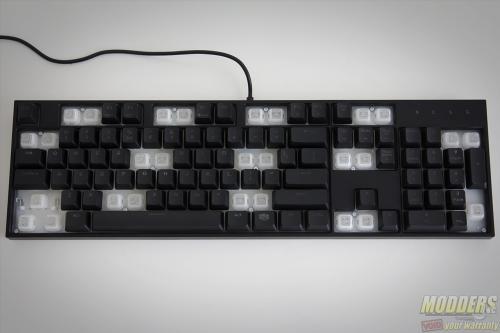
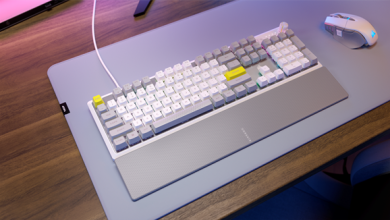
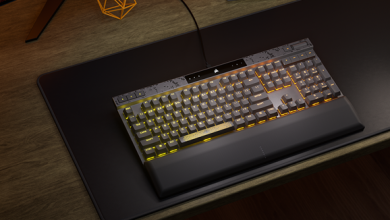
The Cooler Master MasterKeys Lite L uses a 100% ANSI 104-key layout on a conservatively styled frame. Similar to the rest of Cooler Master’s mechanical keyboard offerings, the keycap sizes use a standard 1.25x bottom row modifiers so they are easily interchangeable with a different keycap set. Like the previously reviewed CM Devastator II keyboard, the MasterKeys Lite L’s keys mount using a similar Cherry MX compatible cross-mounting stem. The modifiers use a wire stabilizers similar to other membrane keyboards instead of dummy switches.
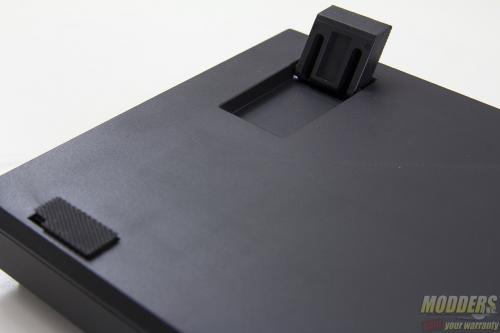
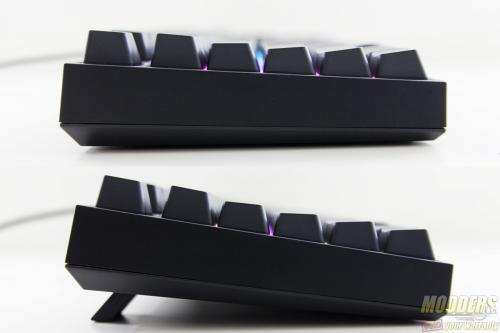
Textured rubber pads at the back keep the 439 x 129 x 41mm keyboard in place while on a desk and it can be flipped up to raise the back up 14mm from the surface.
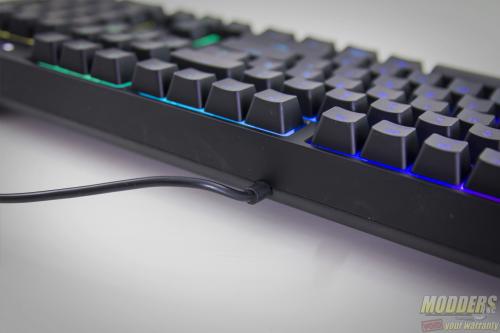
Unlike mechanical keyboards from Cooler Master, the USB is hardwired into the frame.
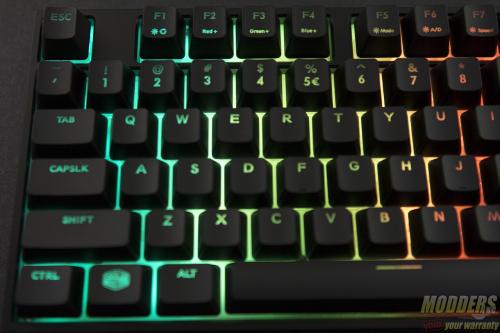
Since it uses a 104-key layout with no extra buttons, additional features are accessed via combo keys with the Fn key located where the context key is normally located beside the right Windows key. In combination with the Function keys at the top and the standard nav cluster, users can adjust backlight control, lock the keys, control repeat rate and control multimedia functions.
LED Controls:
- Fn+F1 = Color cycle (red, orange, yellow, green, light blue, blue, light pink, pink)
- Fn+F2 = Add red light (5 levels)
- Fn+F3 = Add green light (5 levels)
- Fn+F4 = Add blue light (5 levels)
- Fn+F5 = Cycle Modes (solid, breathing, kaleidoscope, reactive, color shift, ripple, RGB wave, zoned)
- Fn+F6 = Cycle Direction
- Fn+F7 = Cycle Speed
Lock and Repeat Rate controls:
- Fn+F9 = 1x Repeat rate
- Fn+F10 = 10x Repeat rate
- Fn+F11 = Full keyboard lock toggle
- Fn+F12 = Windows lock toggle
Multimedia Controls:
- Fn+INS = Play/Pause
- Fn+DEL = Stop
- Fn+HOME = Forward
- Fn+END = Backward
- Fn+Page Up = Volume Up
- Fn+Page Down = Volume Down
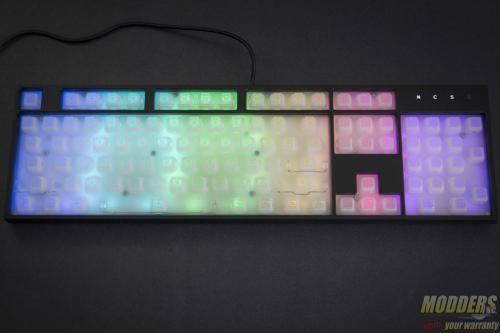
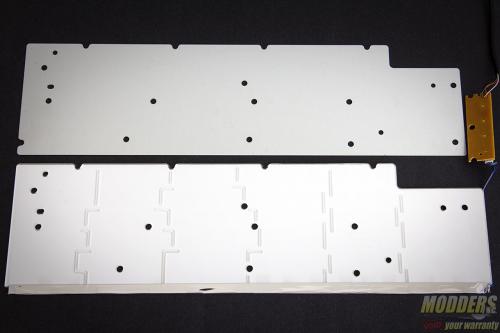
It is unfair to expect per-key lighting on this price point so the solution for a distributed lighting is a reflective and transluscent plate. Like what was seen in the Devastator II disassembly in my previous review, the LED’s are in “zones” and the diffuser plate evenly spreads out across the layout so that Cooler Master only needs to use a few RGB LEDs.
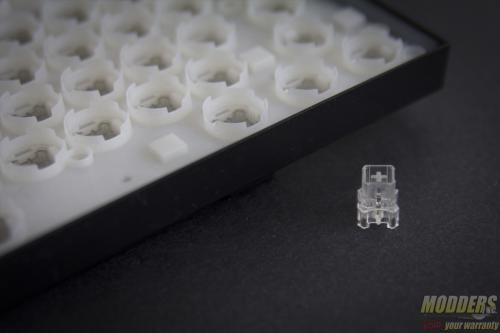
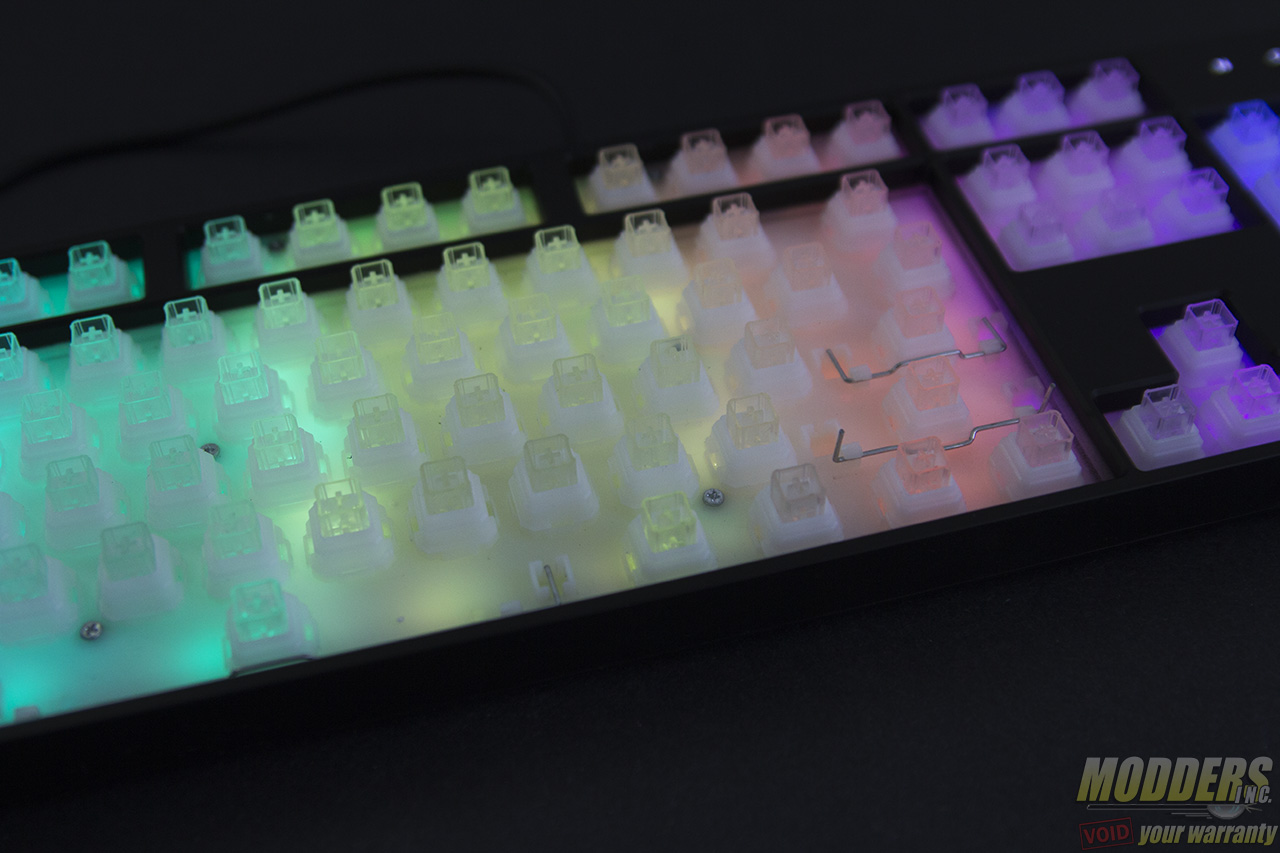
Part of the “mem-chanical” switch is a transparent stem and transluscent housing so the LEDs penetrate, even through the keys.
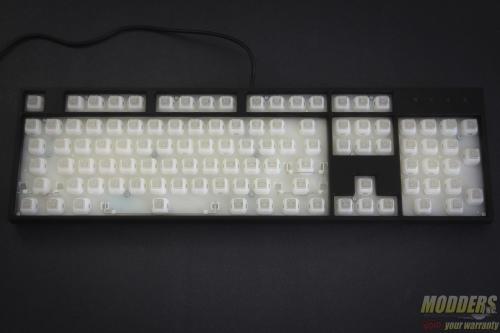
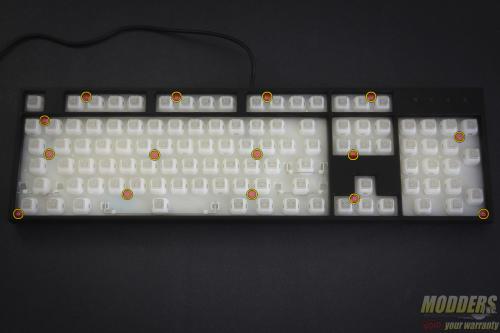
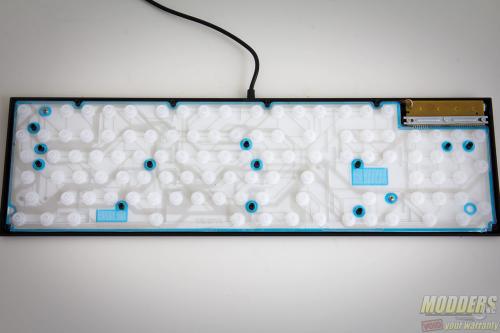
For modders who are not content with simply swapping out the keycaps, removing the housing is just as simple as it was with the CM Devastator II. All the screws that need to be removed are right on the plastic top diffuser plate. Removing all the keys are not necessary for disassembly. You can use the reference images below:
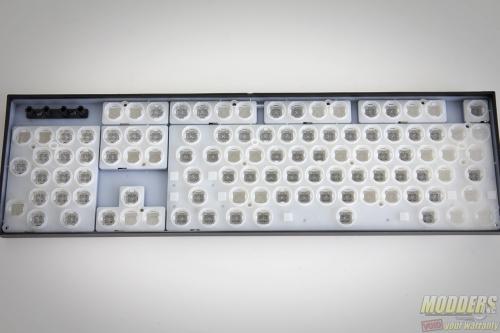
The “Mem-chanical” switch has transparent plungers on a steady support housing base. If the keycap is removed, these plungers come off so be careful when disassembling not to lose any of these. Since they are transparent, they are difficult to find on the ground.
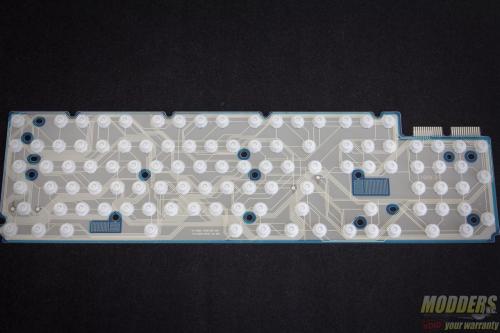
One thing that jumps out immediately is the difference in matrix layout compared to the Devastator II when I reviewed it. I will expound on this later on, in the testing section. The keyboard matrix film is held in place by two screws to the diffuser plate.
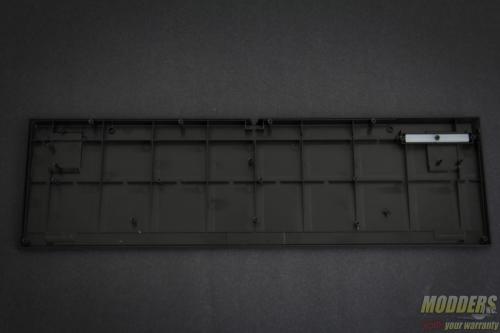
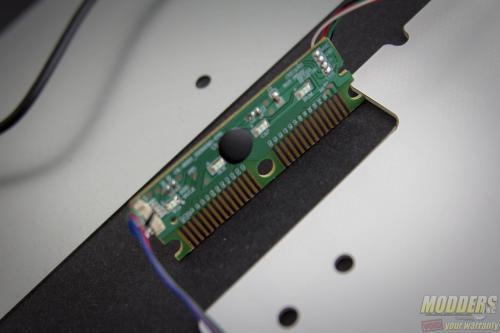
Underneath is a metal plate for additional weight and the diffuser plate for the LEDs. Like the Devastator II, the LEDs are situated at the bottom but in this case, they are using RGB LEDs positioned across six zones. With the internal components removed, modders can repaint the ABS plastic housing if they wish to do so.
