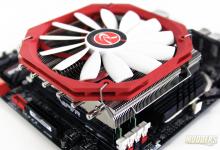
Reeven Okeanos CPU Cooler Review: A King in Yellow
Installation of the Reeven Okeanos
Before proceeding with installation, lay out all accessories and cross reference the package content with the illustrated user’s guide. The Reeven Okeanos officially supports LGA2011, LGA115x and AMD motherboards (not including AM1 like the Reeven Brontes). With the exception of LGA2011 installation, every motherboard installation will require the use of Reeven’s universal backplate so this means AMD users will have to first remove the mounting assembly on their mainboards.
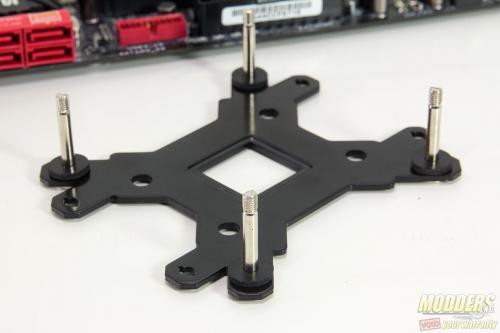
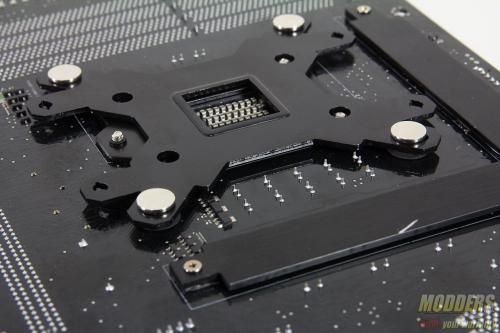
To assemble the backplate, push through four of the mounting posts through the rear of the backplate and secure them with the four black silicon washers provided. Thread these washers through and do not force them down or they can get damaged. These will hold the posts in place to the backplate so users can install the Reeven Ouranos even vertically, on an already mounted motherboard. AMD users will use the rectangular mounting hole pattern while Intel users will use the square mounting pattern and adjust the mounting distance accordingly. LGA115x posts goes through the middle and LGA1366 goes to the outermost mounting holes.
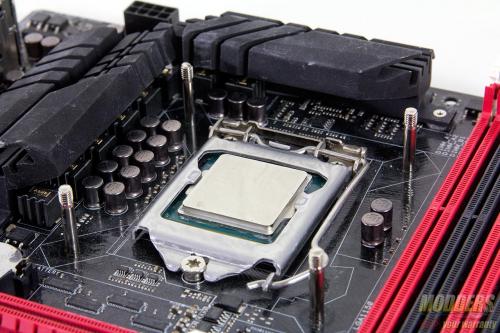
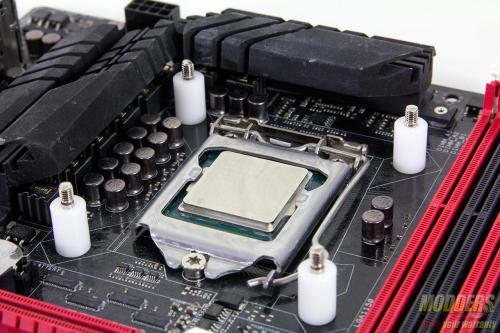
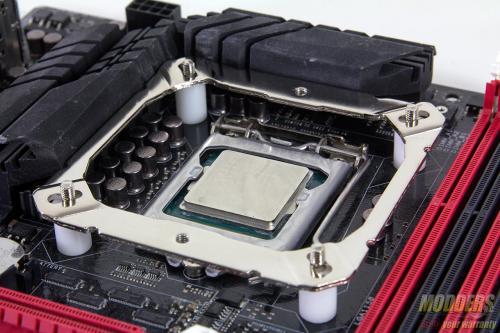
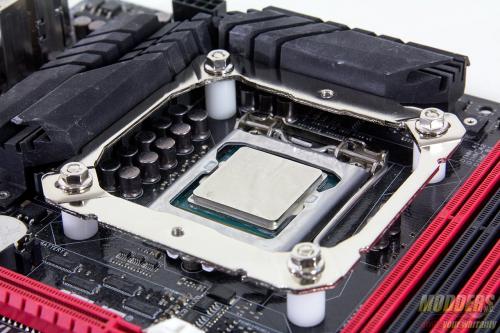
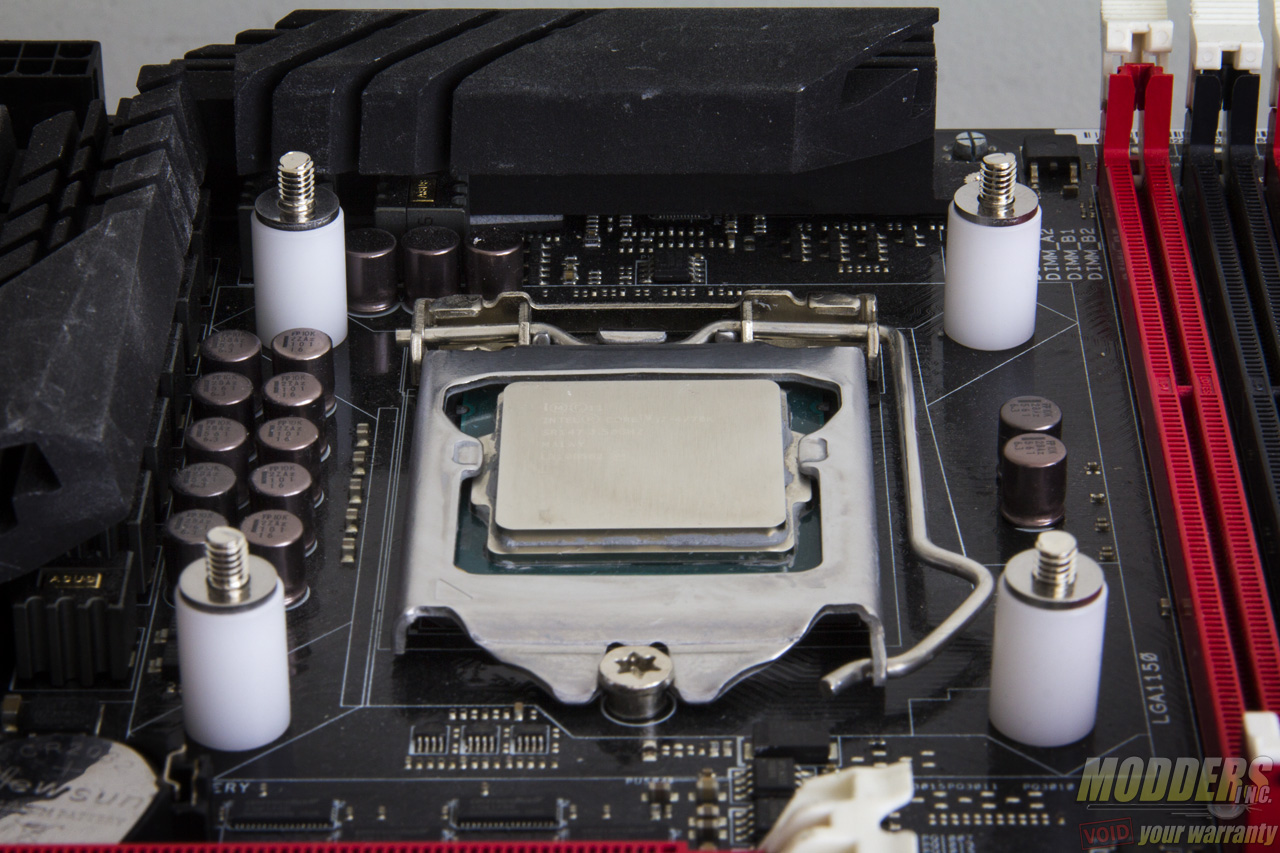
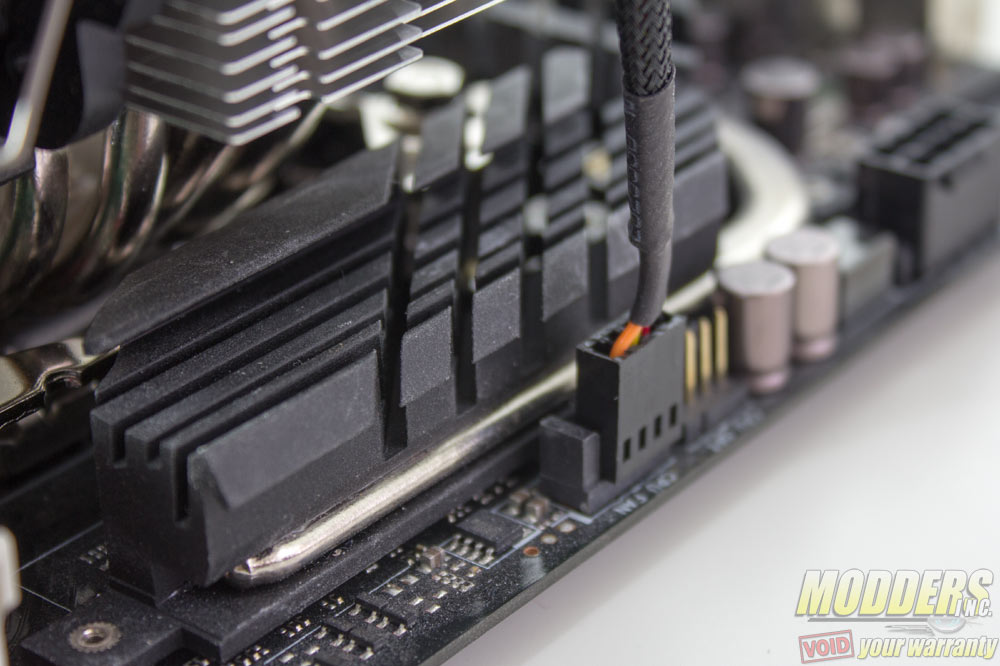
Once the backplate assembly is positioned at the back, place the white plastic spacer posts for the bracket and secure the bracket with the provided nuts. LGA2011 do not need to use the backplate assembly but instead will have to simply install the provided LGA2011 standoffs then go straight to installing the bracket. Note that the bracket makes use of the Intel keepout area completely so it will be touching the MOSFET heatsinks on most motherboards. Take note of the center mounting hole positions at the bracket as this will determine the orientation of the heatsink. With the center mounting holes situated North/South, the Reeven Okeanos heatsink will be mounted in the ‘default’ position with the fans exhausting to the left and intake is above the DIMM slots.
Intel LGA1151 Skylake users will have to add the aluminum washers included in the accessory pack if they wish to lessen the pressure applied to their heatsink. Some users have expressed concern about the PCB warping so this is Reeven’s solution (photo above shows the added washers between the plastic standoffs and the metal bracket).
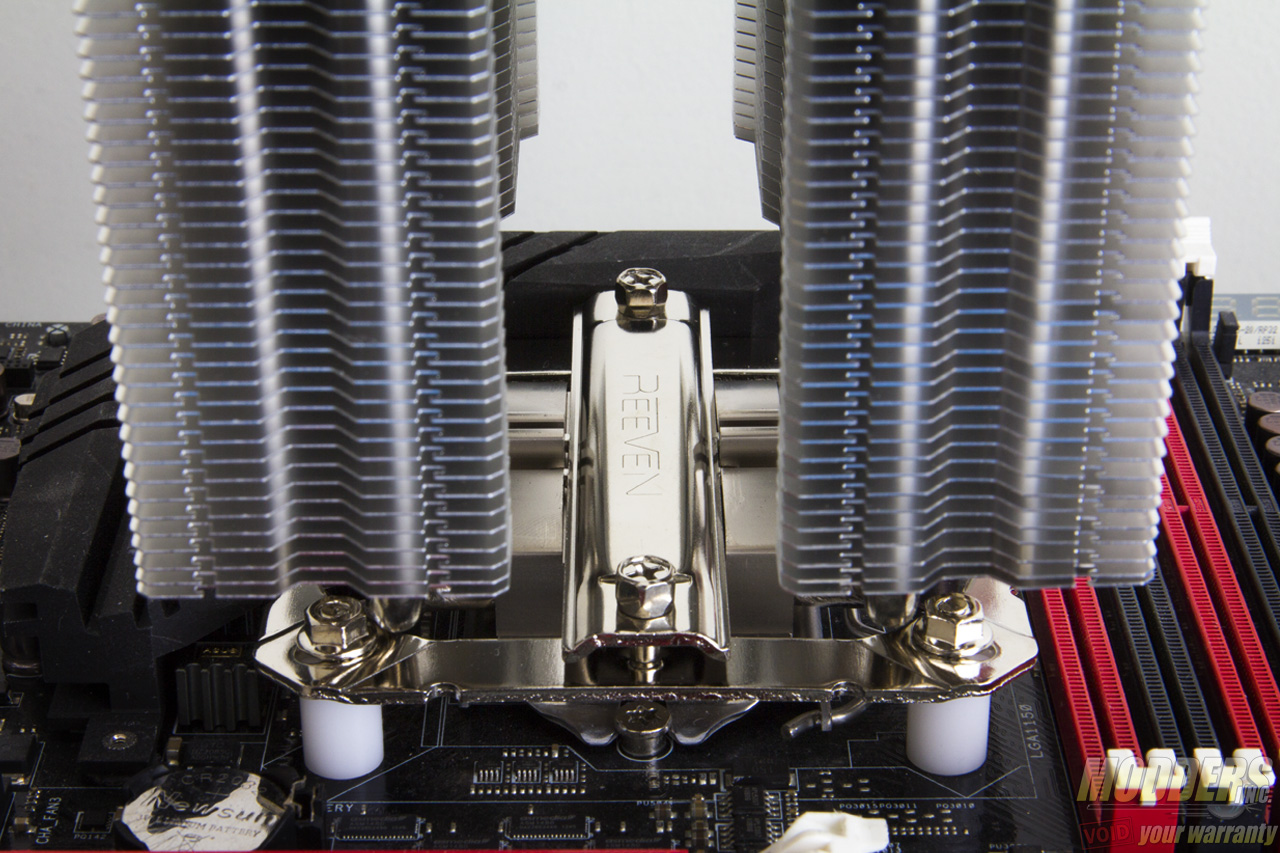
Remove the protective plastic from the CPU cooler contact surface, apply thermal compound then place the Reeven Okeanos with the mounting bar until the center mounting holes align. Secure both sides with the locking screw which can be secured by either a Philips screwdriver or by using the bundled hex spanner. The center bar locks in place so if that was not seated correctly on the top of the base, the heatsink cannot be secured. After completed, simply use the wire clips to attach the fan then plug it in an available motherboard header.
Compatibility and Clearance Issues
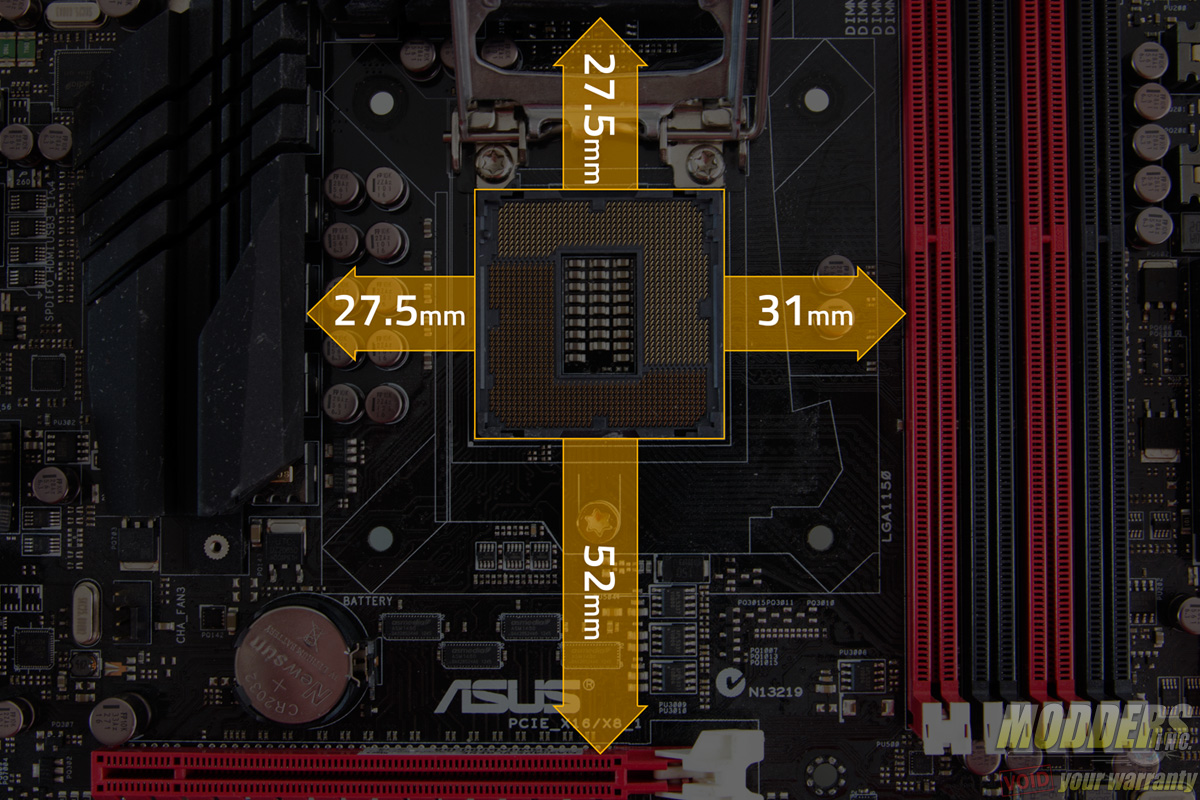
The test motherboard is an ASUS Maximus VI Gene micro-ATX motherboard and measuring from the edge of the socket (the gray plastic part), there is a 31mm gap between the CPU socket and the first DIMM slot as well as a 52mm clearance between the CPU socket and the topmost PCI-E x16 slot where the graphics card is installed.
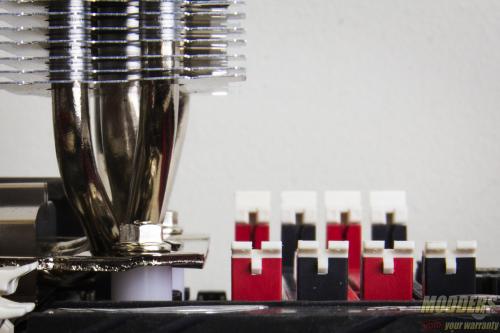
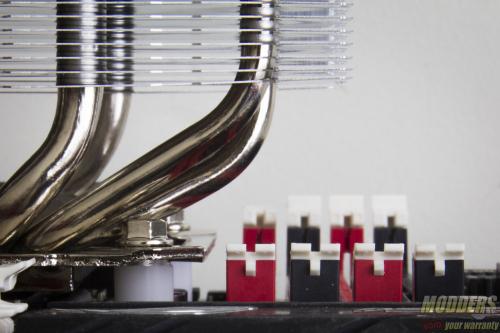
The Reeven Okeanos provides 35mm clearance (measured from CPU contact surface) underneath before the fin array begins. A bare DDR3 PCB in comparison, measure 30mm tall. The standard east/west orientation provides full clearance to all four DIMM slots without a fan. The fan however can be adjusted upward to allow for greater than 35mm clearance. For the north/south orientation, the first DIMM slot is obstructed by the heatpipe so no memory modules can be installed there at all on the alternative orientation. Users can still install on the second bank however so dual-channel setups with two modules are still possible, but limited to 35mm modules.
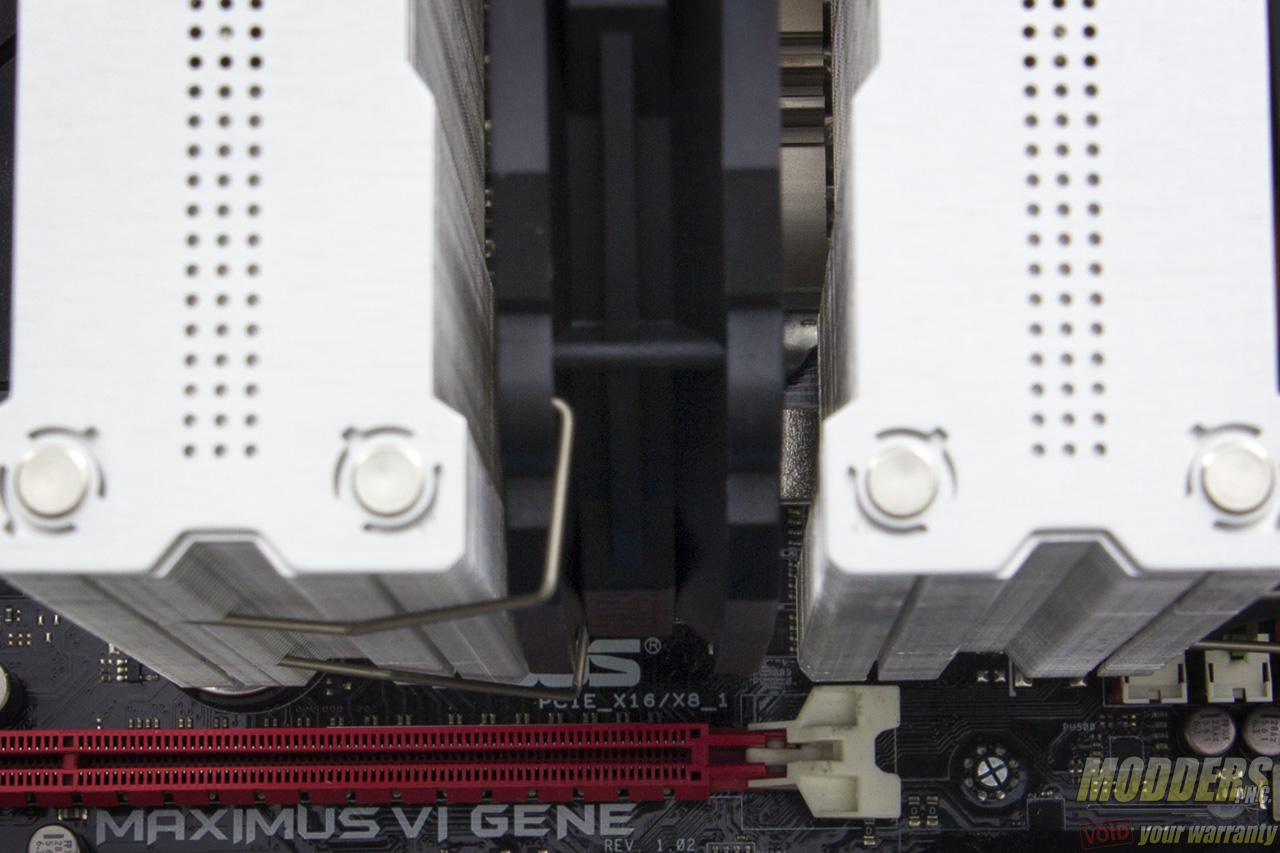
For PCI-E installation, all orientations allow for graphics card installation. The standard east/west orientation has the tighter clearance compared to the north/south orientation even if a third fan is installed but due to the fan clip being tucked in the radiator array, there are no protrusions to worry about and even video cards with backplates can be installed.
