Installation and Clearance Compatibility
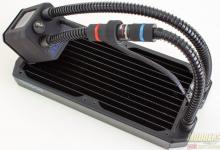
Putting together Naia 240 wasn’t difficult. If you ever installed all-in-one cooling systems before, then you know that the whole process takes about fifteen minutes. Reeven did an outstanding job with their installation manual that makes installation a breeze. In my setup, I have mounted the radiator to the top of my case. The Reeven Naia 240 comes with mounting screws and I strongly recommend using provided screws to mount radiator. If you use longer screws you could potentially damage the radiator.
High static pressure fans come with the Naia 240, so I mounted it to push air out of the case, through the radiator. These fans don’t add any accent to the case whoever, they do provide sufficient cooling. Reeven has some pretty cool fans so you can shop around if you want to add some RGB to your case.
As you can see the CPU block is a perfectly clear with my AMD motherboard. There is a 5mm clearance between the hoses and the RAM slots. The CPU block mounting hardware has a great clearance from the top and left MOSFET and capacitors as well.
My case comes with a motherboard cut out tray so the installation of the hardware for the CPU mount was extremely fast. All you have to do is to follow the installation guide. It is also worth mentioning that the Naia 240 comes with a universal Intel/AMD CPU back plate.
Overall, the installation was a breeze. I haven’t seen any issues or had any complications with clearances with my motherboard or components. Just make sure that your case supports 240mm radiators.


